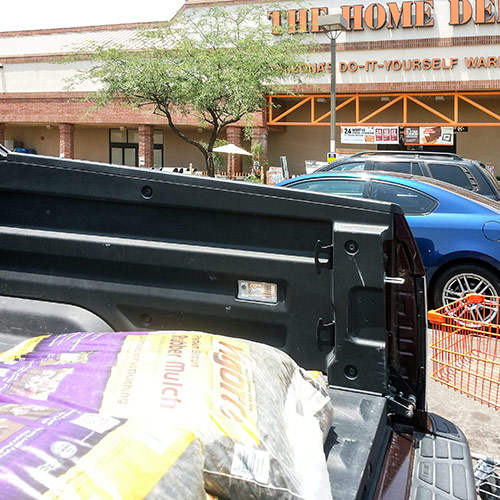
So the pool's a swamp again, despite battling with all the modern chemical weaponry at my disposal. It's time to throw in the towel. We give up. It's either a dump truck full of fill-dirt or we scratch together enough money to replace all of our pool's mechanical equipment. Since a dump truck won't fit into the back yard (and I'm out voted 3 to 1), we're replacing the pool equipment, next Saturday. It's a spendy proposition. Do you hear the sound of our kitchen remodel disappearing? Those new, energy-efficient windows slipping from our grasp?
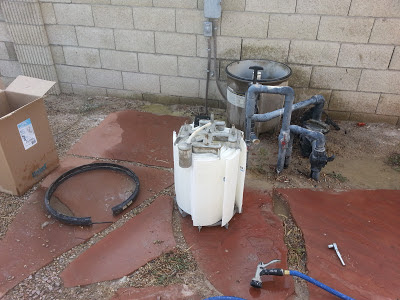
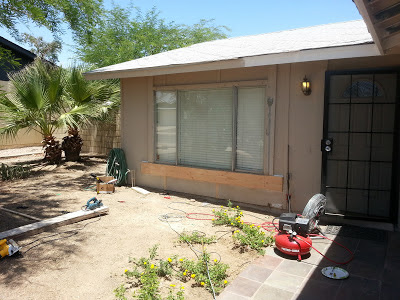
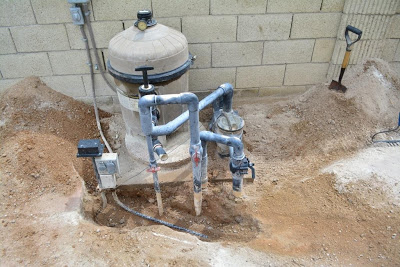
Even though I'd proclaimed it a no-project weekend, I started excavating the slab the equipment is sitting on. I thought I'd be nice and hopefully avoid the cost creep of having a pool tech digging at $80 / hour before dropping down a new slab. I dug it out pretty quickly.
Done!
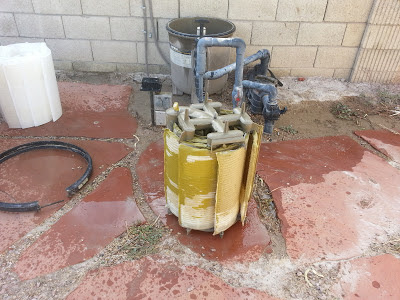
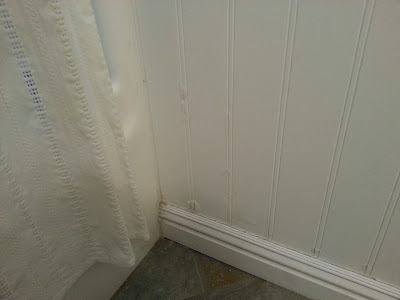
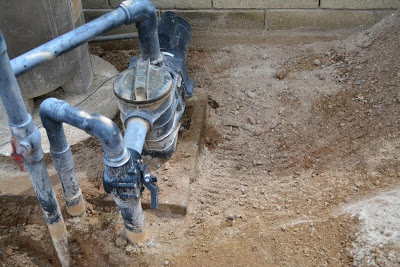
Of course, it wouldn't be a ripping good DIY Guy project experience if it ended as neatly as that, would it? Nope. Remember Murphy's Law, my friends. I noticed this little gem of awesomeness:
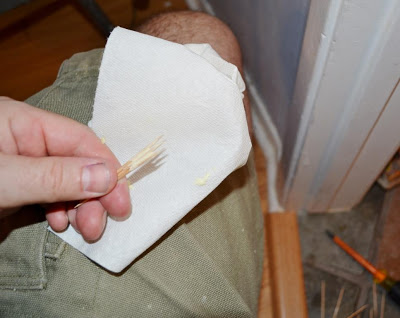
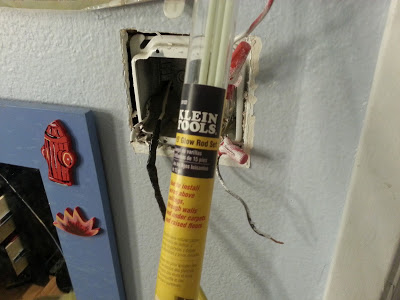
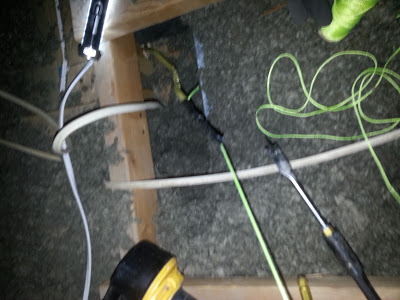
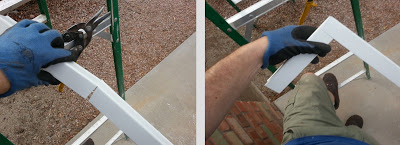
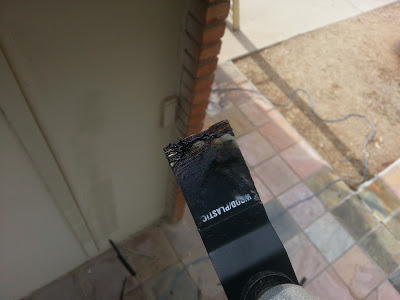
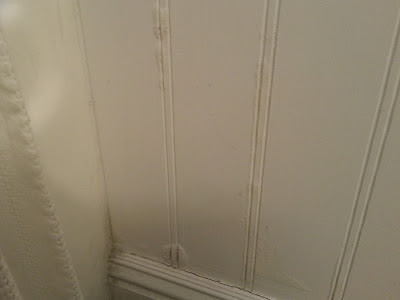
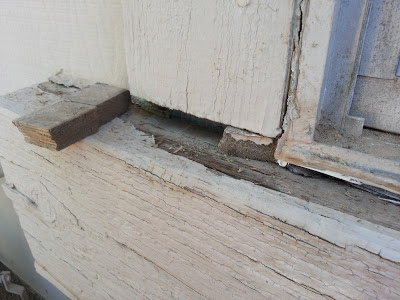
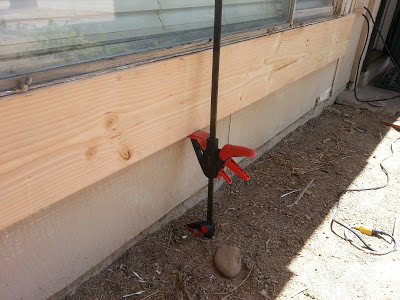
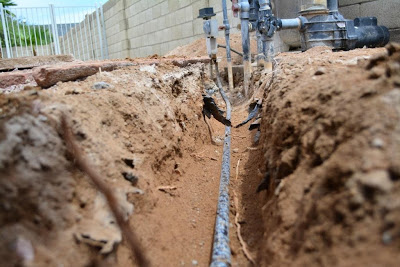
More expletives. There's no 90 degree elbow to unscrew. It's a full 10 foot stick of rigid metal, threaded
conduit, wrapped in corrosion preventing rubber tape. Awesome. Guess what else?!!! There's cement covering it too. Oh, joyous day!! But that's not all; there's a thunderstorm bearing down on me. Sweeeeeeeeeeeet, now this is a holiday, my friends!!! So much for BBQ, it's going to be a carryout pizza night.
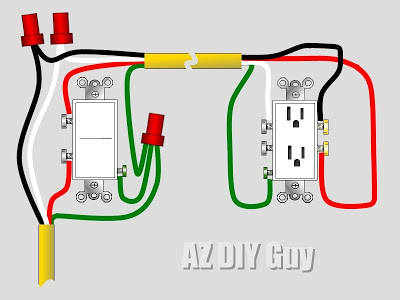
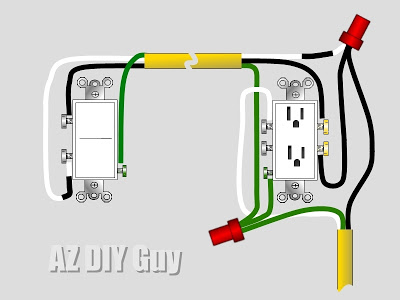
I put all the wiring back exactly the way it was before. I recommend you don't mess around with electrical near a pool if you're not really comfortable with it. Seriously, hire an electrician. There's a whole section of code devoted to it.
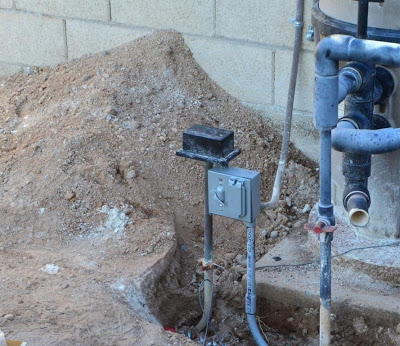

Even though I'd proclaimed it a no-project weekend, I started excavating the slab the equipment is sitting on. I thought I'd be nice and hopefully avoid the cost creep of having a pool tech digging at $80 / hour before dropping down a new slab. I dug it out pretty quickly.
 |
| One of the many leaks dribbling away. |
Of course, it wouldn't be a ripping good DIY Guy project experience if it ended as neatly as that, would it? Nope. Remember Murphy's Law, my friends. I noticed this little gem of awesomeness:
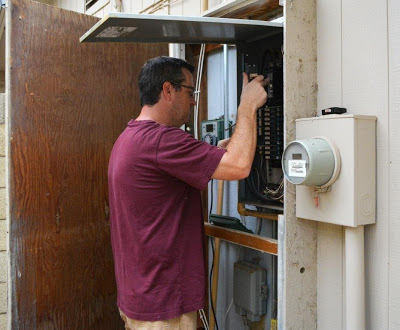
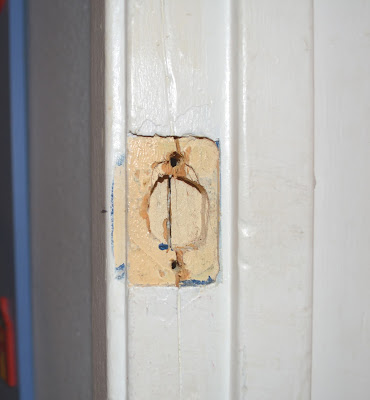
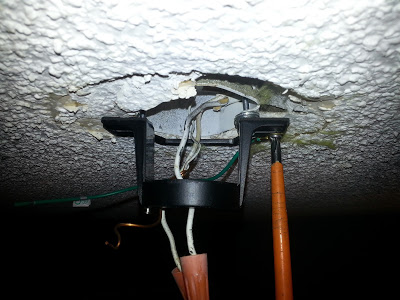
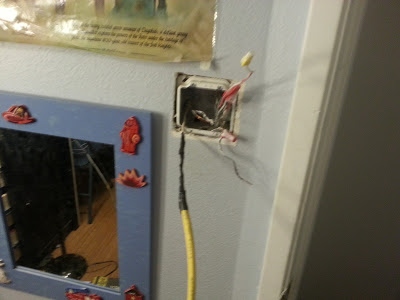
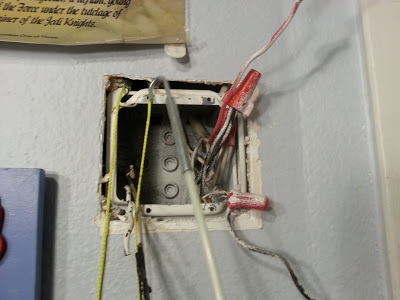
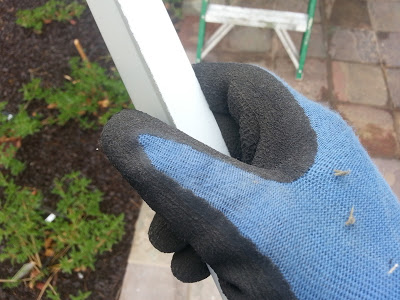
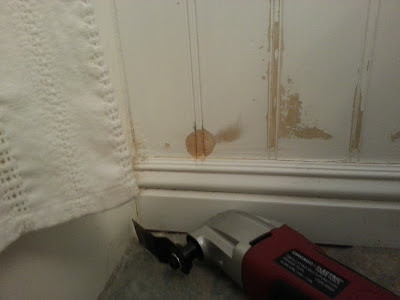
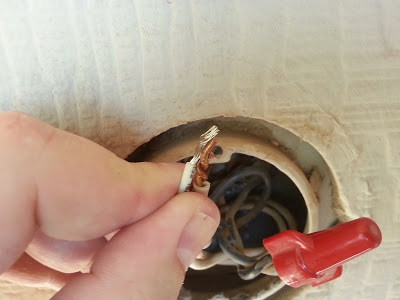
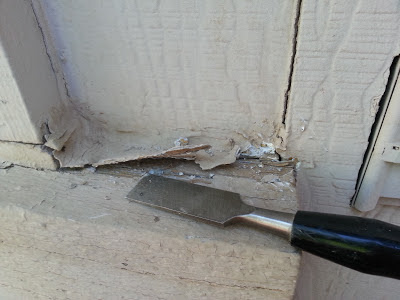
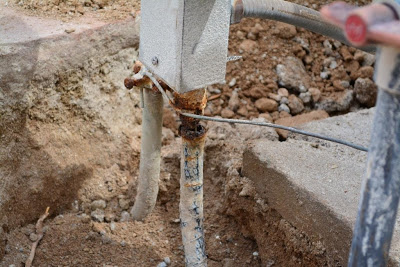
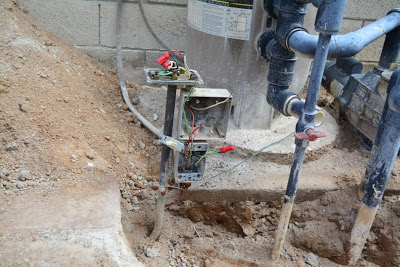
The electrical feed conduit is rusted completely through. This is the entry point for a 240 volt pump circuit and a 120 volt light and receptacle circuit, sitting next to 10,000 gallons of highly-conductive pool water where we run around barefoot and soaking wet. Professional electricians would call this condition, "not so good". I let a few choice expletives loose under my breath. I'd have to dig out the rigid conduit 90 degree elbow and replace it, maybe a couple fittings too. Skip the nap, but still, I'd be lighting the BBQ in no time.
 |
| "Don't you call me a mindless philosopher, you overweight glob of grease!" |
conduit, wrapped in corrosion preventing rubber tape. Awesome. Guess what else?!!! There's cement covering it too. Oh, joyous day!! But that's not all; there's a thunderstorm bearing down on me. Sweeeeeeeeeeeet, now this is a holiday, my friends!!! So much for BBQ, it's going to be a carryout pizza night.
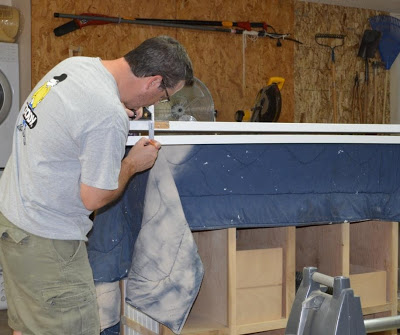
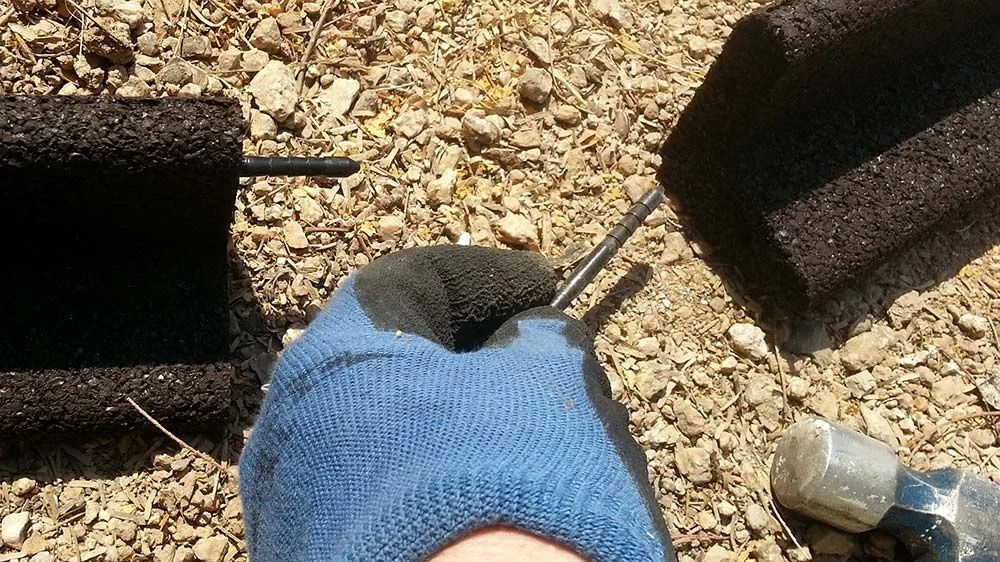
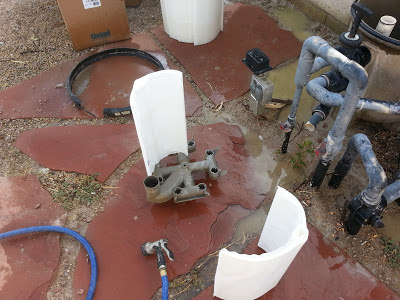
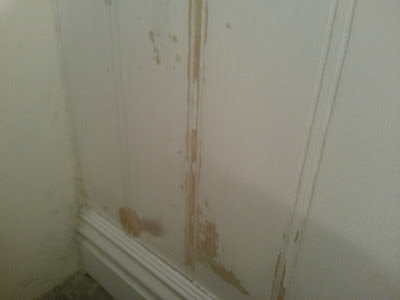
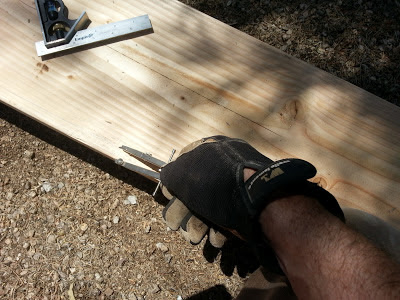
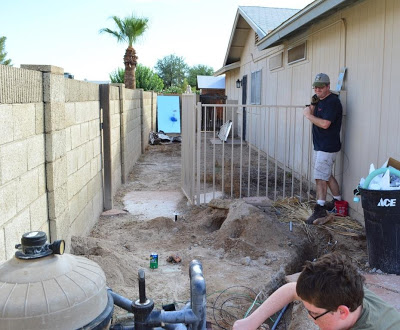
I managed to beat through the concrete with my sawed-off sledge hammer and scratch down to the conduit to a coupling using a mini-spade, on my hands and knees. My full size shovel is a flat-blade, not at suited for trenching. I was pretty miserable in the heat.
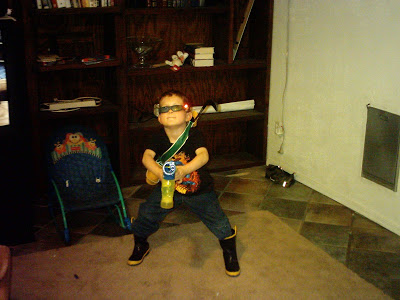
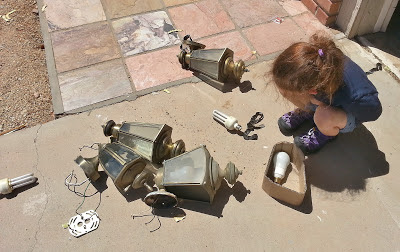
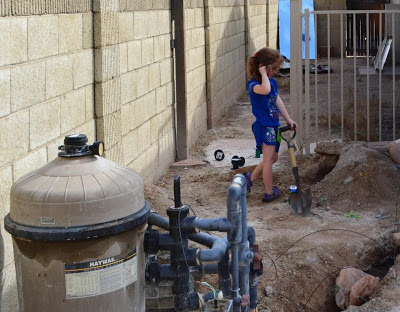
Gracie and her dinosaurs helped further, by recreating the excavation of the Tanis Map Room from Raiders of the Lost Ark. That mini spade is perfect for her diminutive stature.
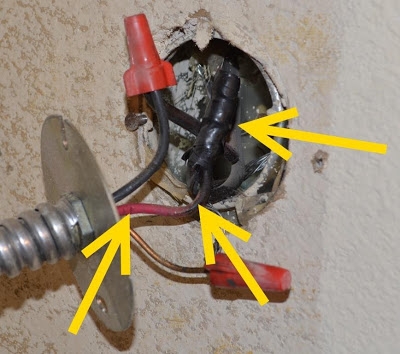
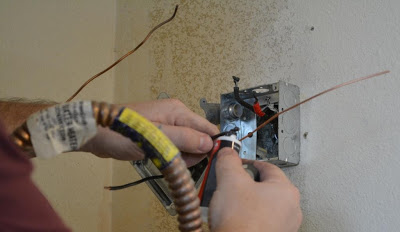
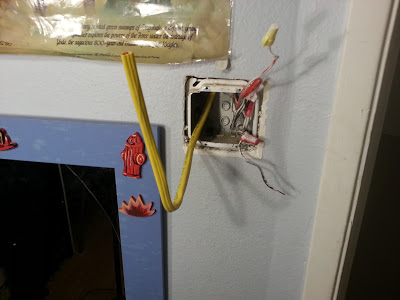
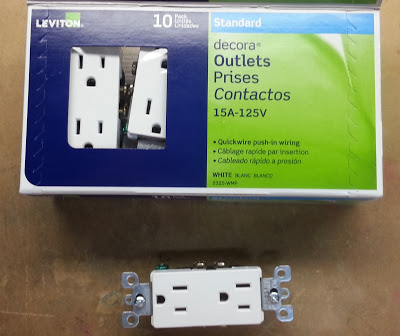
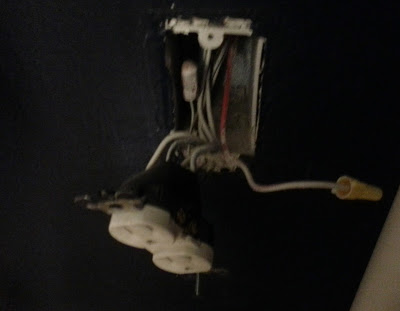
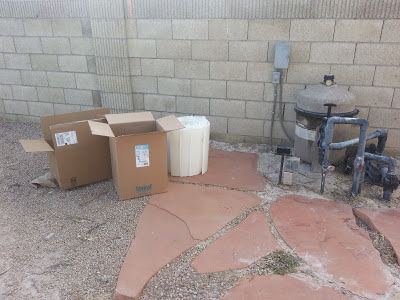
With the pipe out of the way, I pulled the nasty wire out; it would need to be replaced. The mess of junction boxes also needs to be replaced while I have it all torn apart. They're full of DE filter powder and rusted parts and the switch and plug are junk, all evidence of full water penetration. It's time for a shopping list and a trip to Home Depot.
 |
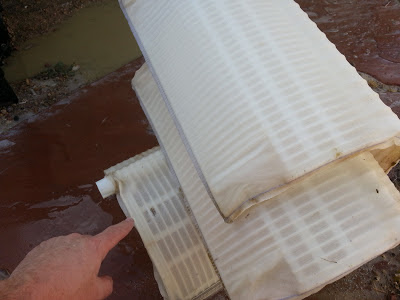
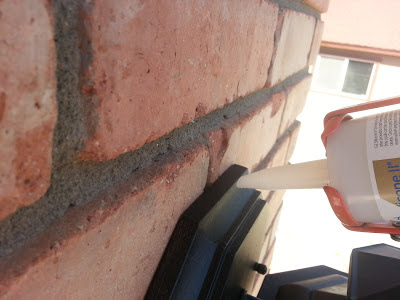
| The conduit on the left and the gounding box on top are brass, and in perfect condition. |
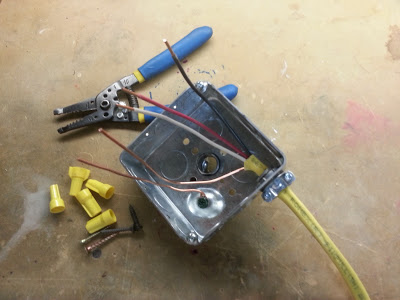
The thunderstorm blew in while I was in the store. Luckily, it moved through fast and didn't flood my trench. It simply introduced more delightful humidity. I brought home more than $ 120.00 of assorted loot to straighten out this rat's nest. It sure doesn't look like much stuff when I dump the bags.
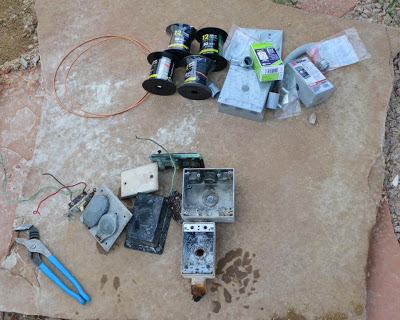 |
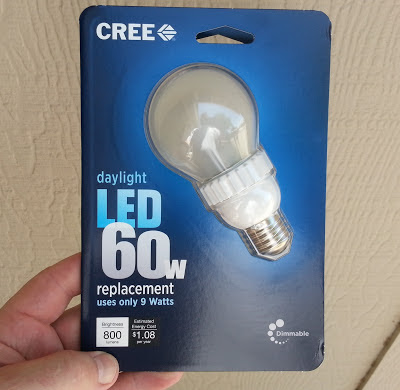
| Can you tell the new from the old? |
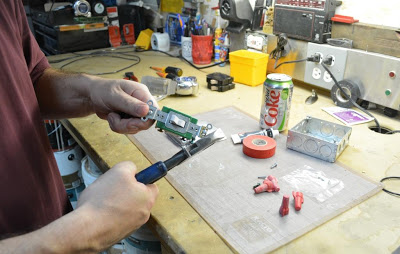
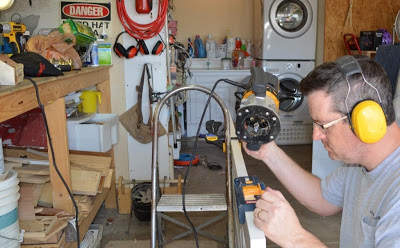
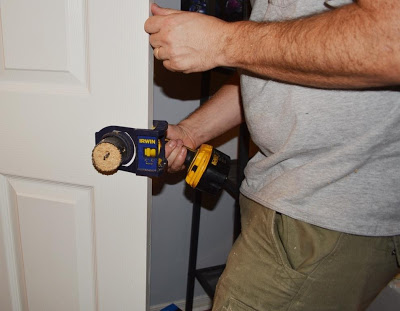
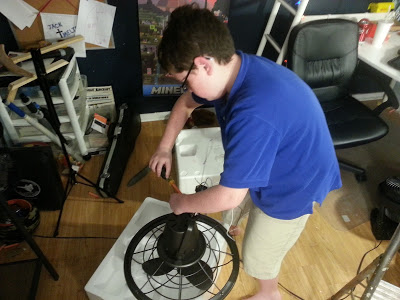
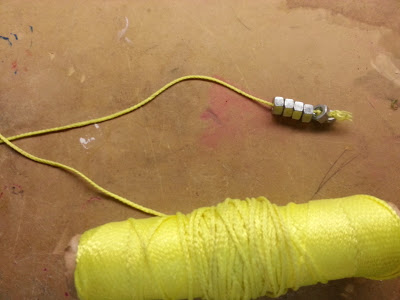
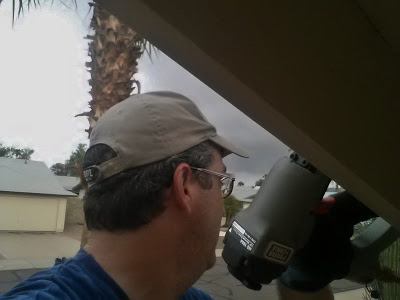
I re-jiggered the boxes a bit to neaten the installation and switched to PVC conduit to save cash, time, and corrosion. When it was time to pull wire through the conduit, I grabbed Jack to help by feed it, avoiding damage to the jacket, while I tugged the Fish Tape . Gracie lubed the wire with liquid dish soap to keep it sliding smoothly.
 |
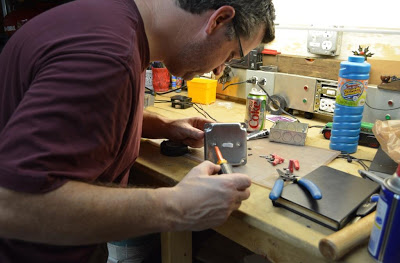
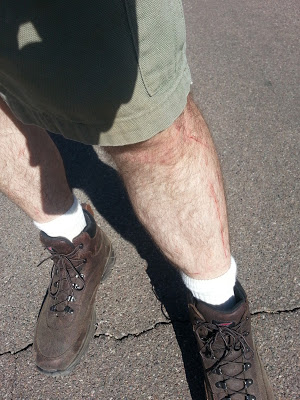
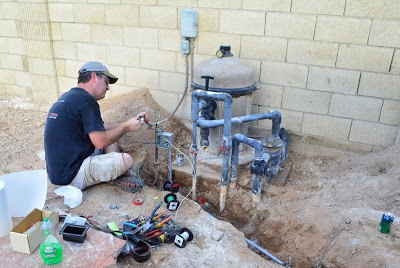
| 100 degrees and humid after the storm. It's not quite as fun as it sounds. |
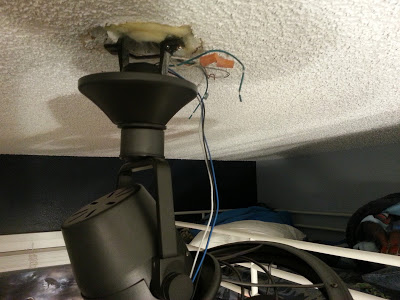
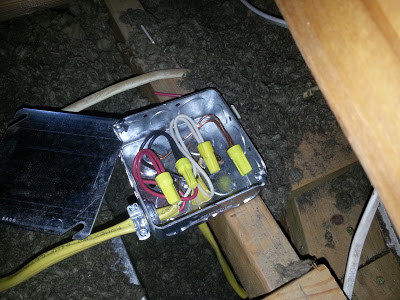
I put all the wiring back exactly the way it was before. I recommend you don't mess around with electrical near a pool if you're not really comfortable with it. Seriously, hire an electrician. There's a whole section of code devoted to it.
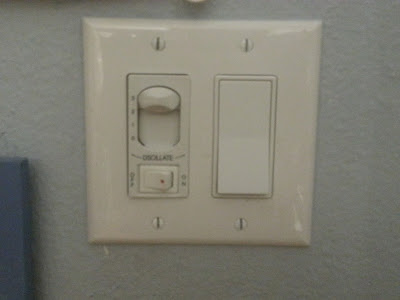
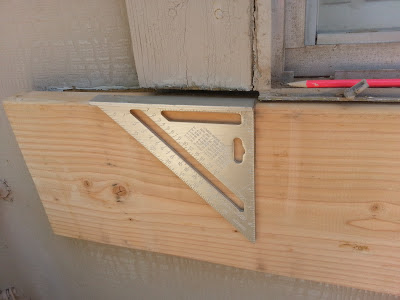
It's cleaned up, safe and fresh looking. The new junction box actually has a gasket and does not have the optional big drywall screws driven through it (as can be viewed with amazement in the second photo from the top). I installed a switched cover for the pool light rather than the flip-door style cover.
I filled in the trench with clean dirt, ensuring no rocks were anywhere near the PVC conduit. I soaked it down with the hose every few inches of dirt cover and compacted it. I don't want this caving in beneath the big paving stones later.
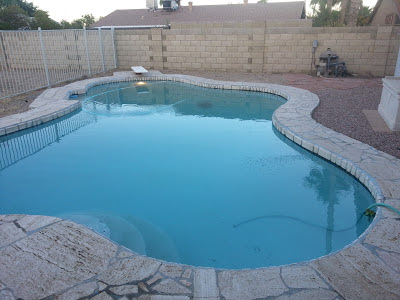
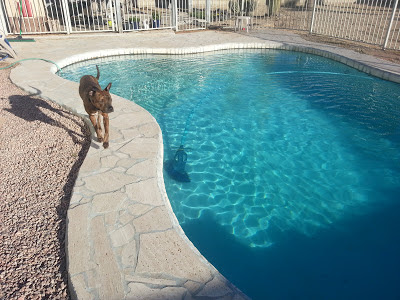
I'll clean up the area and leave it nice and accessible for the pool tech on Saturday. We are so ready to have this old, sucking money pit of a system replaced so I can spend my weekends doing productive projects (and actually swimming!), rather than repeatedly fighting the endless, loosing battle of the putrid swamp of Dagobah. Yep, I'm really ready for this crap to end.
 |
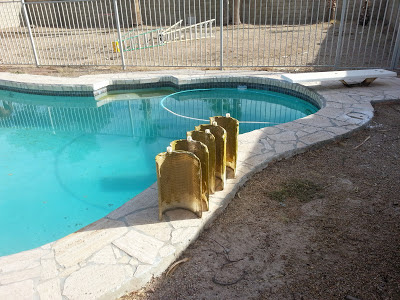
| Generally, you don't see pools this color outside St Patrick's Day |
I'm off to the pool store to stock up on some more chemical weapons.