

Patio Remodel: Episode 10
My plans of completing the new patio roof in the spring had laughably away in the ferocious attack of summer. I had torn off all semblances of shade overhead, leaving only the skeletal remains of the old frame and a flap of rolled roofing behind.

It kind of hurts the eye, doesn’t it?
The new patio cover would need something structurally solid to attach to, beyond the rafter tails so I decided to add a 2x10 screwed into the wall framing. It would also define the top with a nice edge to attach the rolled roofing to.
I snapped a chalk line and started a shallow cut in the siding, where the lower edge of the 2x10 would be. It became difficult to manage the saw and the oversize flap of roofing material. But I didn’t want to cut it off quite yet, with monsoon season still ravishing us with rain a couple nights a week.

Yeah, I still use an iPod.
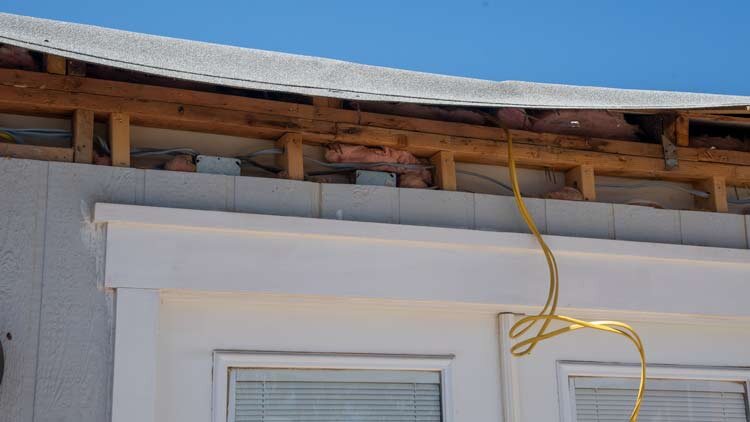
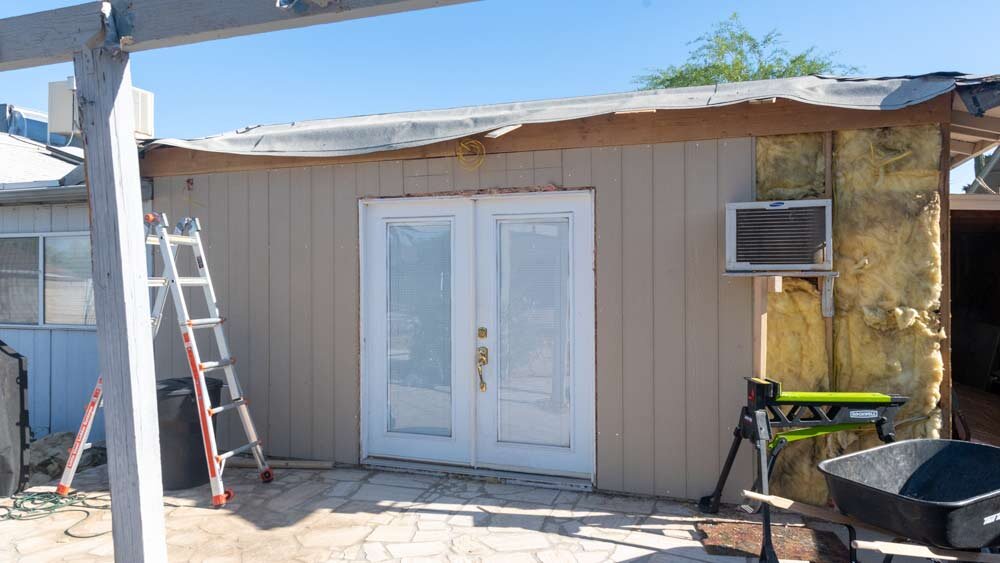
I stuffed lengths of scrap wood up under the flap, making a long, thing umbrella-like structure so I could complete the cut. I sliced the whole length of the wall.
The twin lengths of cable hanging in front of the door throughout this chapter are the switched feeds for future ceiling lights and fans.

A thin sliver of lovely shade.
That’s when it went sideways. My plans for the weekend whiffed away in a moment.
Not only did I nick a piece of live electrical cable, in a puff of smoke and flame, trip the circuit, and therefore knock out our internet, but I uncovered three, buried electrical junction boxes. The nicked wire was something I could easily fix, at least temporarily. The buried boxes were another thing entirely. That’s bad stuff, totally against code, and a nightmare to troubleshoot through if I (or some future owner) ever needed to work on that wall.
At first glance, they looked like splice boxes someone had hidden in there, rather than replace damaged wiring. I hoped I could simply yank that all out of there and fish a new length of cable from point to point, probably between that ugly, plastic wall light that never worked and one of the existing outlets.

Now THAT is an action shot!
It was not the case. I tried to trace the path of the circuit, finding it made no sense at all. It was being fed from several locations, effectively a circle. Why? That’s stupid and a little dangerous. I decided to tear off a section of the siding.

NOT a hidden door.
Electrical Spaghetti
It didn’t get any better. It was a mess of nonsensical wiring, cables black, white, blue, gray. From above I could see some yellow Romex I’d fished down to the switches on the inside, back when I redid the family room, years ago. I decided to pull another section of siding…

How it starts
… and the one after that. Nonsense, all of it.
I even ripped off all the door trim I’d installed not too long ago.

This is gonna be fun! …and costly.
Project Creep
So much for progression on the patio. Project creep had me by the very throat, and it wouldn’t release for weeks.

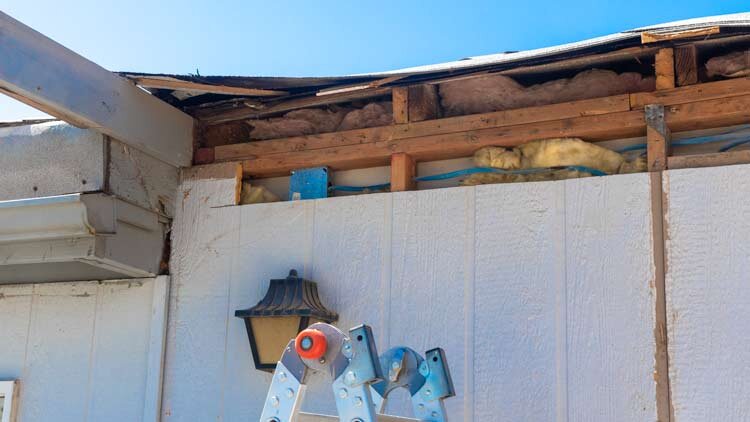
It’s going to need some insulation too.
This part of the house was an addition, probably done in the mid 1980s soon after the house was built. I’d found so much nonsense when I’d remodeled the family room inside, I don’t know why I was surprised to find it in this wall.
The family room remodel was the saga that launched this blog, back in 2012 if you can believe it. Check it out here, if you are into ancient history and a certain Arizona do-it-yourselfer without quite so much gray hair: The Great Family Room Remodel
I yanked all of the old wiring out of the wall. There was miles of it, zig-zagging back and forth, fed from east and west. NONSENSE!!!

It didn’t take too long for me to rewire it, replacing the triple pass above the door wit a single run.

Rewired goodness.
There were two circuits in the wall. One had handled the exterior wall light and receptacles, while the other powered the window AC that provides supplemental cooling to the family room. I added an extension to the AC circuit, hopefully for a future mini-unit, around the corner.

Meanwhile, around the corner
With the electrical roughed in, I decided to put the 2x10 up, so I could see where the wiring was and avoid screwing into it. The roofline would be affected in the corner, so I chopped off the part that would interfere.

More demolition
A temporary piece of scrap supported the big, 10 foot long board while I manhandled it into place.
Stuff like this can be tough to do solo, so you have to come up with tricks.

“8 ball corner pocket”
I fastened the 2x10 to the framing with some heavy, self-drilling screws at multiple points along its length.

Twenty feet from the end, I had to chop into the weird roofing detail between the family room and the office. The office was another, earlier addition, possibly the extension of the original back porch, we think. It’s just a weird house.

The modified Captain Morgan stance.
To follow that weird roof line detail, I had to lop off a piece to the second 2x10. It provided a perfect opportunity to capture a spectacular underhanded lob towards the trash pile for you.

This one is going to get me a Pulitzer.
Twenty feet of 2x10 goodness was up and sturdily attached. I left it open while I traipsed around town trying to find siding. It was tough stuff to find, due to supply chain issues.

Re-Skinning the wall
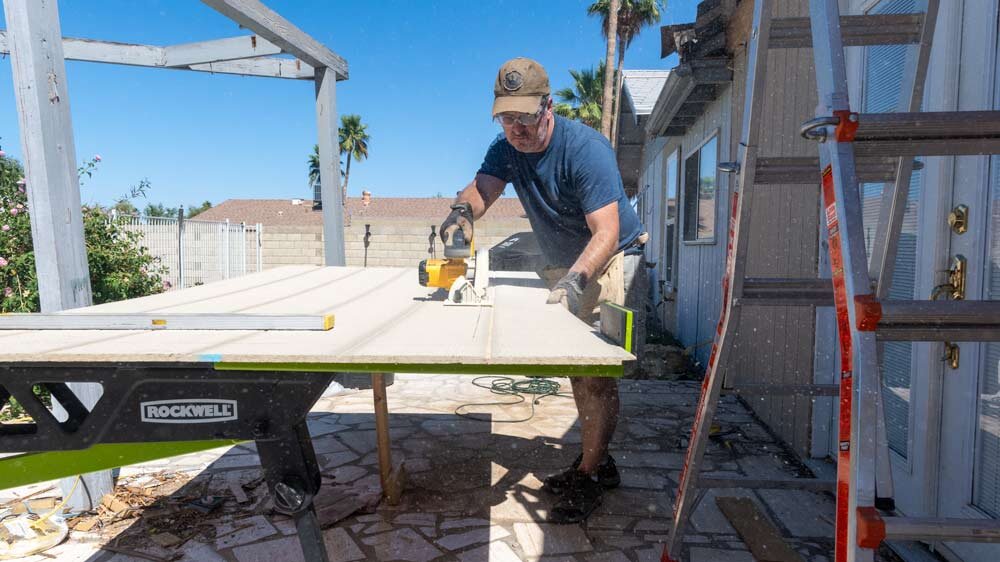
I lugged several sheets of primed siding from the truck and set up the Jawhorse. They’d all have to be trimmed to fit.

I started with the electrical cutouts using the Oscillating Multi-Tool. I’d located a GFCI location at each end of the wall and a second outlet above each of them, for hanging lights or maybe an outdoor television someday.
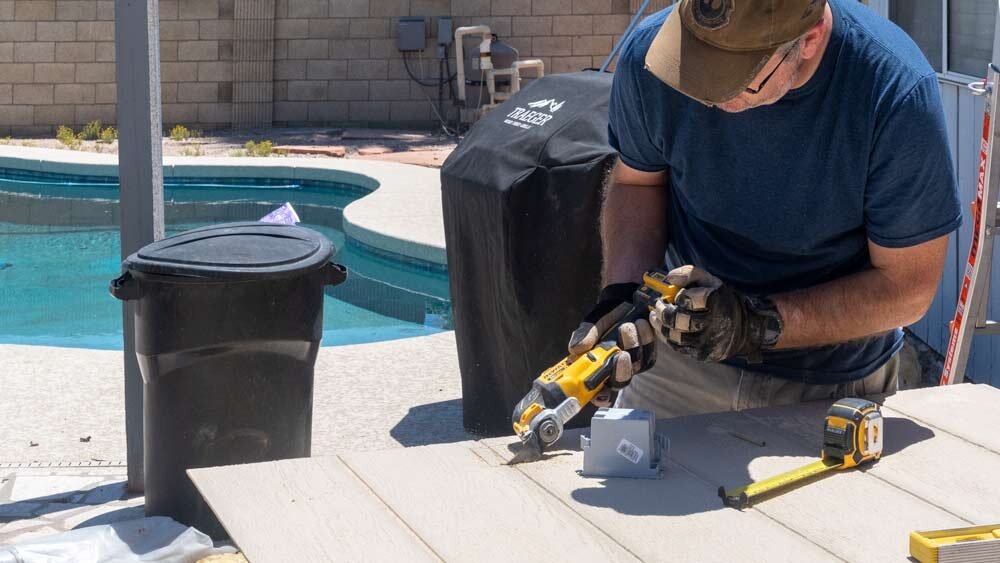
It’s still one of my favorite tools.
I nailed the first sheet up in place. It’s odd, I’d never painted the back of the house since I’d always wanted to do work back there, like window replacement. The new siding pieces came primed, nearly the same color as the rest of the house. I’m going to have to get painting once I finish the patio.

I fluffed and tucked fresh insulation into the open spots along the wall before covered it up with its fresh, new skin.

I did this part of the project with a measure, mark, remeasure approach. Each sheet of siding was in the mid $30 range, plus it was hard to find at the time. I couldn’t afford an error, like reversing a cut-out.
I do love cordless tools.
It was already looking a lot better, without the old doggy-door patch and other patches. I just wish we had the time and money to remove the window AC unit and install one of those sweet, ductless mini-split units. I’ll have to get back into it sometime down the road.
That’s it for a weekend. I’d nearly wrangled the project creep genie back into its lamp. I’d still need to install the electrical devices and trim, but I could pick away at that.

I’ll nail that flap down to keep out the weather.