

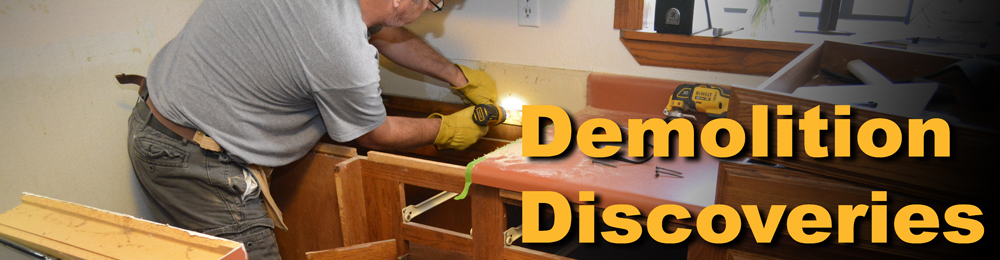
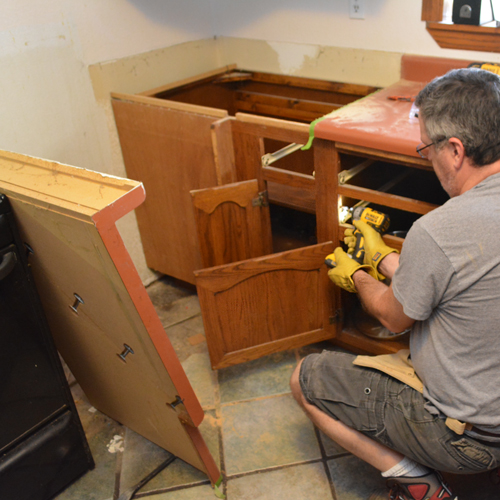
I'm wrapping up the demo of the south wall of our kitchen cabinets. In the process, I've uncovered more nonsense and surprises left behind from my DIY predecessors.
Who ever these people were, they were obviously drunken, cross-eyed cheapskates with a penchant for half-assery, forgoing any semblance of performing quality work. In that mindset, they preceded me in doctoring this old house.
I spend a lot of time re-working their "improvements" from the 80's and 90's before I can move into my own.
Ready for a steady stream of nonsense? This small section of demolition revealed more than a normal share of landmines per square foot for me to find. Indeed, once again, I've started to uncover scary crap that someone actually did to their own house. I'm discovering time capsules of ineptitude.
Discovery #1: Screw this!
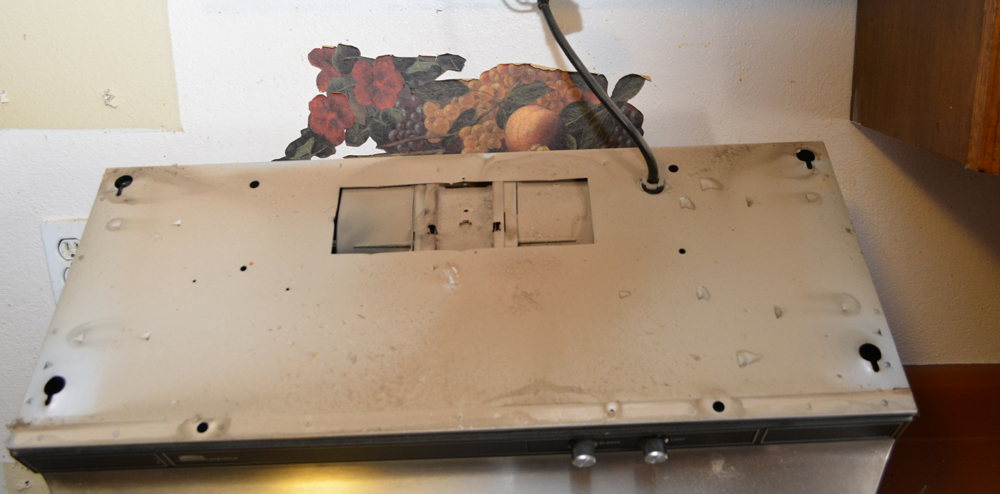
I pulled the exhaust hood covers off to discover an unused paper-backed packet of original mounting screws that has been baking above the range for the past 30 years or so. The hood was barely held in place by the heads of thin drywall screws.


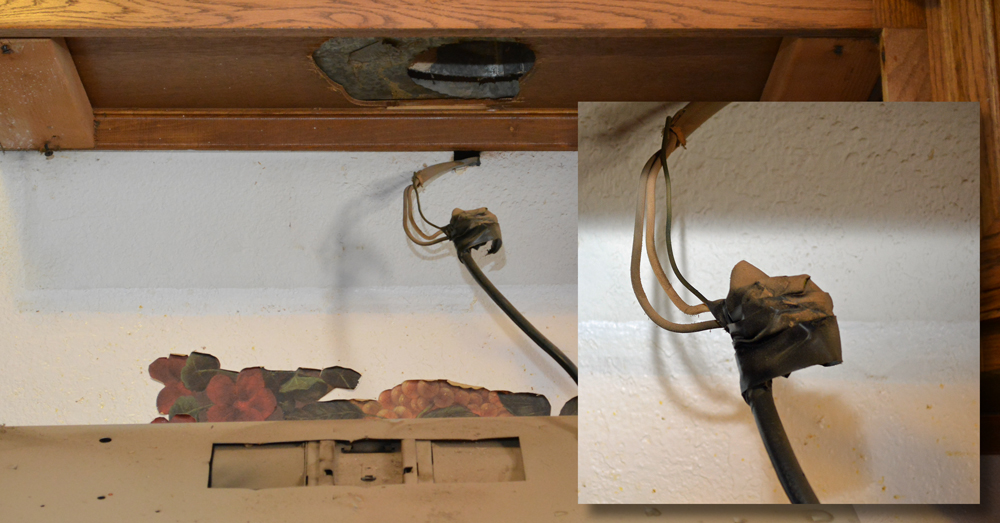
Discovery #2: Codebreaker
The wiring for the exhaust fan was laying on top of the hood in a void above the unit. It should have been sealed up properly in a junction box or in the wiring area of the unit, not in a floating splice covered with crispy, baked electrical tape and surrounded by crisp, dry (flammable) wood, grease residue, and dust. Not cool. Not up to code.
This find was coupled with...
Discovery #3:- The Grease Trap
The fan blower wasn't attached to the exhaust vent, it was simply in the vicinity. Close enough to let a bit of wind go up the pipe, but not close enough to prevent it from swirling around and creating a mess in that void below the cabinet.
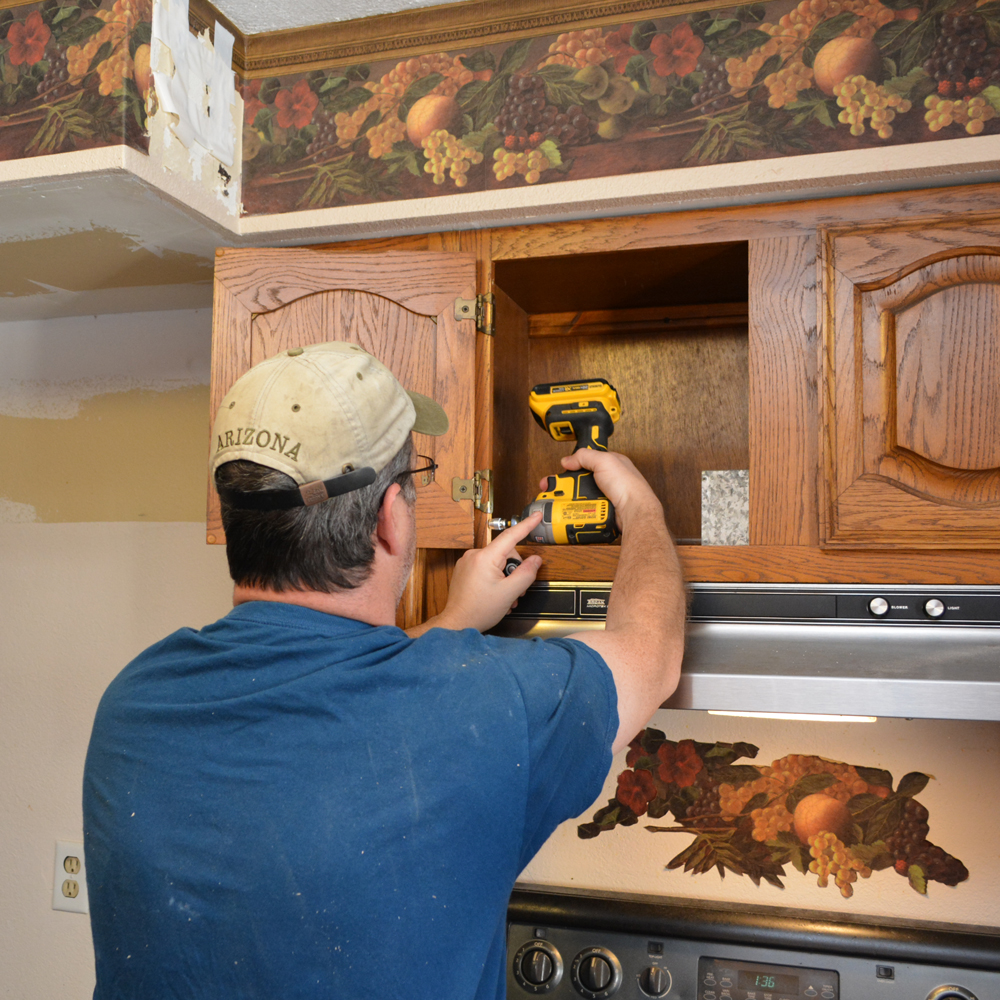
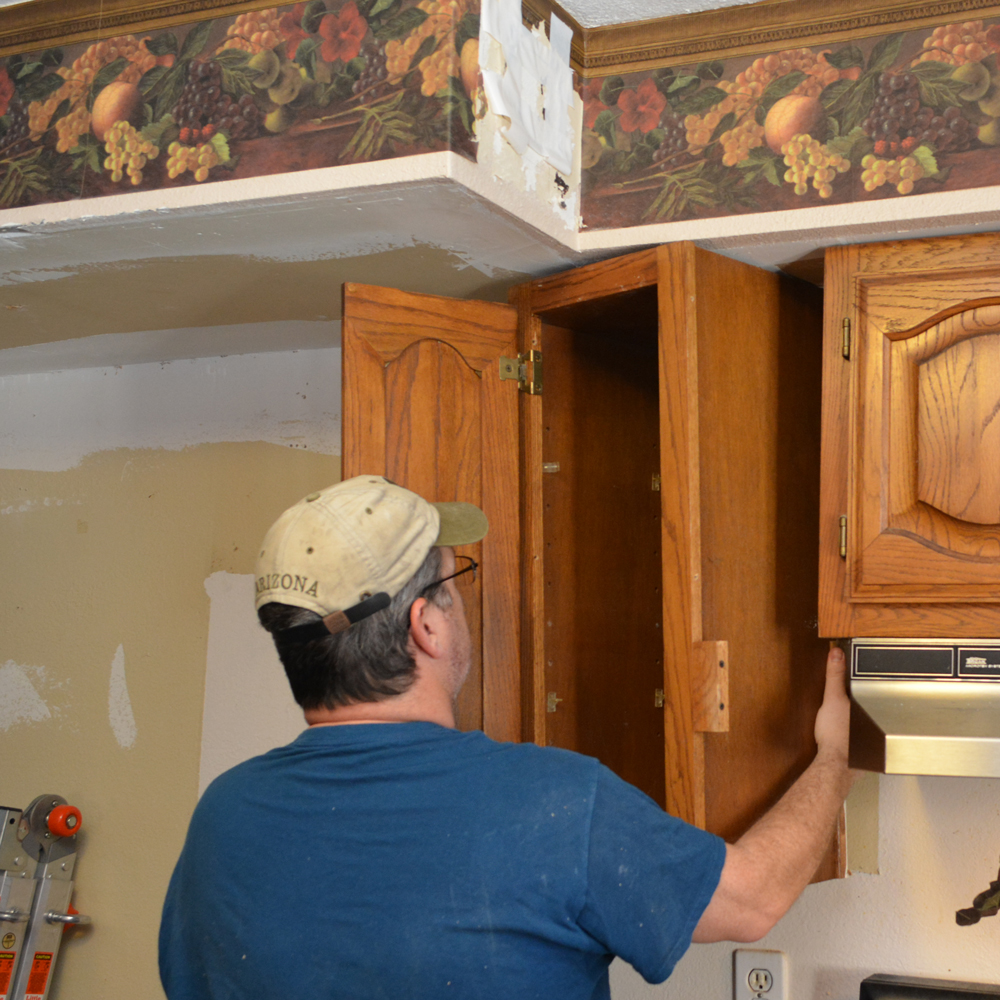
The upper cabinet, where we had formerly kept our cooking spices came down next.
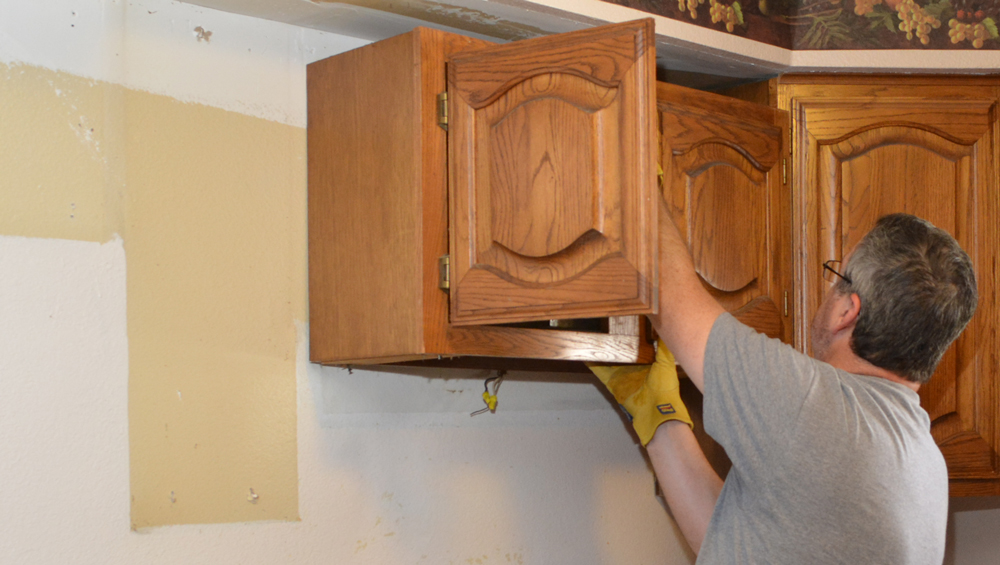
Discovery #4: The Loose Connection
A metal exhaust box inside the cabinet was loosely laid in there, not attached to anything. The vertical stack was somewhat touching it. Somewhat. No wonder our spice containers always had a little dusty, crusty outer coating. We've been venting a bit of our cooking into the cabinet . Lovely.
Discovery #5: The Tunnel to Nowhere
We weren't just venting into the cabinet; a quick glance up and I was looking at the underside of the roof, two feet above the unexpected end of this chimney. Whatever cooking exhaust made it through the leaky contraption below, spewed into the attic, not the outdoors.
Discovery #6: Wiring like a boss
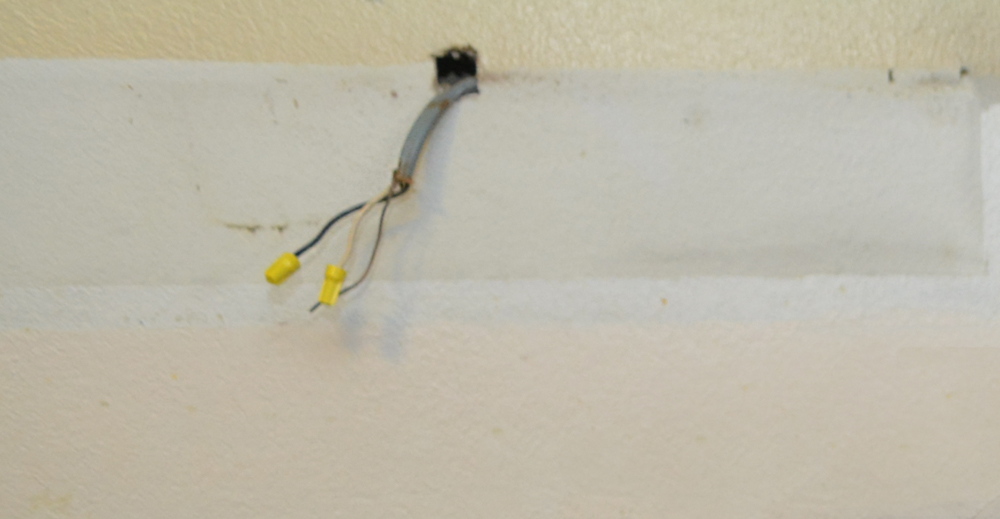
The power cable that was poking out through the wall to feed this shabbily installed vent hood was a color and type I'd not found anywhere else in the house. It was fed downward in the wall instead of up to the attic like I would have suspected.
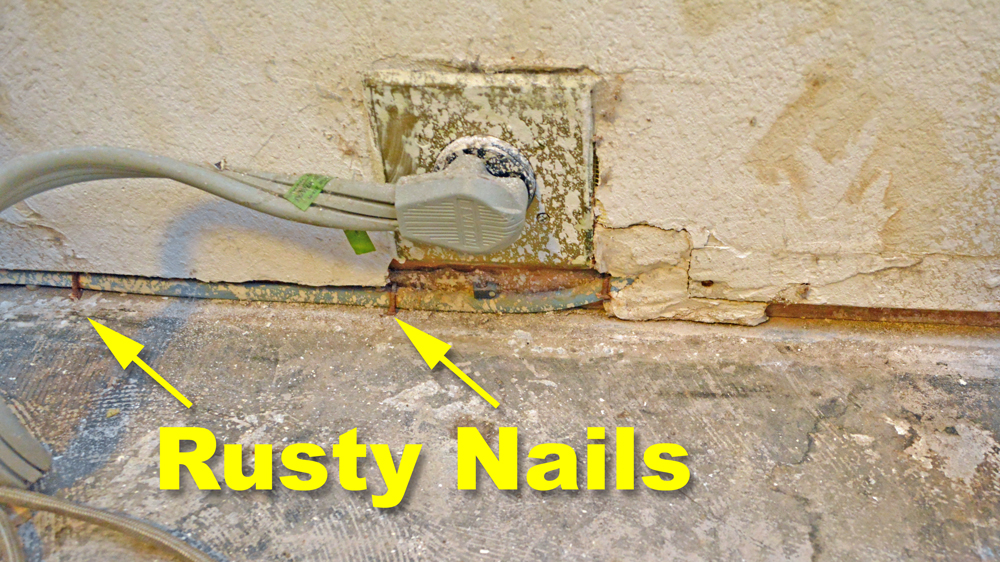
Nothing wrong with that direction I suppose, it's just unusual in a house without a basement. Usually you fish a wire up to the attic, then back down to another outlet location to tap onto a circuit. The attic in this location is very accessible Of course, in this house it doesn't matter; the easy (unsafe) way always prevails. I found that they had dropped the cable down, poked it out, and run it along the base plate below the drywall.
They managed to hold it in place by pounding some nails and bending them over. In some places they pinched the cable tight enough to crease it. I love a wire damage in the house I sleep in.
Discovery #6: Untapped Potential
This last one is silly, but it looks like it's going to benefit me. But first, some background.
To utilize the refrigerator's water dispenser and icemaker function, there is a braided waterline fished all the way around the kitchen. It's multiple sections, coupled together and fed thoguh the cabinets. It connects the refrigerator and the water source under the sink. It runs all the way from one tip of the U-shaped kitchen to the other.
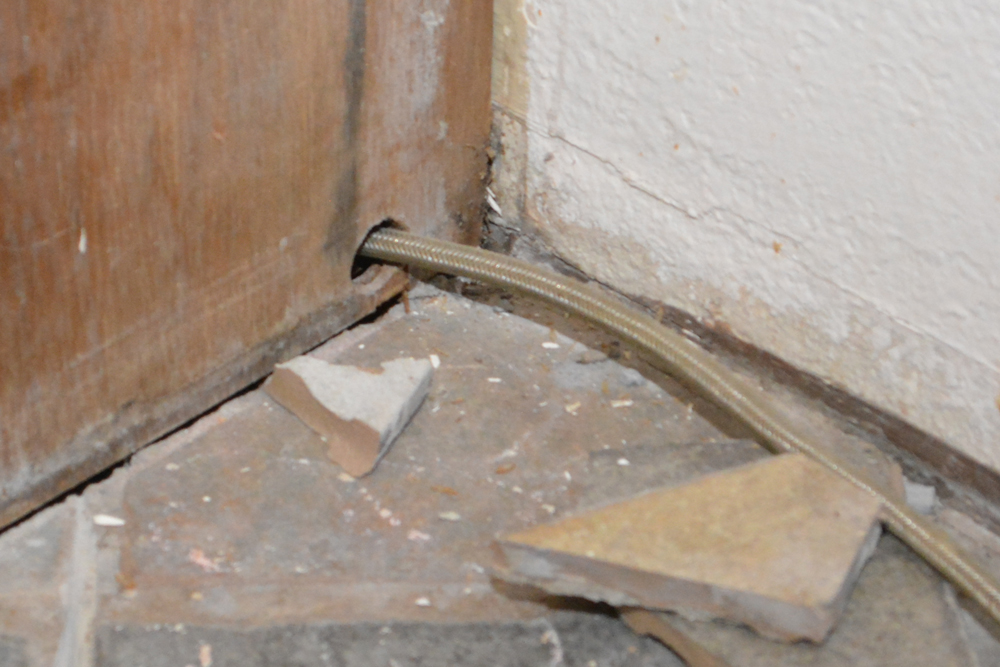

Since we'd be adding a door and cutting off this Around the Kitchen in 80 Days route, I'll have to run a new water line for the 'fridge overhead through the attic or in the wall, along the same circuitous route. I guess they did the best they could with this braided line idea.
But... more on that in a second.
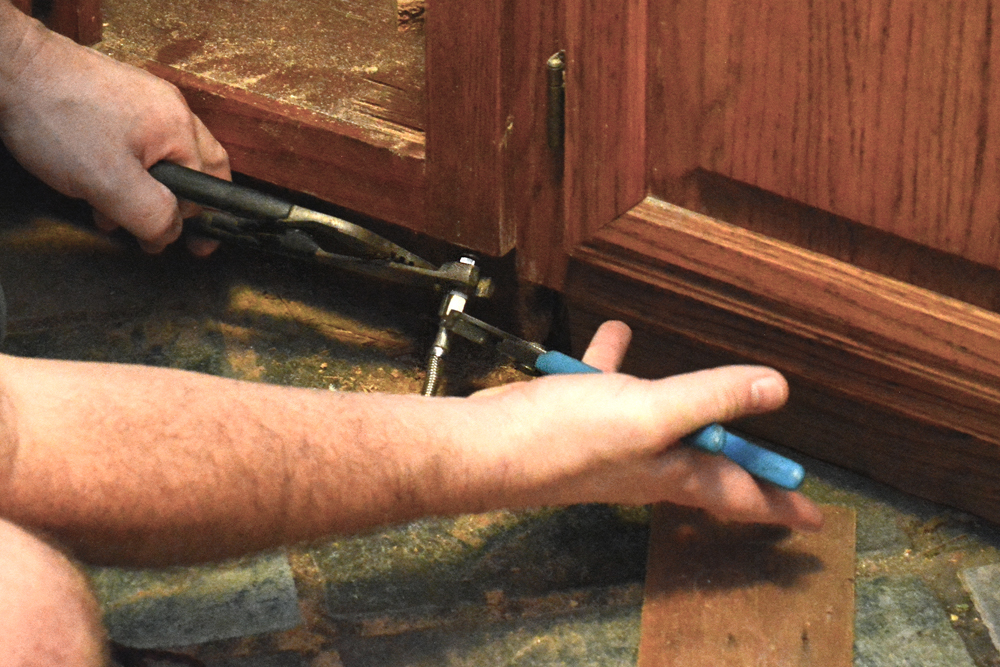
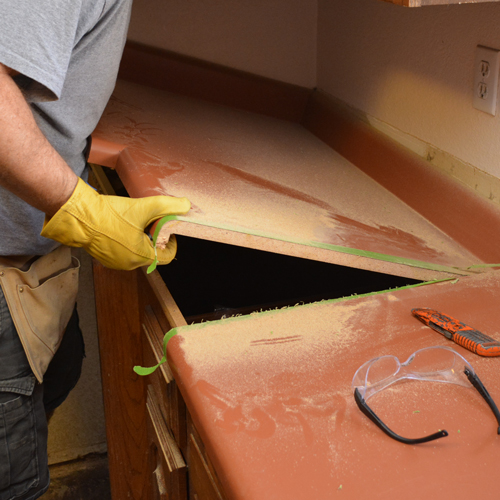
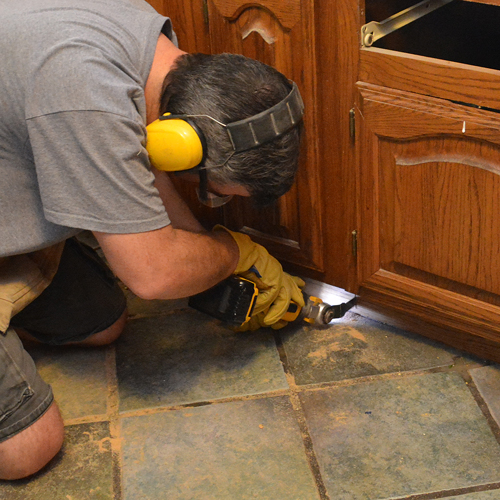
Since I'm trying to do this remodel in sections, I wanted to pull a corner cabinet out without demolishing too much of the other pieces under the common countertop. I made a quick slice through the countertop with a circular saw. This was the first outing of my upgraded 20 volt Dewalt Cordless. It's a ripper alright.

Taped up to reduce splintering of the old lamiate top.
To get at the corner I stabbed it with the Oscillating Multi Tool to nip the bit that the circular couldn't reach.

Like Butter
After a little more unscrewing, cutting, and grunting I pulled the corner cabinet...
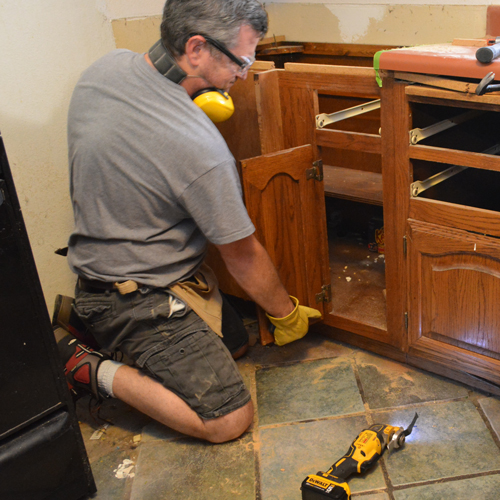
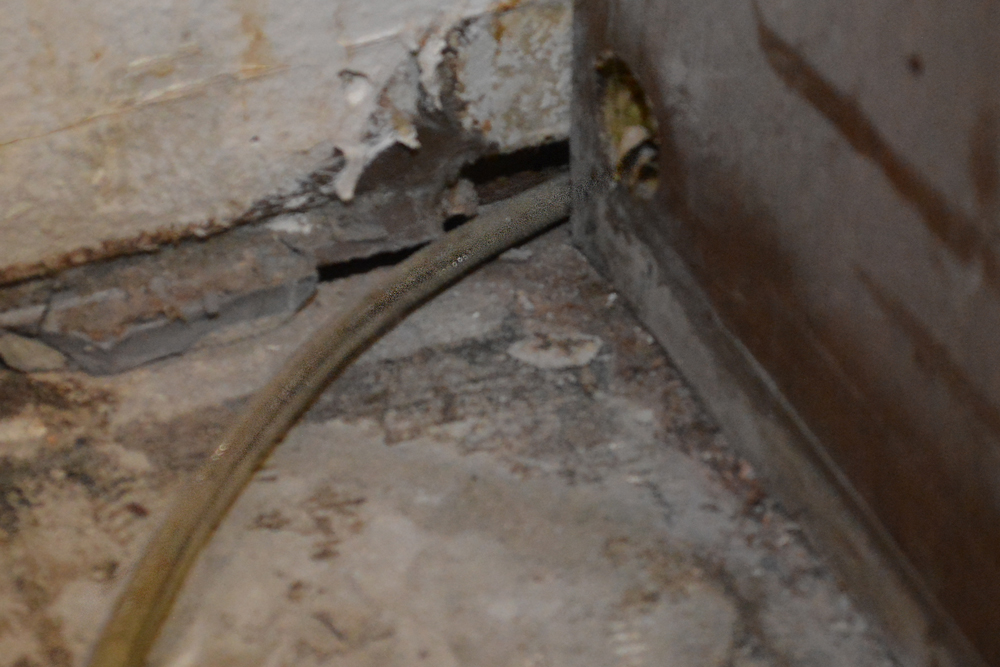
... and discovered an abandoned water valve, with the 1/4" fitting for a water hookup. This thing had probably been abandoned between two previous owner's remodels of our Franken-kitchen. Using it would have saved 15 feet of water line fished through the cabinets and drooping in front of the toe kicks.


It had been nestled under a shelf in the cabinet, rusting unseen amid cobwebs and crud.
Rusting?
Discovery #7 - Years of drip,...drip,.. drip...
Yes friends, the valve wasn't completely turned off when it was abandoned. water was pooled neatly at the top of the 1/4 fitting at the top, and lightly wetting the area. I gave the valve almost a full clockwise turn to snug it to fully off. It wan't a gusher of a leak, but a decade or two of slow seeping had delaminated the paint from the wall and damaged the wood at the base of the cabinets.

Particle Board + Water + Time = Bleeeeehhhhh!
Discovery #8 - No Home On the Range
I'm going to have to move the receptacle for the range. I figured I'd put a junction box behind the fridge and run a cable to extend the power about 5 feet to the left where the new stove will sit.
Of course that was before I looked at the wiring feeding the outlet. It's fed with #6 wire, which is absolutely perfect for the 50 amp recepticepticle and breaker,...if it is copper wire.
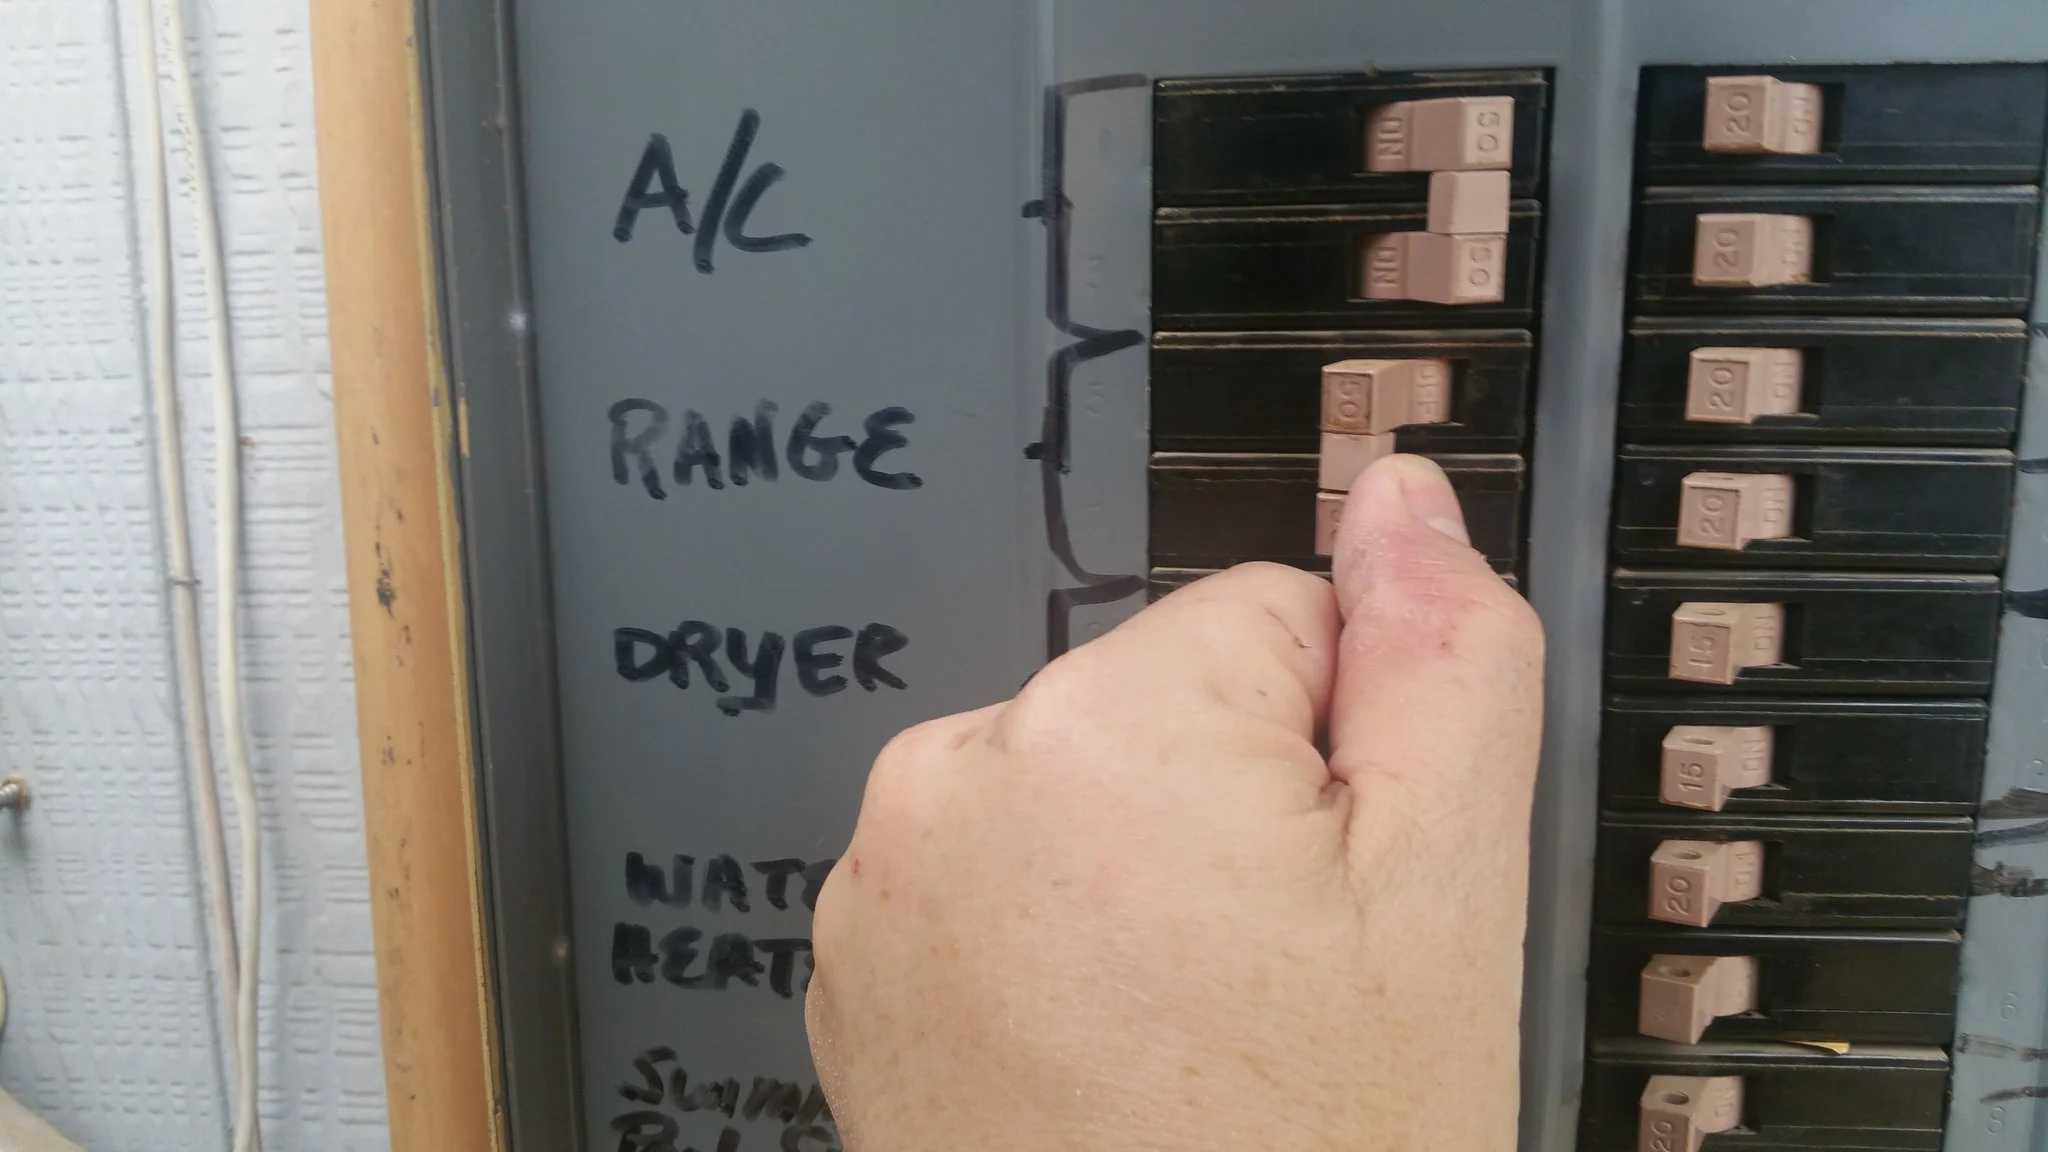
Dang it. They used aluminum. That probably should have been #4, the next larger size up. Aluminum can't safely carry the same ampacity as copper using the same wire gauge. What this means is that the circuit breaker can't adequately protect the circuit. Most jurisdictions recommend #6 copper for a 60 amp range circuit. I'll have to change it; it will take a new (expensive) #6 AWG 4 wire cable, all the way to the panel.
Agghh. Lots to do. I'll probably run that waterline next. Who knows what else I'll uncover as this project unfolds. Stay tuned Friends!
If you missed a post, or picked up in the middle of the adventure, all the nail-biting kitchen remodel adventures can be found here:
Do you ever find scary DIY stuff left behind by your predecessors, or is it just me? I'd love to hear about it in the comments below. Share a photo too if you have one!