

I’m going to go on the record and state that I like boobs. (THAT’S how you start a blog post!)
Now that I’ve gone public with my controversial, yet heartfelt, pro-boob stance, it doesn’t mean I want to commemorate that fact any longer with a viking opera-singer, breastplate boob-light in the center of our kitchen ceiling.
KITCHEN REMODEL: EPISODE 35
It’s real and it’s spectacular
Sorry Brunhilde, time to sing your last song, because it’s over.

Photo: Kaptain Kobold (Some rights reserved)
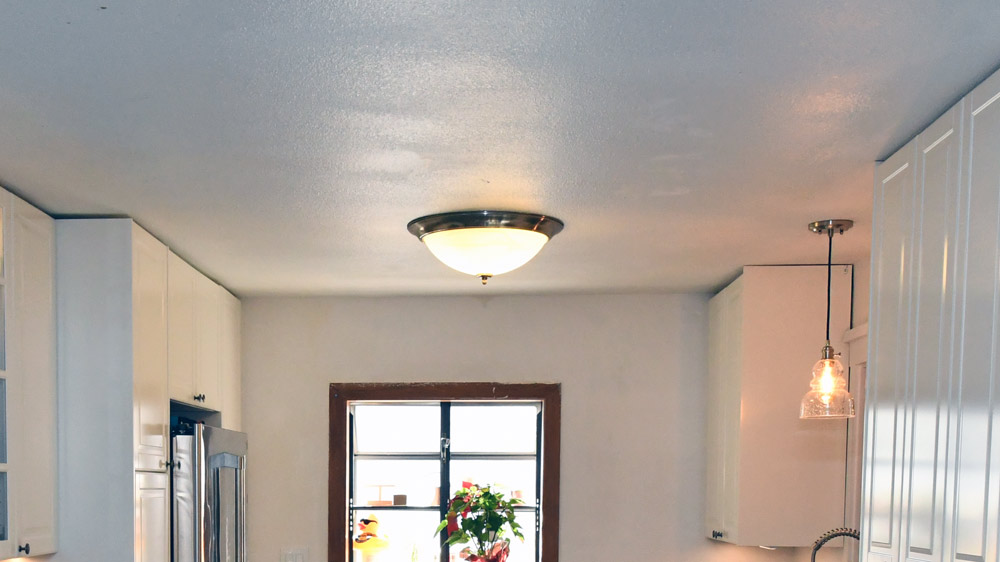
The mostly remodeled kitchen is lighter and brighter than it was, but it’s still too dim. The main boob-light fixture is a dated, dome light with twin 26 watt fluorescent lamps. We wanted to replace it with some nice, dimmable LED can lights.
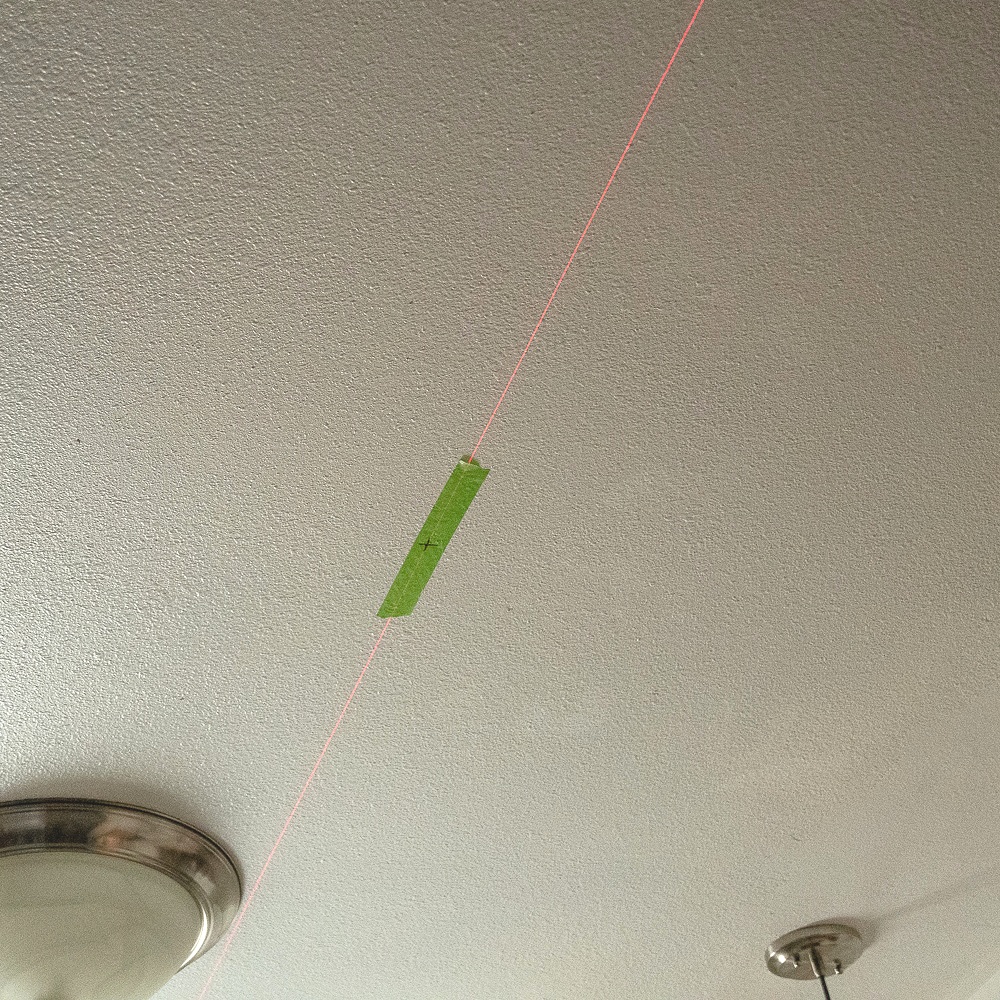
Can Light Layout
I laid out the location for the lights on the floor, measuring off the base cabinets and walls. With each location pinpointed with an “X marks the spot” on masking tape, I lined up my laser across a row, which shot a line onto the ceiling.

The laser moved several times, to lines for the long row and three lines for the horizontal rows. I traced the red line intersections onto the ceiling. I used tape again, just in case I wanted to move the locations once I could see how they laid out.
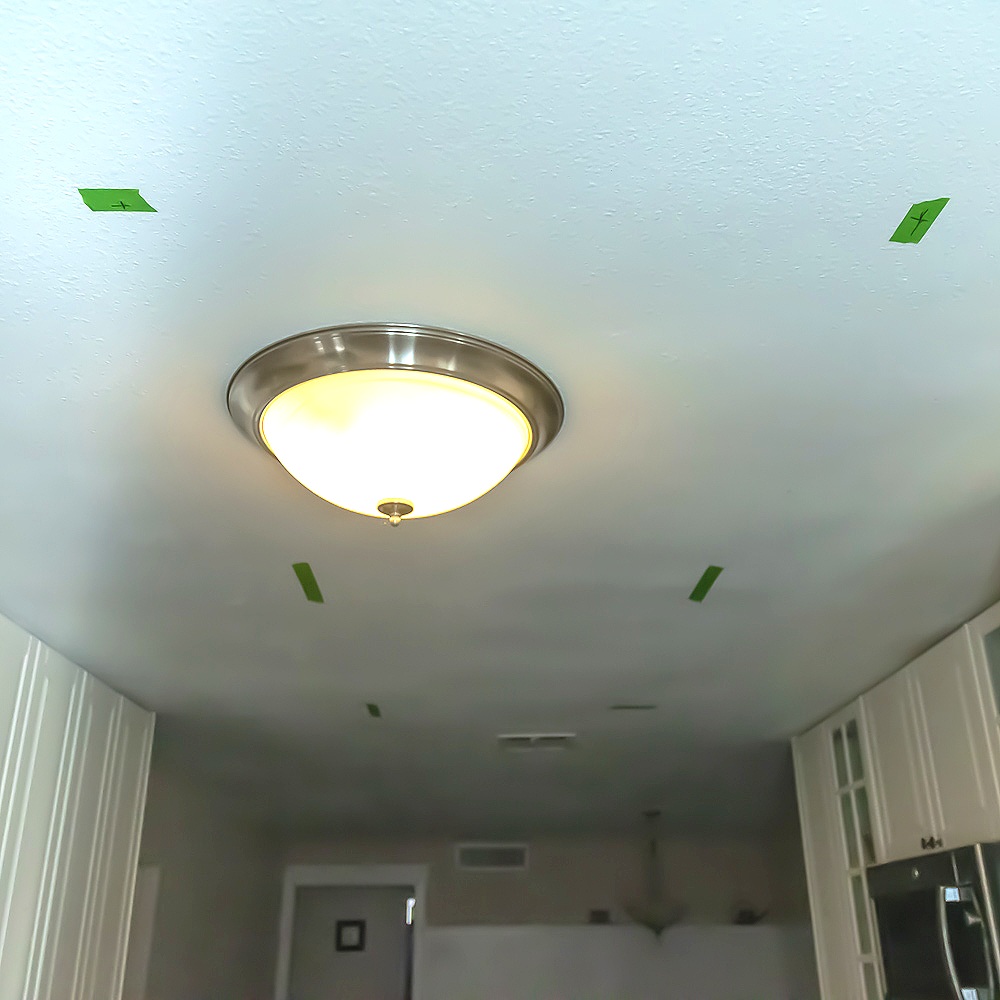
If I was using a normal, deep can light fixture housing, I’d really have to look out for ceiling framing that might interfere. Instead I was using these thin, LED downlights, that were the same thickness as the drywall ceiling. I’d step right out of the 1970’s into modern times.

- Rufus
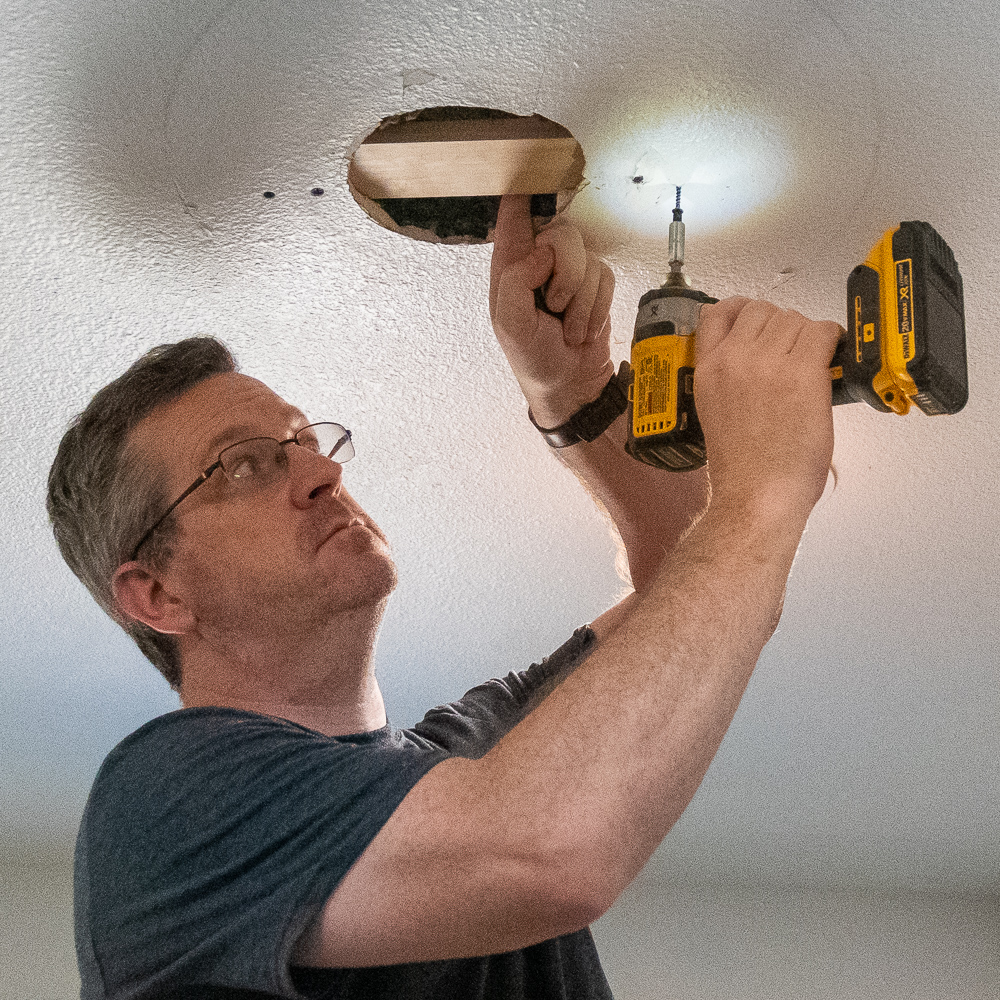
The box includes a circle template and instructions to cut out the hole with a drywall saw. I have just the animal, a double toothed beast, that rips through sheetrock with ease. It would shower me with bits of plaster, insulation, and perhaps, if I’m unlucky... long expired avians.
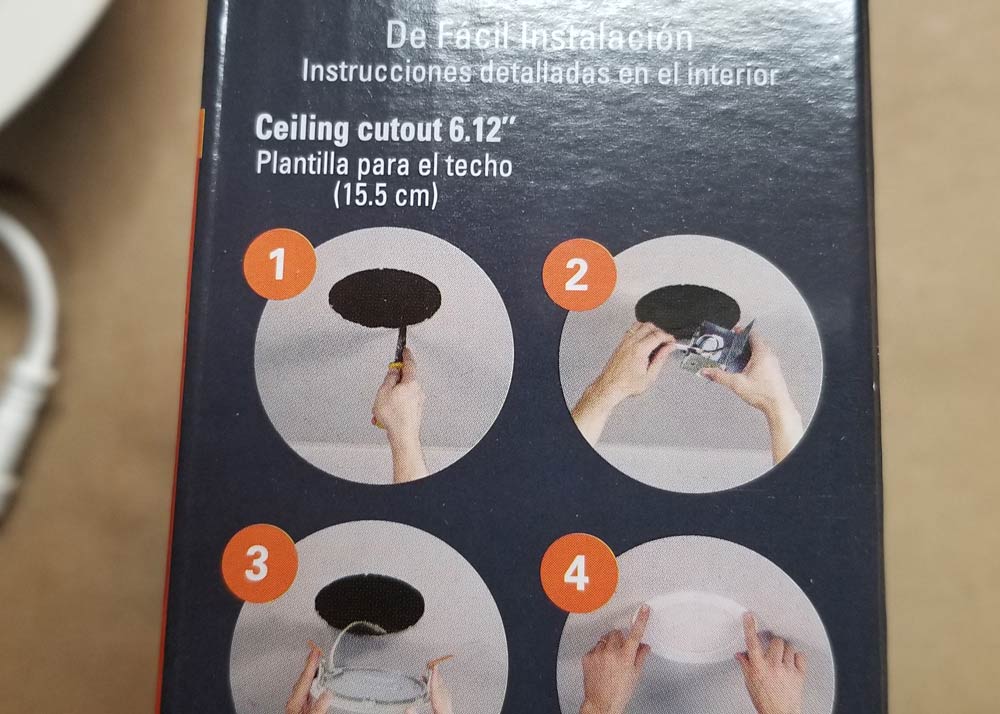

Of course, that’s ridiculous. I’d spotted a cool tool and was not hand-sawing this. I picked up a Klein Adjustable Hole Saw. The outer blades spin like a big propeller around a central pilot blade.

It also comes with a big, transparent guard that keep most of the dust and junk from raining down.

Here’s a little action video that you might have caught on my Instagram feed.
It cut a perfect plug out of the ceiling in seconds. The blown insulation was packed tight enough to stay in place . Awesome!

Don’t open your mouth and look up.
I drilled six holes in minutes. They were perfect!

I’m afraid we’ve got ceiling gophers honey.
Full disclosure,.. they were not perfect.
On the last hole, one of the blades loosened up and tore into the ceiling like a rabid chipmunk. Since the hole size I needed was not one of the standard presets on the hole saw, I’d tightened the blades outside the indents. I should have checked periodically.

Dang it.
I’d fix that later.
With the holes done, I popped all the lights (but one) into place with the spring clips.
I did my best to poke the wiring up into the attic without allowing too much of our nasty, mystery insulation to fall.
Prefabricating in the workshop
With itchy insulation, higher temperature, and super cramped conditions, I decided to wire as much of the system as possible down in the relative comfort of my workshop.

An old toy maker merrily crafting in his workshop
Each of the lights has a wiring box that gets mounted a few inches away. I assembled two strings of three, with more than enough slack cable between them to get around any rafters and framing that could get in the way. Each of the strings had a section of cable on one end to reach to a junction box feeding the current light.


When those were done, I changed into jeans and long sleeves, loaded some tools in my nail apron and ascended the Little Giant to my custom, DIY gable hatch (here’s how I built the beauty).
I lugged all the wiring boxes up like a stringer full of fresh caught fish.

That’s a fine catch of,… cyber trout?
I had to do some poking around in the insulation to find the top side of the lights I’d popped in from below.

Buried treasure
Although it was tough to belly crawl to some of the locations, it was easy to connect each of the lights. It just took a plug and quick twist.

Plug and play
I installed a new junction box and pulled the cable back from the old light and started pounding staples in, to strap down the cable.

No, I’m not done pounding that staple in.

Fresh as an Irish spring
In my feeble attempt to add a little more video action now and then, I posted the whole attic adventure, from choosing tools to turning on the new lights as an Instagram story. Enjoy all that live action nonsense here.

Instagramin’ telling it like it is.
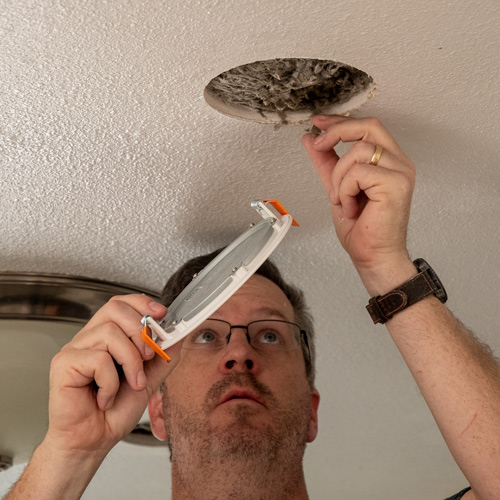
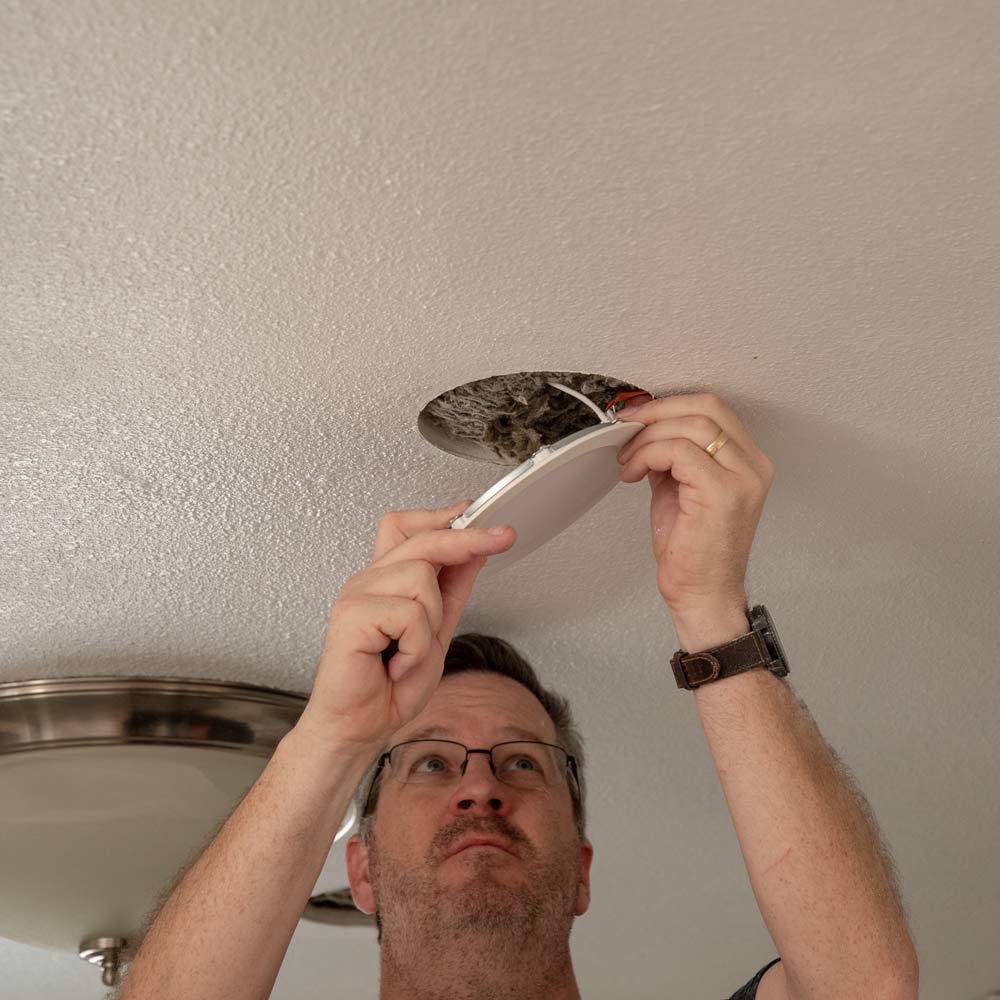
Back in cool, conditioned air, I cast my eye upwards, one last time, at the buxom fixture, pertly dominating the ceiling. I couldn’t wait to get my hands on it.

After groping and pawing at it for a while, I popped it out.
The boob fixture was a compact-fluorescent fixture with a pair of PL-C 26W/827/4P, push-in lamps.

I’ve always hated changing these fussy things, afraid they’ll break in my hand
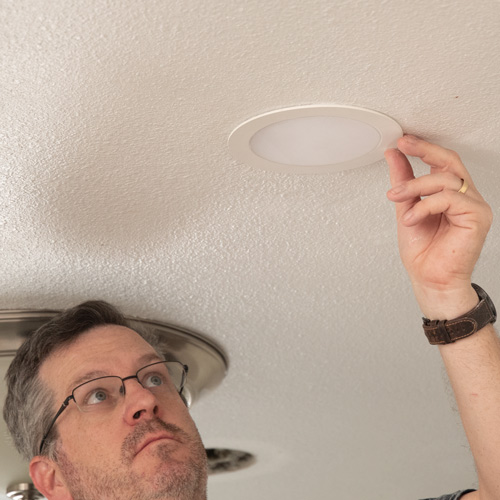
The new down lights were attractive, modern LED’s.
Ohhhhh,…. yeahhhhh….
Time out for Some Cold, Hard Math:
Here’s a comparison for the tech geeks, accountants, and fellow dorks. Both fixtures were better performers than old-school, incandescent or halogen bulbs.
Ye Ol’ Compact, Fluorescent Boob Light:
Wattage: 26 (x 2 lamps = 52 watts total)
Color: 2700 Kelvin
Lumens (brightness): 1,800 (x2 lamps = 3,600) (centrally located)
Life Hours: 12,000
Dimmable: Nope
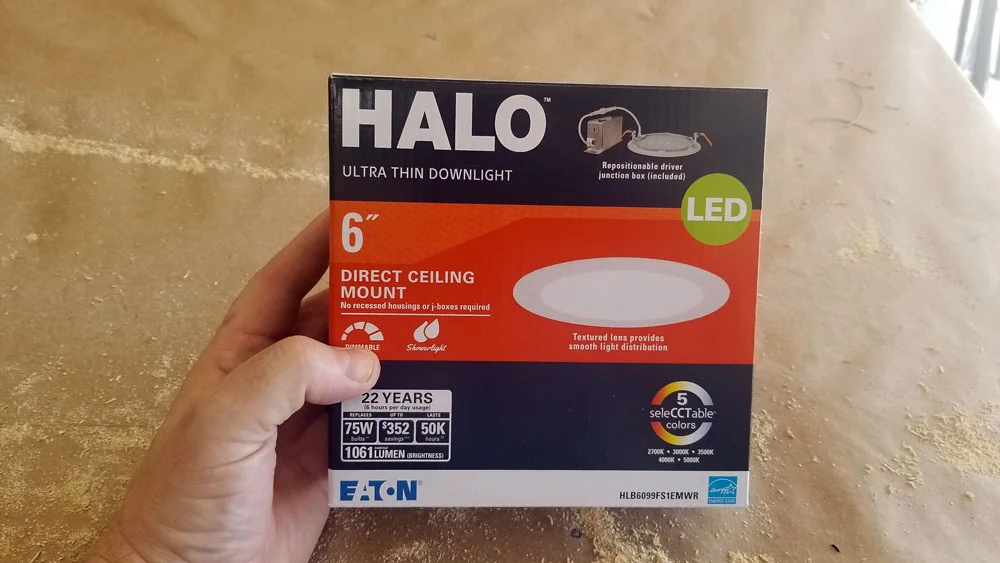
The sleek, modern Light Emitting Diode (LED) down-lights.
Wattage: 16 (x 6 lights = 96 watts total)
Color: 2700, 3000, 3500, 4000, or 5000 Kelvin (selectable - I chose 4000k)
Lumens: (brightness): 1,061 (x6 lights = 6,366) evenly located
Life Hours: 56,000
Dimmable: Yes
Do your own comparison, but the way I see it, we’ll have a longer lasting, better looking solution. We have it dimmed to 50% most of the time, so uses about the same power consumption and is still significantly brighter and whiter. I can also put them on full (operating room) brightness, and chase every last hint of a shadows out of the corners of the room. LEDs also put off less heat, so there’s some additional savings to our air conditioning in the summer.
Final fixes
Those perfect circle cutouts were for more than throwing around the back yard to see if they’d properly act like flying saucers. I used one to plug the original, central light fixture hole.
I traced one of the cutouts and hand cut the small hole to the right size. A quick piece of scrap wood, screwed into the ceiling, and I was able to attach the plug. A bit of drywall repair, some texture spray, and paint was all it took to make it look like the hole was never there.


I’d repaired and corrected a lot of the old kitchen wiring when the walls were all opened up. At that time, I was pretty sure we’d add the new outside door at the far end, so I installed an extra switch. The wiring was all in place for two location “three-way” switching. I removed the basic switches and replaced them with a new, high tech pair of dimmer switches.
These have memory to stay at the last dimmed setting, or a quick double tap fires up to full brightness.

With this project complete, we have great area lighting, under-cabinet lighting, in-cabinet lighting, and a decorative antique-style light hanging light over the sink.

“You can land a 747 in here”