

I’ve been pushing through the summer in my attempt to bring the 10+ year old Honda Ridgeline up to decent enough condition to trade-in or sell. Section by section, I’d been wet-sanding and spay painting the burned paint. I went into detail in my last post:
It’s been tricky. I can’t fit the whole truck in the garage. Between the miter saw bench and my son’s home-built weight-lifting power rack, I can only get about 2/3’s of the way in. Arizona’s hottest summer in history has kept me from doing too much in any one day.

I’d taken care of the front fenders and hood previously. The roof was absolutely a fried mess. To work on it, I had to take off the roof-rack.

The rack was an OEM kit that I’d had installed by the dealer when I purchased in 2010. Under some plastic end caps were a series of torx head fasteners to pop out.

After screwing around with a ratchet for a bit, I switched to an impact driver to zip the bolts out.
I didn’t take a good shot of it, but the rear most piece of the roof was in dismal shape. Honda, for some reason had chosen to make it out of plastic. The paint was absolutely destroyed, basically completely gone. The sun had assaulted it to the point that the plastic was pitted; it looked like a hammered finish.

The black finish on the rack itself was in good shape. I’d just wipe it down with some trim restorer later when I cleaned up the rest of the black plastic.

I gave the roof a good sanding, but left it for the next weekend. Areas where the rack had shadowed still had a touch of remaining clear-coat, leaving a horrible pattern.
I removed the plastic tail-light piece since it would need some TLC.

Taped over the tail light wiring hole.
Hand sanding wouldn’t cut it. I ran the random oscillating sander over it for a good bit before it got reasonably passable. If I was doing a car-show restoration or going to keep the truck, I’d probably done some kind of skim coat of body filler to smooth it out even more.

The tail light lens is removed so I don’t nick it.
Although I wasn’t using primer on the metal panels of the truck, I did use it on the bare plastic.

I gave it several coats of primer, with a fine grit hand sanding between each one. It really helped smooth the piece quite a bit. The process really slowed progress down, but it also gave me an excuse to get out of the heat between coats.

The next weekend I pulled the truck inside (mostly) before the sun heated it up too much. It needed some more wet-sanding to get it ready for paint.

Painting a car with spray cans is not something I would probably do for a newer vehicle, but it really worked out perfectly fine for me. A couple coats of paint did a pretty good job. I also bought some 2K clear coat as an added, long term protection.

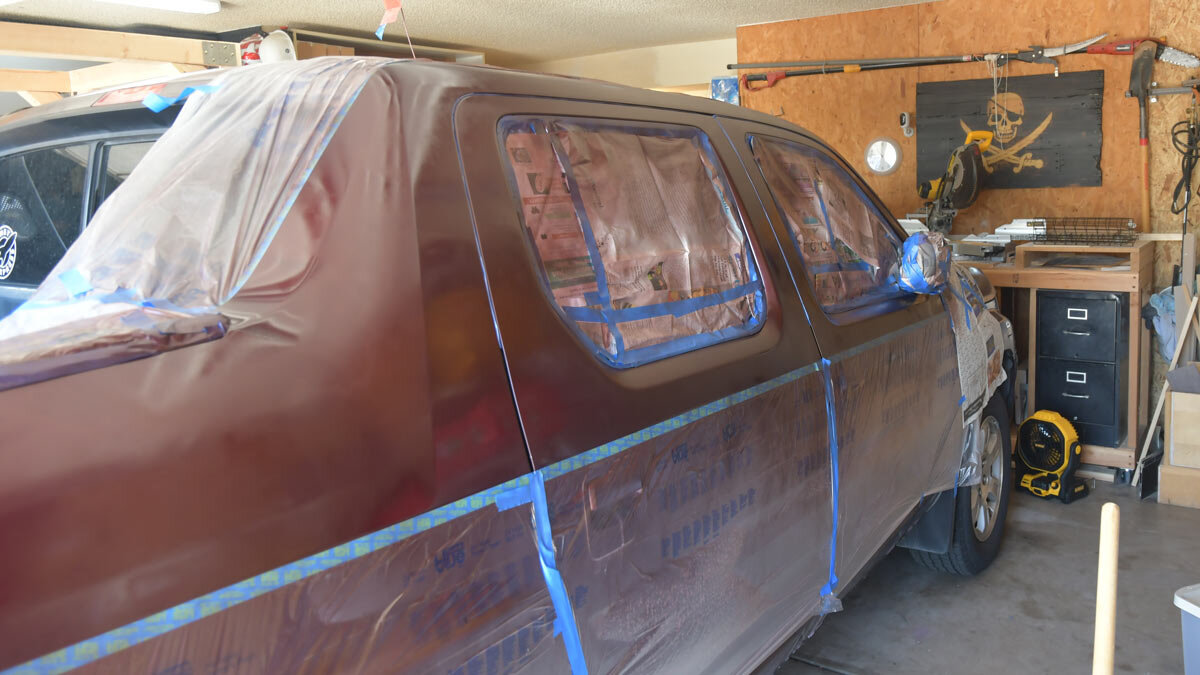
I’d masked off the truck pretty well, but after so many painting sessions, I realized I didn’t need to do too much about the surrounding stuff in the garage. Wet paint droplets flinging around the place just didn’t become a problem.

I had fans blowing air out and wore a respirator the whole time. This stuff is probably has stronger fumes than regular spray paint. I always stepped outside to get some fresh air between coats.

That 15 lb COVID era weight gain in all its glory. Dammit.
The next morning I shot the sides from the font door to the tail in one big session. The masking took a lot more work, with windows, mirrors, trim, and door seals to cover up.
I bought a buffer / polisher to give it a good wax and finish, but I didn’t use it. I ended up dropping the truck off near my work with a detailer to give it a good inside and out treatment.
A week later I took it to the coin wash. There are a couple more things to address on the old rig, but it’s almost ready to trade in. The headlights are next.
