

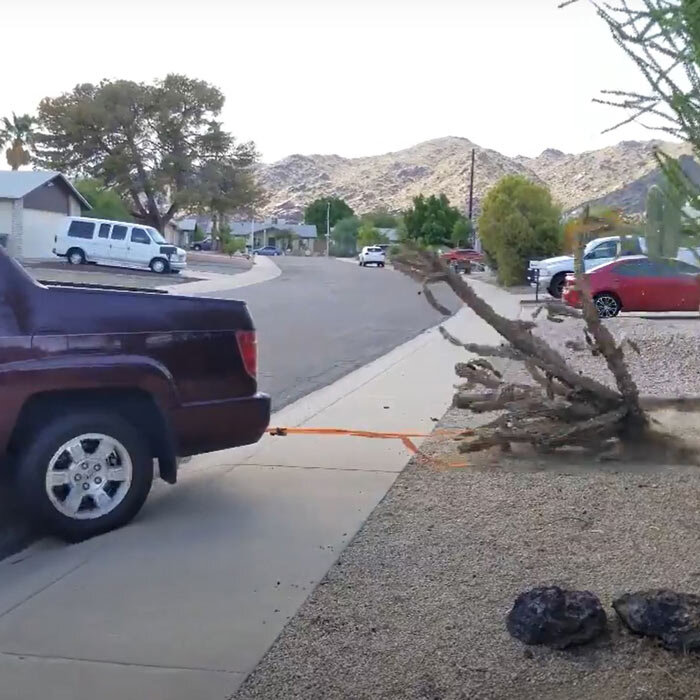
Back in May 2010, this enterprising young lad was in the market for a new truck. I’d been driving a full-size, extended cab Dodge Ram for 10 years and was ready for something a little smaller. I wasn’t a field electrician anymore, so I didn’t need the everyday load of tools, but I still needed a pickup truck for all my projects.
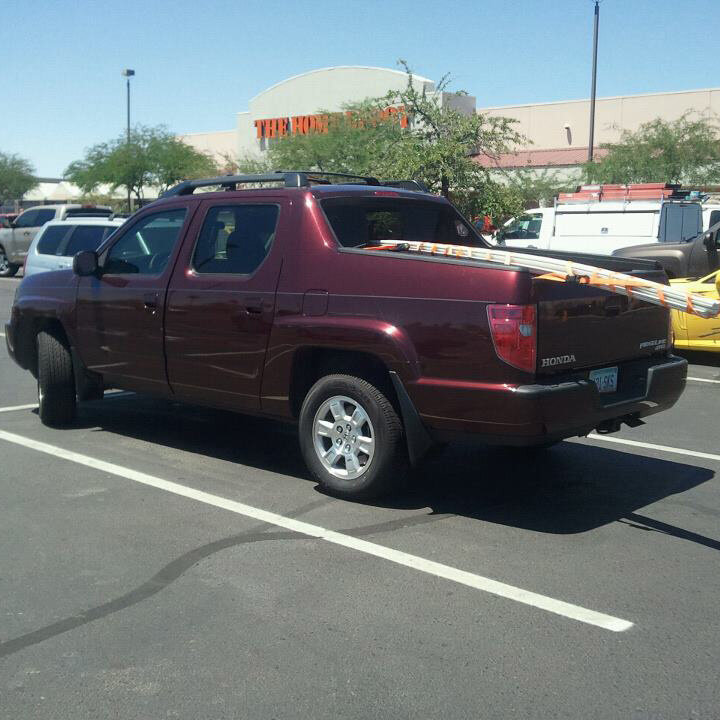
I landed on the mid-size Honda Ridgeline you’ve seen as the official hauling steed of the entire existence of AZ DIY Guy:

The brand-new Ridgeline in its glory, circa 2010
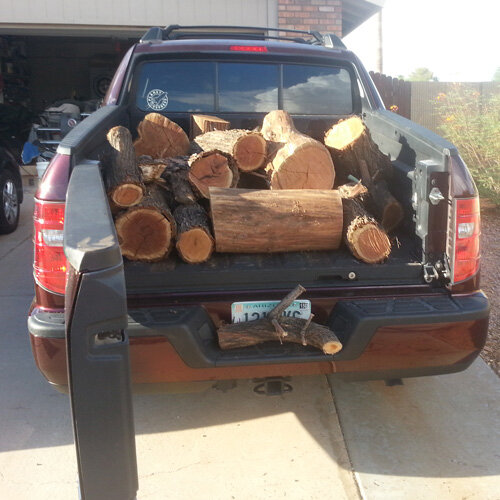
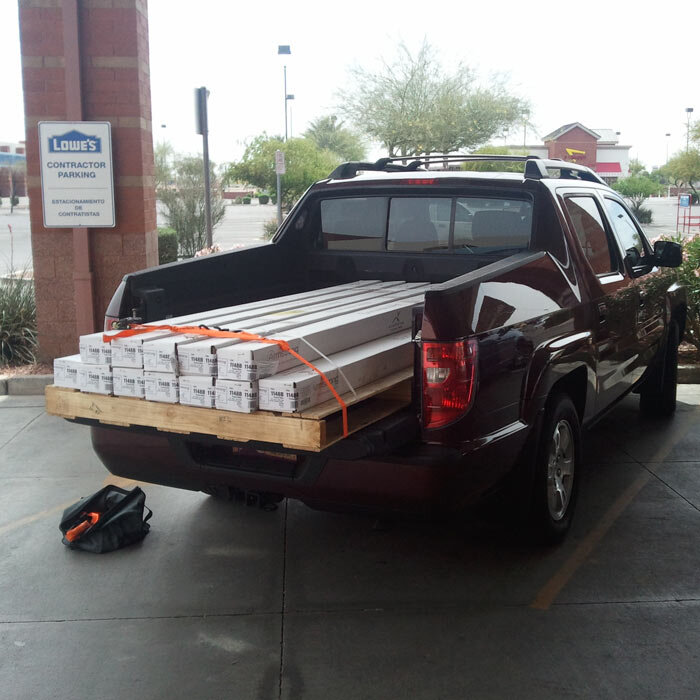
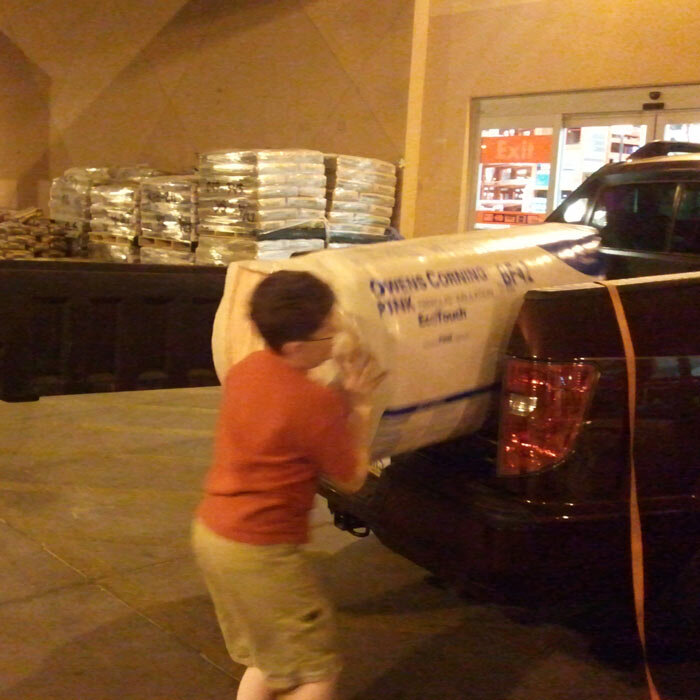
With a full cab, it’s easily roomy enough to haul the family. It’s a short bed, but it’s been enough to help me tackle all the remodeling jobs. Naturally, been a steady fixture in the parking lots of our local hardware stores and home-centers for the last 10 years.
It’s been a great truck for the most part, just needing some minor repairs here and there. I’d been planning on replacing it in May, to keep on a 10 year cycle and keep some semblance of trade in value. I’d delayed a bit to refinance the house and kind-of play a wait and see on the COVID pandemic.
Burned Paint
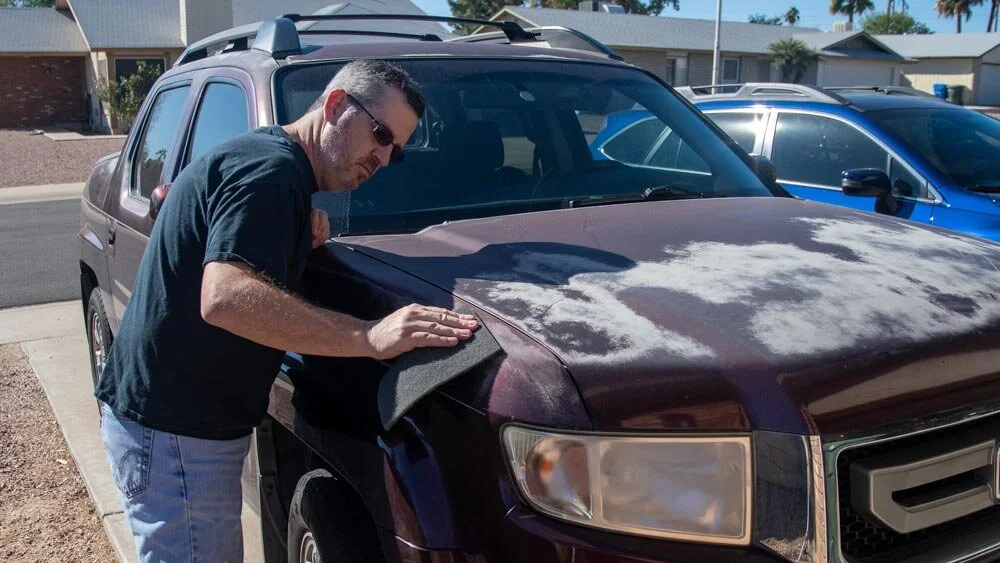
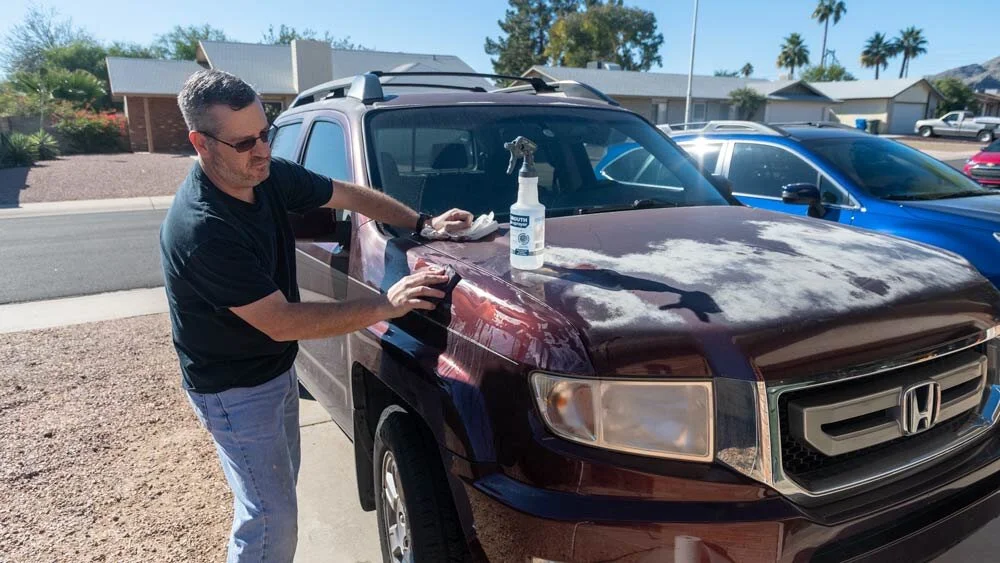
Unfortunately, the exterior of the truck is now a mess. The paint job is shot. It doesn’t happen to every vehicle at this age, so I’m assuming the day it was made something wasn’t up to par. The brutality of the Arizona sun for a decade certainly did its worst as well.

Burnt Paint, fogged headlights, chipped windshield and that coffee stain on the passenger seat.
It actually isn’t all paint damage, it’s mostly the clear-coat that’s gotten chalky and flaky.


I could scratch through the white residue on the hood with my fingernail.

I figured I’d get no more than a shiny nickle and two pennies if I tried to trade this ugly thing in its current condition. I watched a bunch of YouTube videos to get a feel for a possible DIY fix. There were multiple approaches and plenty of different materials used, each with a varying degree of success.
Disclosure: This post contains affiliate links, meaning at no additional cost to you I will earn a small commission if you click through and make a purchase.
I’d have to do my repair without a big air-spraying unit, since my compressor is just a little pancake unit for running nail-guns and filling tires. I also can’t use my handheld sprayer, because it’s not made for flammable / solvent based materials.
I’m going to do it with spray cans.
Do-It-Yourself Car Paint FIX
I’d never done anything like this. The results may not be great, but they’d certainly be better than white and chalky clear-coat stains on a dark-colored truck. If I was restoring an antique sport-scar or planning on keeping the truck long term, maybe I would pay some one to do it. Why not try it?
Step 1: All The Sanding You want, and more…
I’d have to get all the crusty crap off the truck to see if the paint was still in place and I could just clear coat it, or if I’d need to paint too. I ordered some stuff from Amazon to get started:
My Vehicle Paint Repair Pep Kit:
Scuffing off the worst of it
The only power tools I’d be using were my ol’ worn out arms. I started by giving the chalky white areas a rubdown with one to the scuffing pads. They chewed through the stuff quickly. It scratched the paint up a bit in the surrounding area, but I figured that would be good for adhesion.
Scuffing off UV damaged clear coat
I wiped the dusty residue off with a damp paper towel. It actually looked pretty good in most places. Until it dried. Then it looked scratched up and hazy.

It it could just stay wet.
Wet Sanding
The sandpaper I’d ordered was good to use wet or dry. I started out by spraying the fender and a sheet of 800 grit with my spray bottle.

Wrapping the sandpaper around a scrubbing sponge gave it some flexibility to follow the contours of the truck, but made it solid enough to grip easily.
The color is “Dark Cherry Pearl” if you were wondering
I’d rinse it off once in a while, as worked my way up to a finer grit. I think the one I finished with was 1500 grit. It’s a good workout, but with a nice breeze and some classic rock in the background. It’s somewhat enjoyable.
I kept my sanding a couple of inches beyond the edges of the damaged paint.

That’s a dang mess. I should have protected the driveway.
The inevitable lesson learned
I went back to the scuffing pad at one point, hoping to rub an area where there was an actual paint chip from a rock. I got the chip out, for sure, but I rubbed completely through the paint in a flash. I took it right down to primer. Dang it.

I took it easier on the other fender and got a much better result. Although you can’t see it in photographs, there’s discoloration in the paint where the burned clear-coat was. I just couldn’t get that out.

I believe that discoloration would show through clear coat, so I looked into paint. I decided to do the project piecemeal, one body panel at at time.
Step 2: Applying Base Coat from a Rattle Can
I ordered another batch of stuff to do the paint work.
My DIY Vehicle Painting Kit:
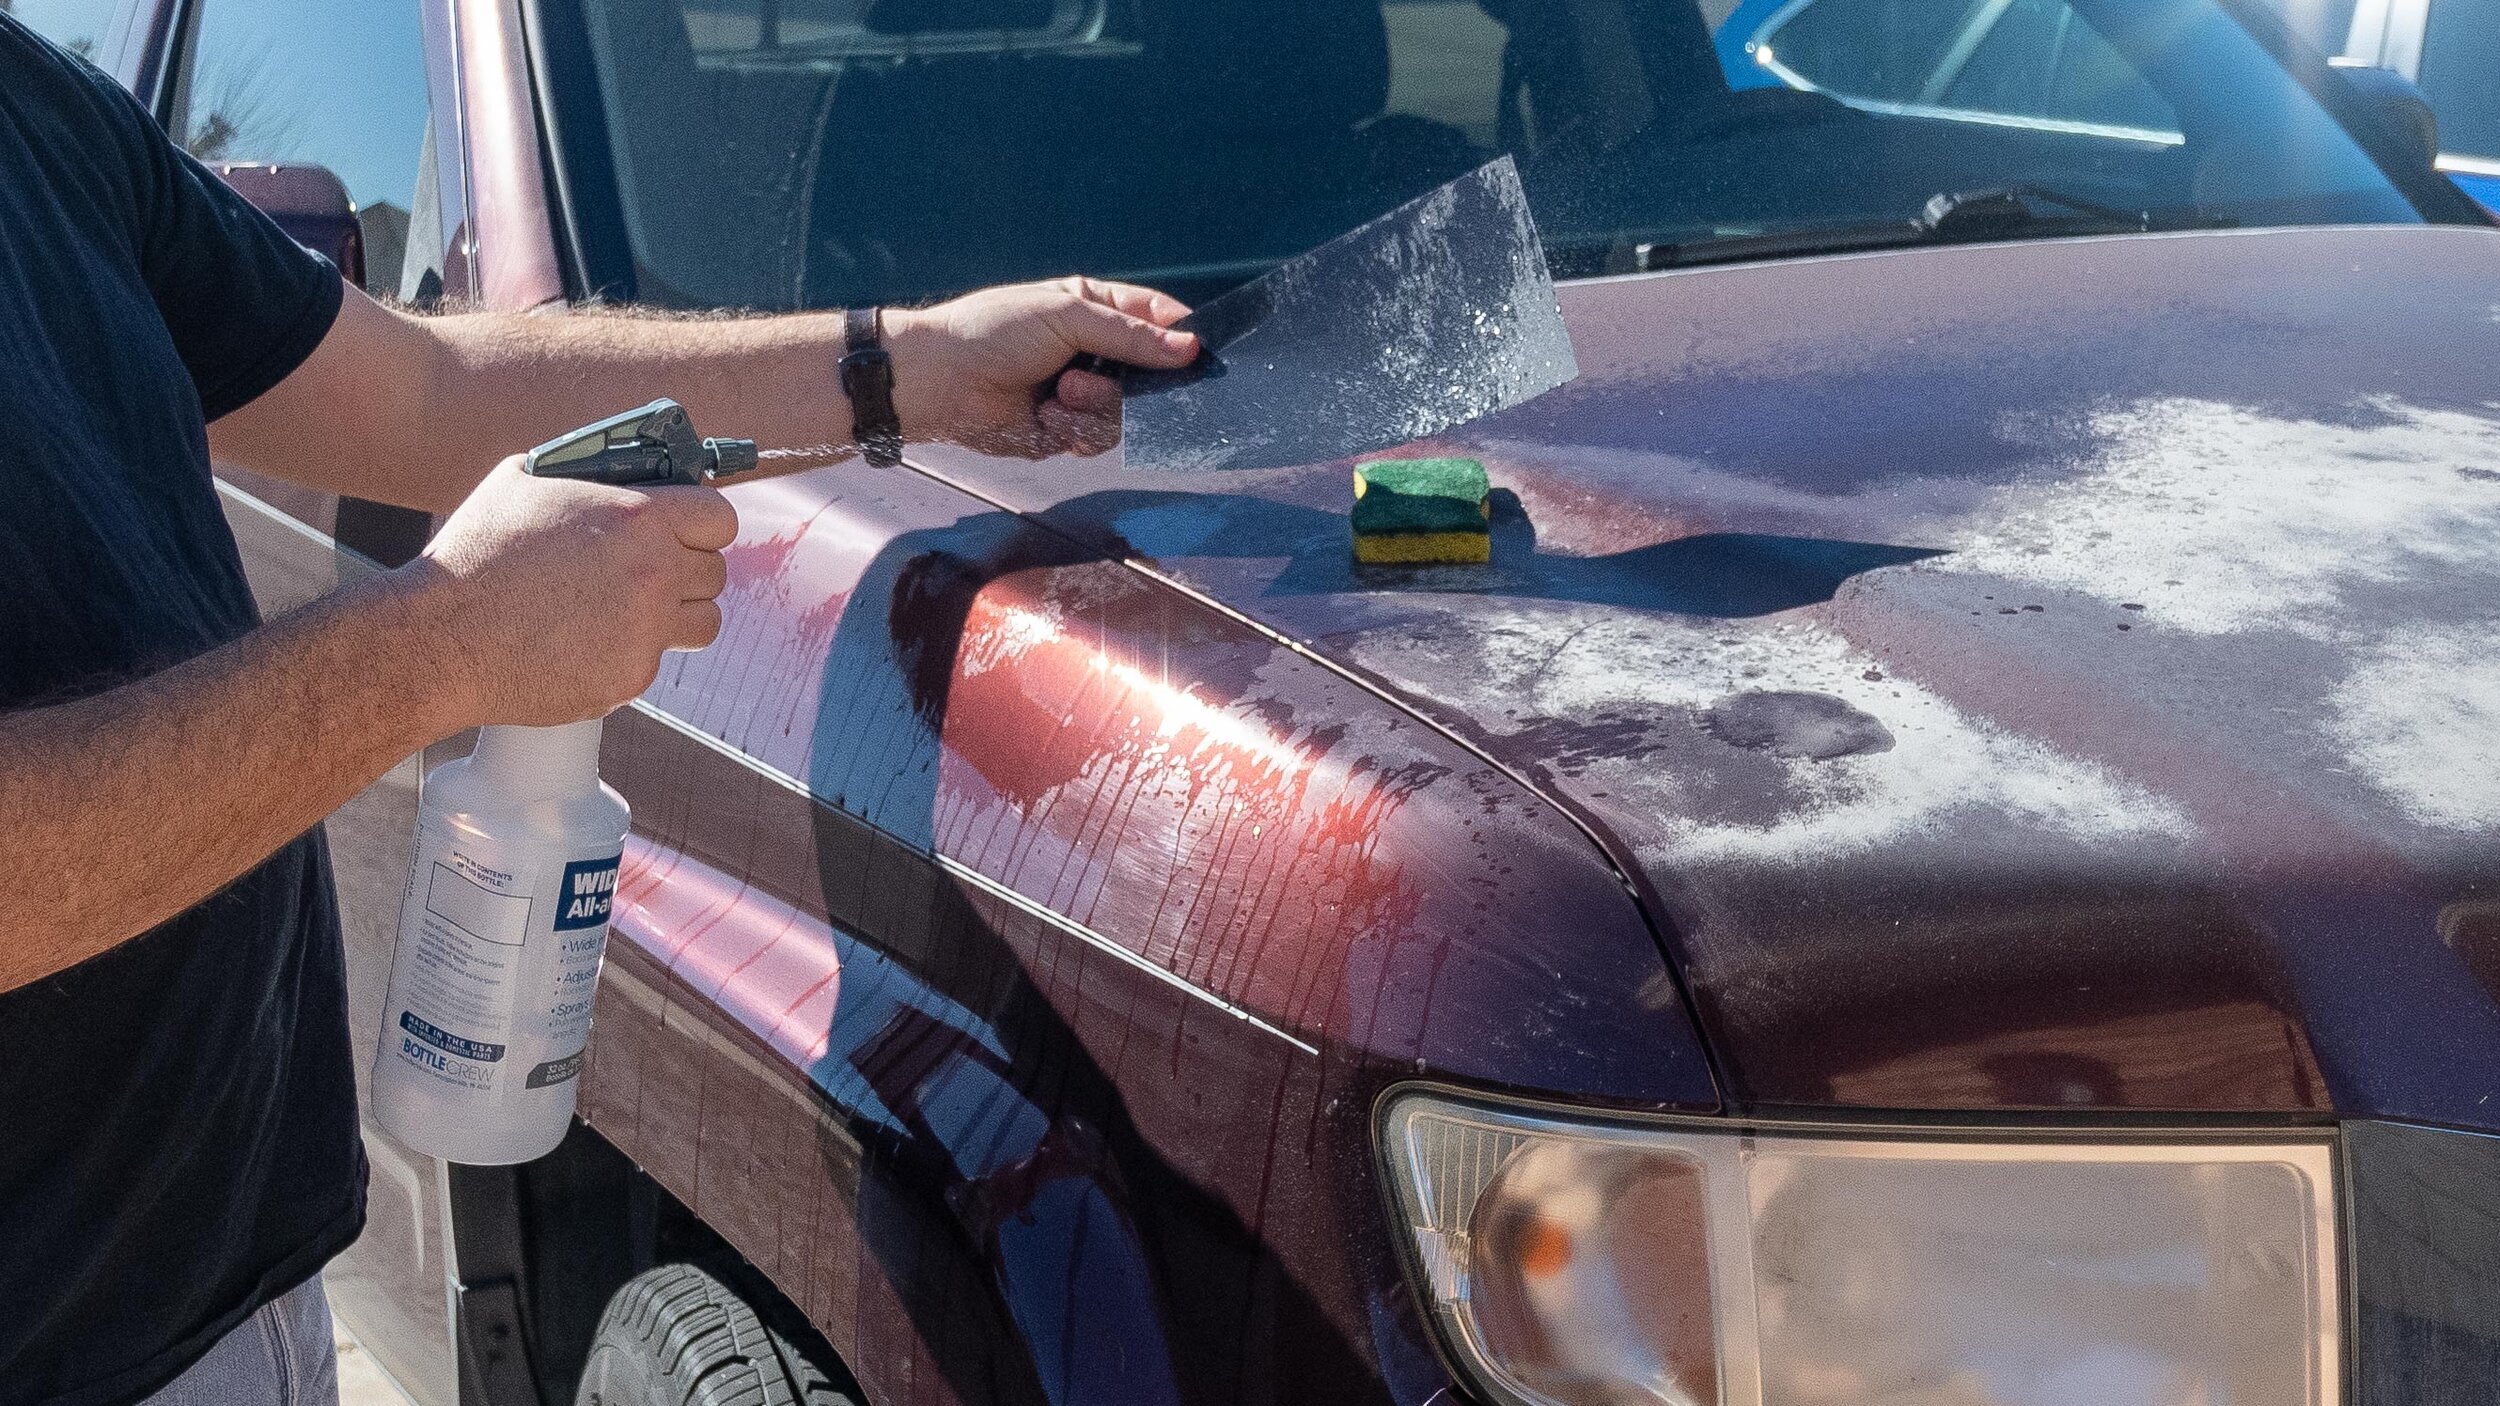
The painting needed to be done out of the sun. After I washed the fenders with soap and water, I pulled the truck into the garage as far as I could, yet still get around the front end. The mighty miter saw bench takes up too much room to get all the way in, so the tail gate had to stick out into the sun.

I’d already washed it, but I had to get any last impurities, like leftover soap, bubblegum, bugs, and wax off the surface. I gave it a good rubdown with a microfiber cloth and rubbing alcohol.

The Jolly Rodger
The plastic sheeting with tape attached to the edge quickly masked off the fender. I followed right along the pinstripe to hide any line that could be created.

Big overlaps and masking tape held the whole thing together when I unfolded the plastic. I gave the fender a last wipe down with a tack-cloth to get any last bits of dust cleaned off.

Ready for some paint.
It turns out automotive paint itself is called “base coat”, and it’s a pretty thin layer, which gets protected by a thicker, clear coat. I couldn’t easily find the base coat paint color listed for my Ridgeline locally or online. I did, however find the same “Dark Cherry Pearl” color by Harpy Motors on Amazon listed for a 2007 to 2014 Honda Pilot. Surely it was the same color for the same year’s Ridgeline right?
According to the listing from Harpy Motors:
All of our products are Proudly Made in the USA right here in the Mid-west.
This precision fan patterns are the smoothest spraying easiest to use aerosol color on the market
Modern Durable Urethane Finishes
Single stage formula does not require a clear coat, provides excellent gloss and is easily polished after overnight dry
12 ounces of professional quality single stage automotive paint.
I’d ordered one can to try it out. It’s pretty slick, they must mix it to order; you can see the recipe.

With the garage door open, a fan going, and wearing a respirator I shot my first coat on the driver side fender. It went on really thin. I let it dry for about 10 minutes before I hit it again.

It took some concentration to keep the can at the same distance along the length of the fender as I sprayed. I managed to do three, nice coats before I screwed up a little and let the tip of my glove get in the spray fan. It caused some drippy spots up by the door edge. Dang it.

It seemed to smooth out and darken up when I let it dry during an all important sandwich break.

I did the other fender and left the truck in the garage until the sun went down. The next day I checked out my work.


The paint from Harpy Motors is an all-in-one that doesn’t need a clearcoat. I still may shoot something over it when I finish the whole truck, but so far this looks 100% better than it did. There’s a little texture to it that will probably come out when I do some kind of polishing step.

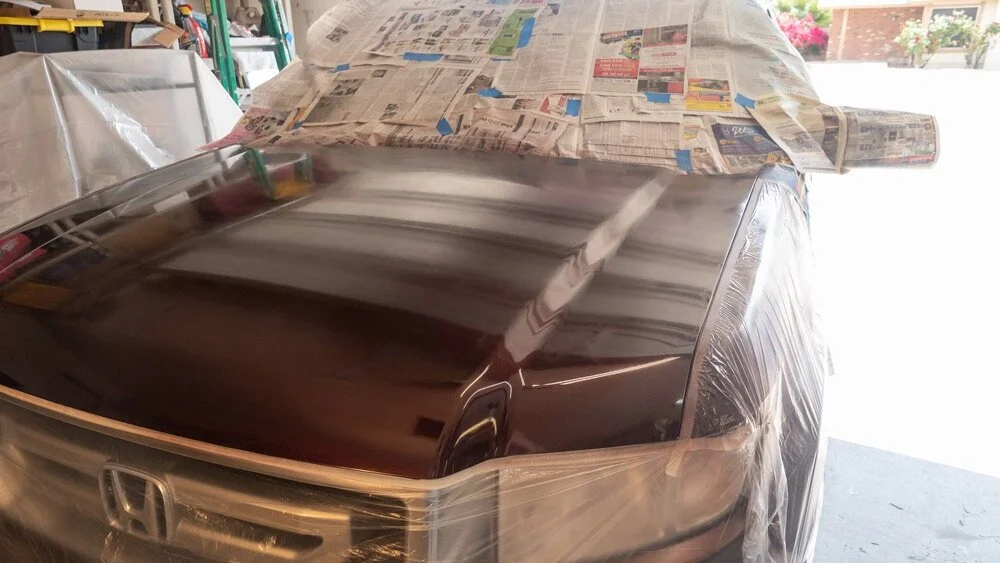
By the next weekend, I’d received another can of paint and wheeled the ol’ rig into the garage to attack the hood. I covered the windshield with some newspaper*. The Arizona Republic seems to do the trick, I can’t guarantee the same for your local edition.
* I recommend the use of the physical edition of newspaper. I haven’t tried it personally, but I don’t think a digital device, like a Kindle or iPad will do very well catching over-spray. If you try it, let me know how it goes.

The hood was a little tricky to maneuver over since I couldn’t reach the back edge without climbing up on a step ladder and bracing myself.

The hood turned out decent too. I’ll keep going a piece at a time and see how this thing turns out.
I still have to decide if I’m going to try to buff and polish this finish or give it a light wet sanding and top it off with a clear-coat.
With the COVID-19 pandemic making the world uncertain, I don’t think I’m going to get a new truck in the near future. It’s probably best to avoid a car payment until things settle down a bit.
I’m going to keep picking away at this project and see how it goes. I’ll share another update soon.