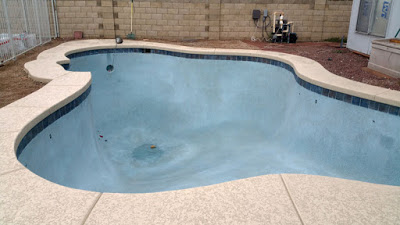
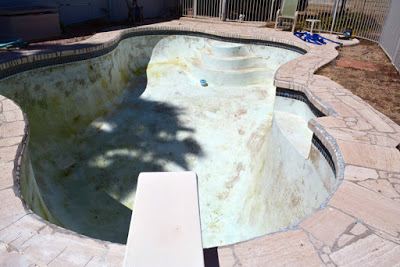
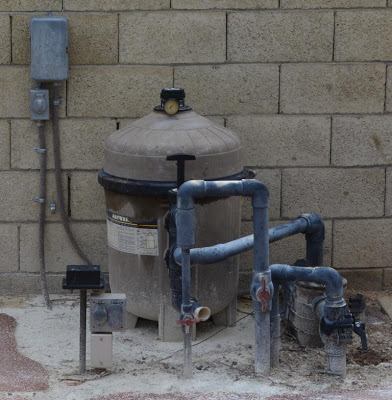
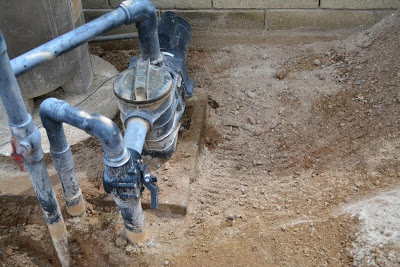
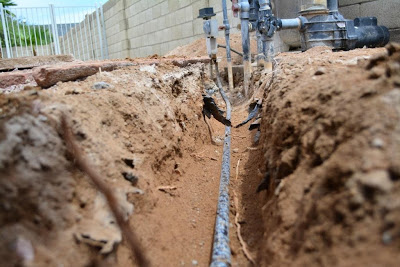
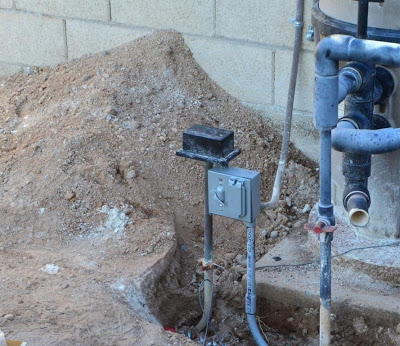
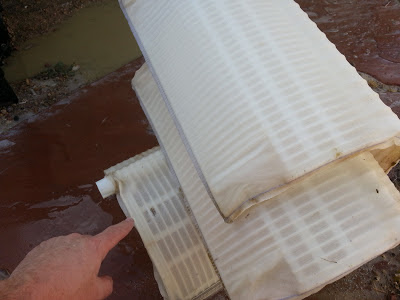
Last fall, while doing routine maintenance, I managed to damage some of the wiring for our pool equipment. It was a small control / sensor cable to the saltwater chlorination cell. I slapped a band-aid fix on it to get it working, and, of course, promptly forgot about it for the next few months.
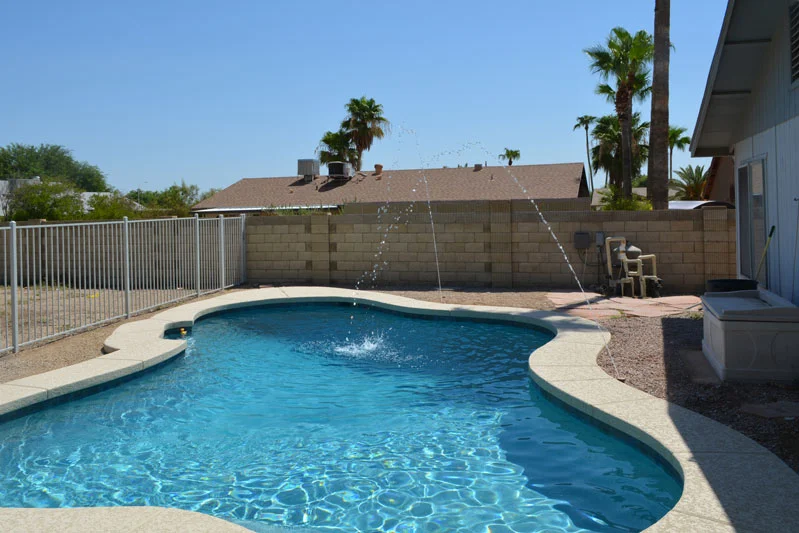
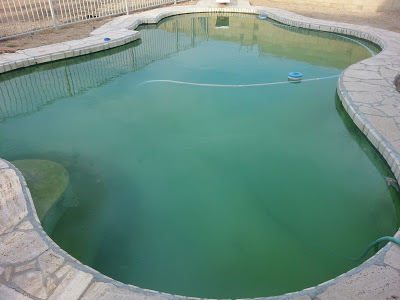
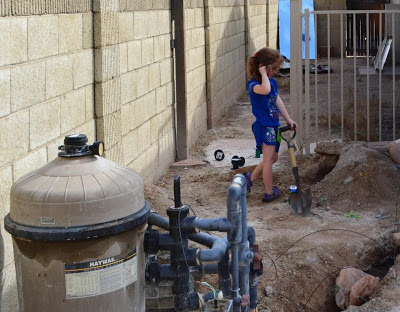
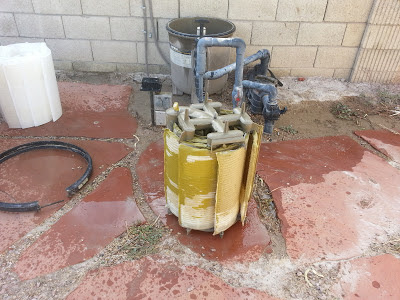
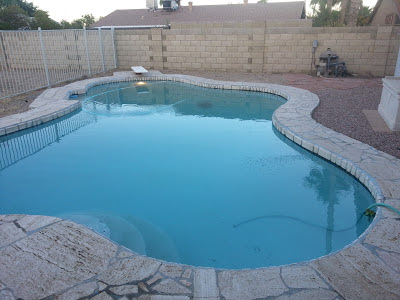
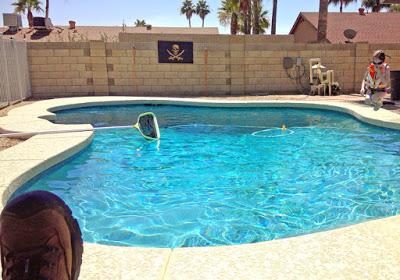
Now that daily temperatures are spiking up above 100° F in Phoenix, the pool is getting heavy, summertime use. When I fired up the squirting water jets to delight our youngest, I noticed I'd never gotten back to doing a proper repair on the wiring.
I'd simply twisted on a couple wire nuts and wrapped the thing in electrical tape. My haphazard fix was still hanging there, suspended like a cocoon. Electrical tape isn't a long term fix, especially when its exposed to the elements.
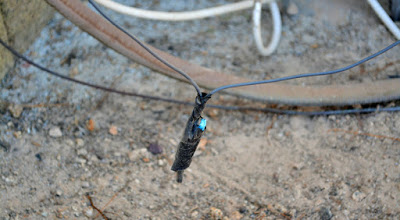
Soon will come a beautiful butterfly!
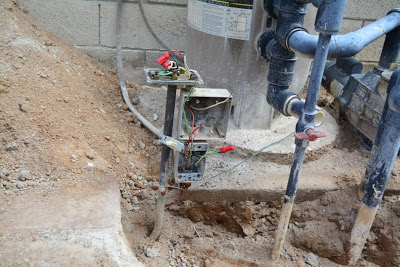
Since this is a tiny, exposed cable, it didn't make sense to install some sort of slice box. I couldn't even replace it because it is attached directly to the sensor in a water pipe. I decided I'd solder the wires together and protect them with some heat shrink tubing.
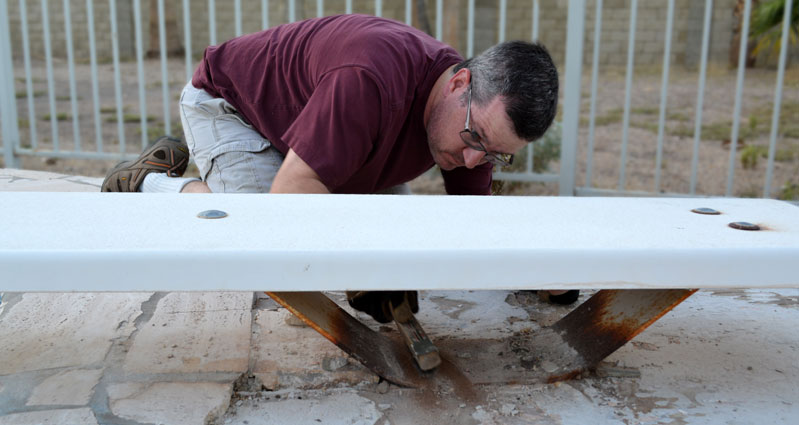
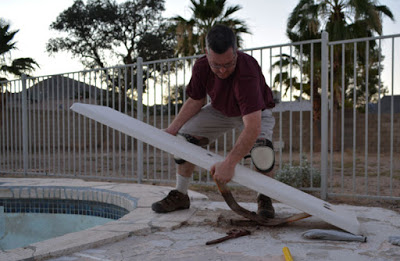
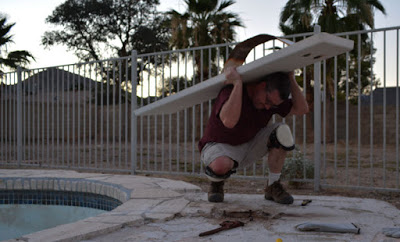
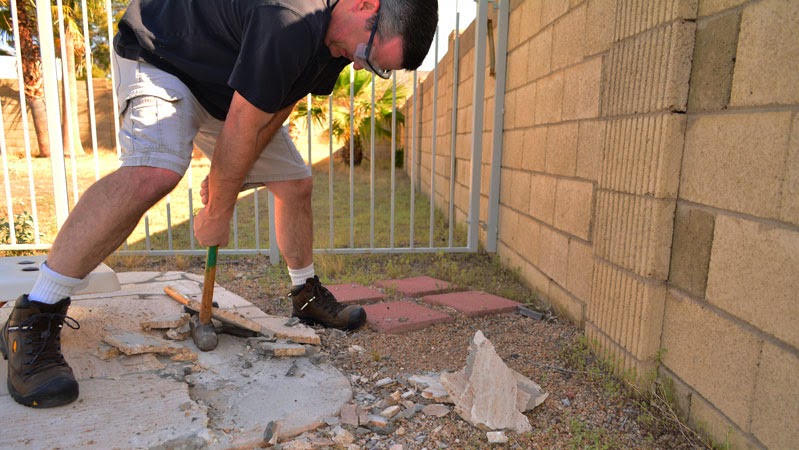
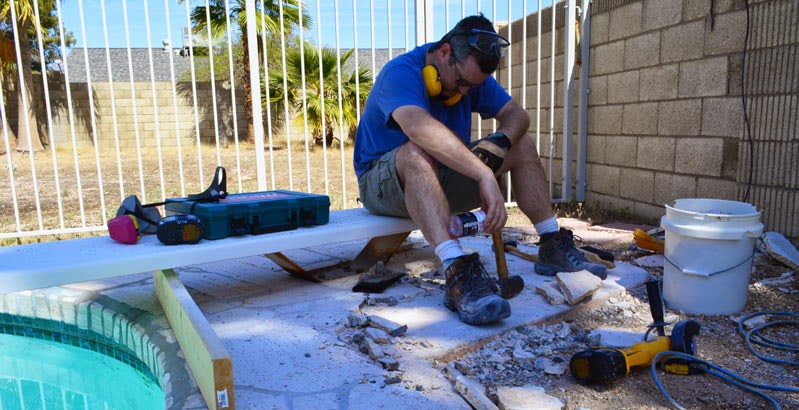
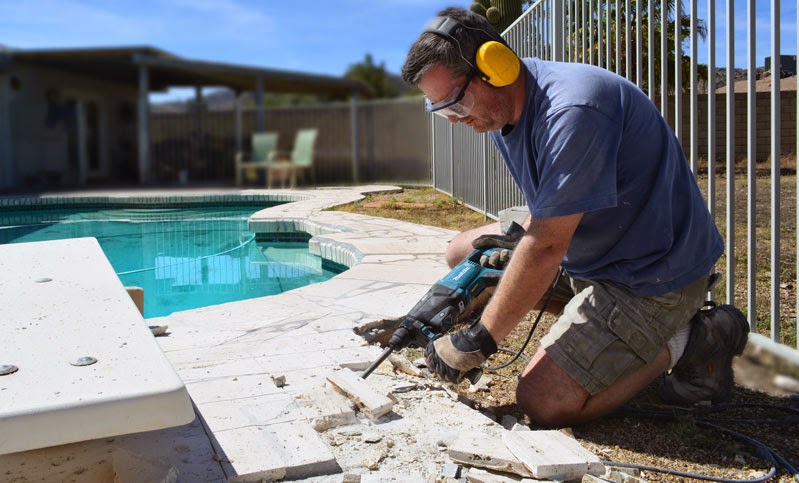
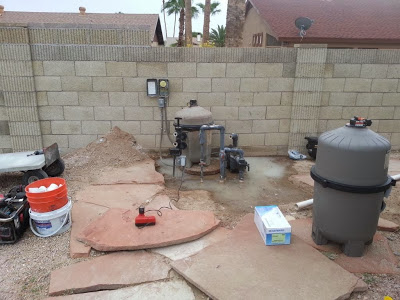
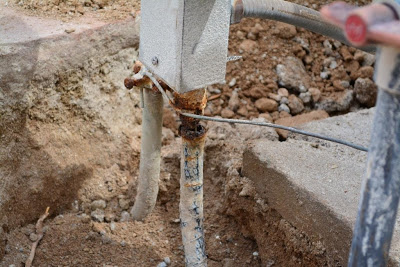
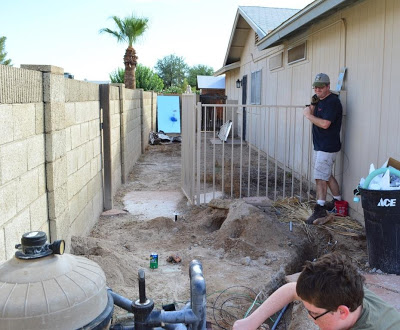
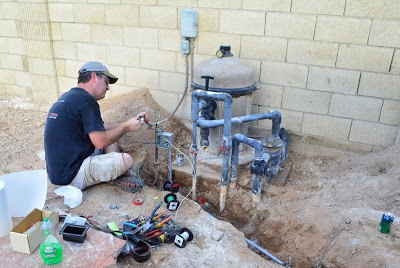
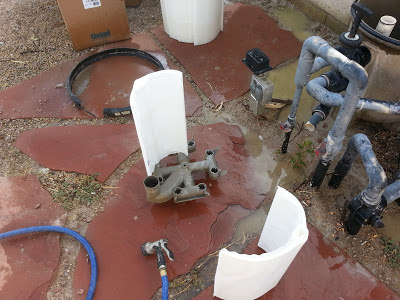
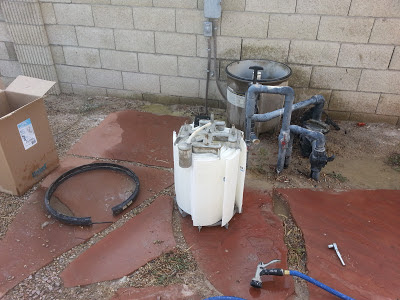
I gathered my tools and went out early; I could work in the shadow of our block fence and not get sun baked. I unplugged the little control wire from the salt chlorination control box, the one end I could disconnect easily.

I cut the power to the system to keep it from running and removed the now crispy electrical tape and wire nuts. I cut and stripped the cable back to expose the two wires within, being careful not to nick any protective insulation.
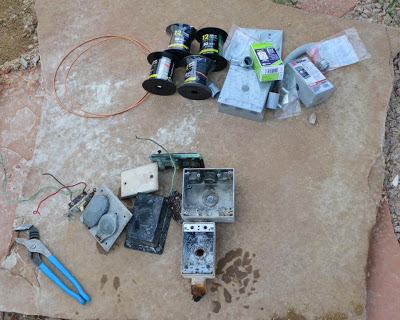
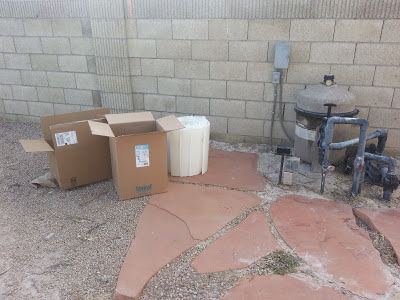
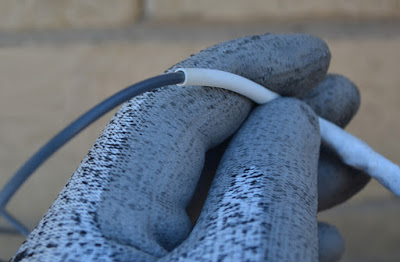
My splice would be protected by heat shrink. These little straw shaped tubes come in various sizes and can be found in the electrical section of the hardware store or home center.

I slid a couple up the cable for later. Once I joined the wires, it would be impossible to get the heat shrink on.
Full mighty moron disclosure: Looking forward to the next steps, I actually twisted the wires together and forgot the heat shrink. Luckily, I remembered, just in time, and spared the neighborhood a torrent of choice language that would have inevitably spewed from my spot behind the block wall.

Installing Heat Shrink Tubing
After stripping back the insulation to the bare, copper conductors, I twisted them together, like an "X," winding them tightly.

Do the twist!
Together, the two pieces without insulation were roughly the same diameter as a strand, with the insulation still intact.
Give it a little tug to be sure it's tight
They make a special solder for electrical / electronic use.

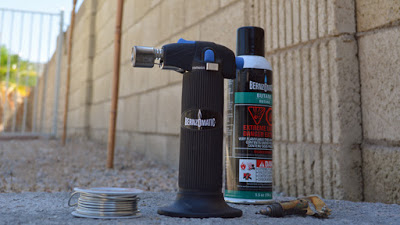
Bernzomatic Electrical Solder
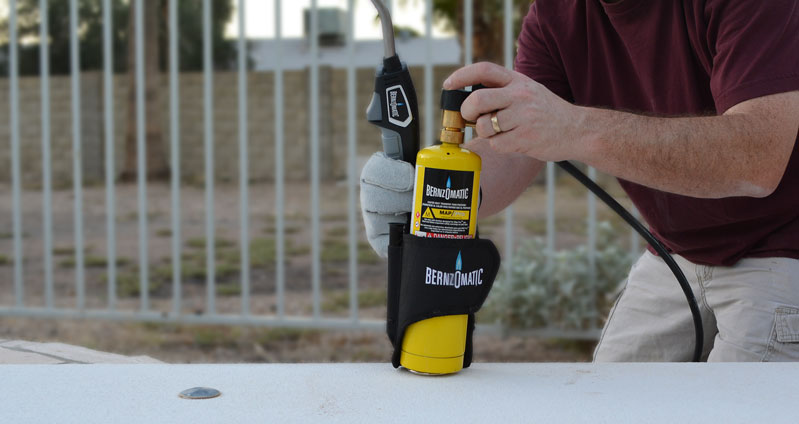
I'd used a similar micro-torch to do the pencil flame detail work on my Burned Pallet Wood Pirate Flag project. This time, I chose the Bernzomatic Trigger Start 3-in-1 Micro Torch.. It also features an open pencil flame if desired, but for electrical repair, I installed an included fine soldering tip.

The Bernzomatic ST2200T-Trigger Start 3-IN-1 Micro Torch
This little powerhouse runs on butane, like a cigarette lighter. Unlike an electric soldering iron, I was able to go cordless and work out in the backyard.
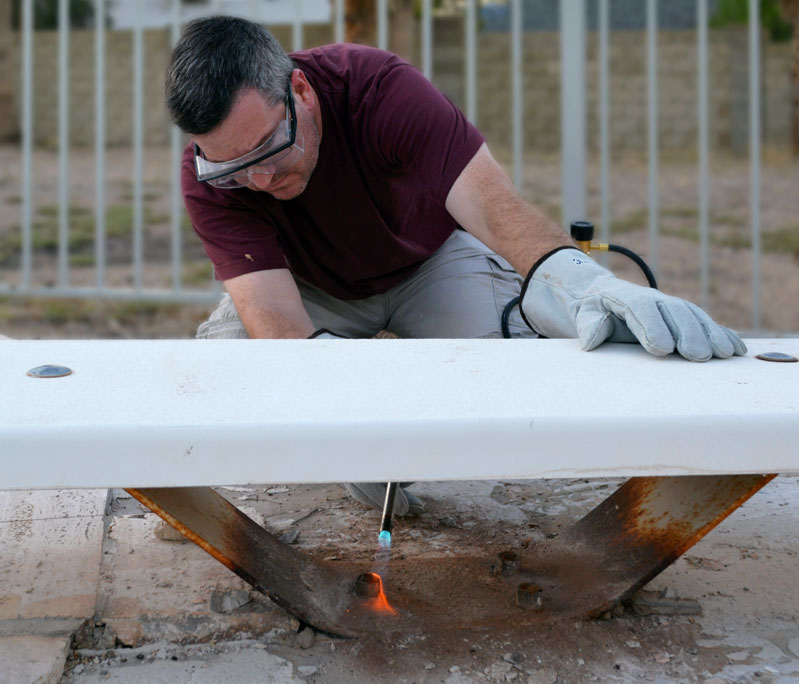
I found the trick that works for me was to heat the wire for a bit and then touch the solder to it, right up against the tip of the iron. It melts and flows into and around the strands of the wire. If I got a little too globby with the solder, I could shave excess off by reheating it with the tip of the iron.

I'd offset the splices to keep the diameter down and reduce a chance of the conductive metal from touching together. I wrapped both of the soldered joints tightly with electrical tape to hold them in place and offer a bit of insulation.
When the torch cooled down, I unscrewed the tip to convert it to hot air blower mode.

After removing the point, it becomes pointless.
I topped up the reservoir with a fresh dose of butane.

I slid the heat shrink over the repaired section and pushed the trigger button. Inside, the flame blew HOT but didn't shoot out the end, torch style. There's a screen in the tip that diffuses the flame into a blast of heat.

Full of Hot Air
I slowly fanned the torch along the length of the heat shrink. This ¼" tube started about the size of a fast food straw. It slowly shrunk, tightly around the cable, nice and snug. I overlapped two of the pieces to fit the entire length of my repair. You can buy the stuff in a roll and cut it to size. In hindsight, I should have taken that route, but this overlap should hold up fine.
"There was significant shrinkage"
- George Costanza
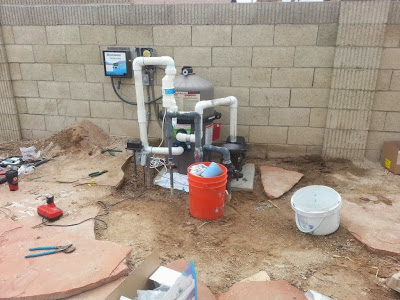
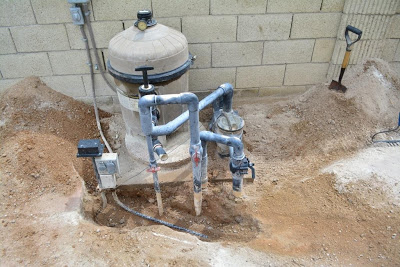
Nice and snug. The heat shrink fit perfectly around the cable. It would be much better suited to resist errant splashes from the pool and weather than my half-baked, wire nut cocoon.
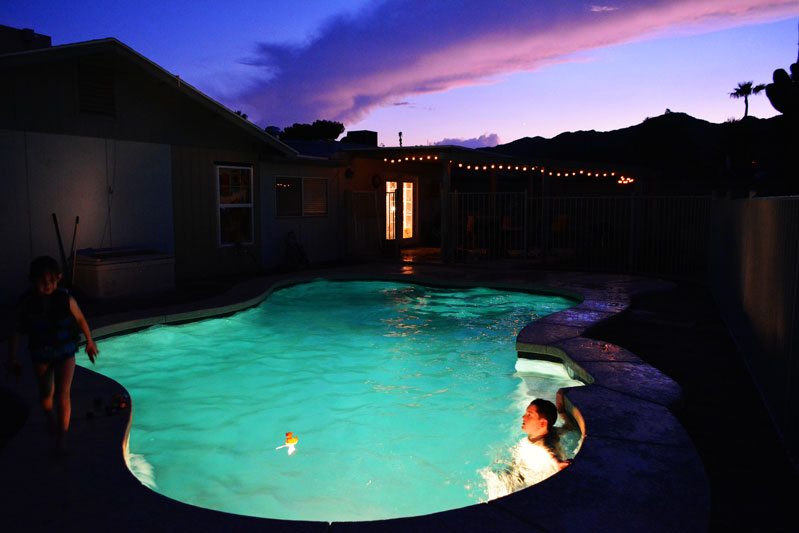
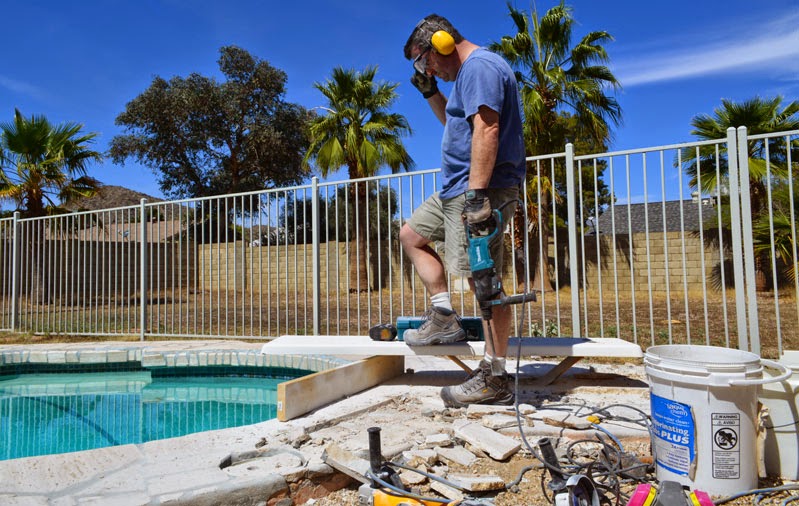
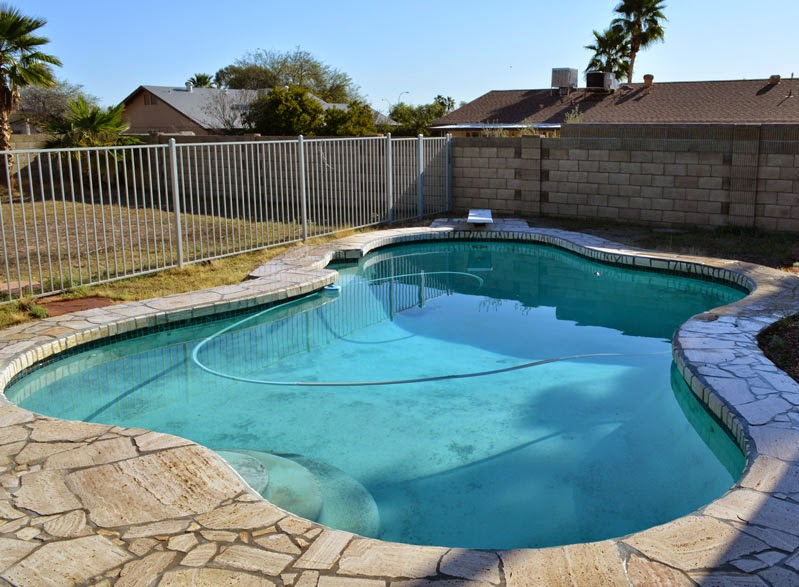
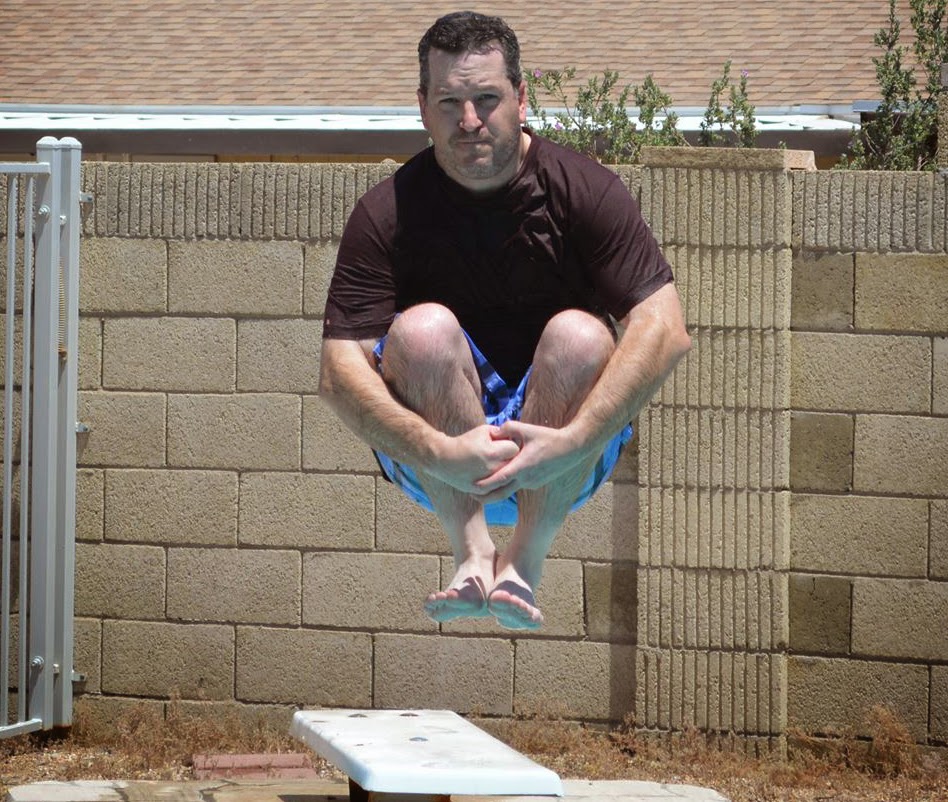
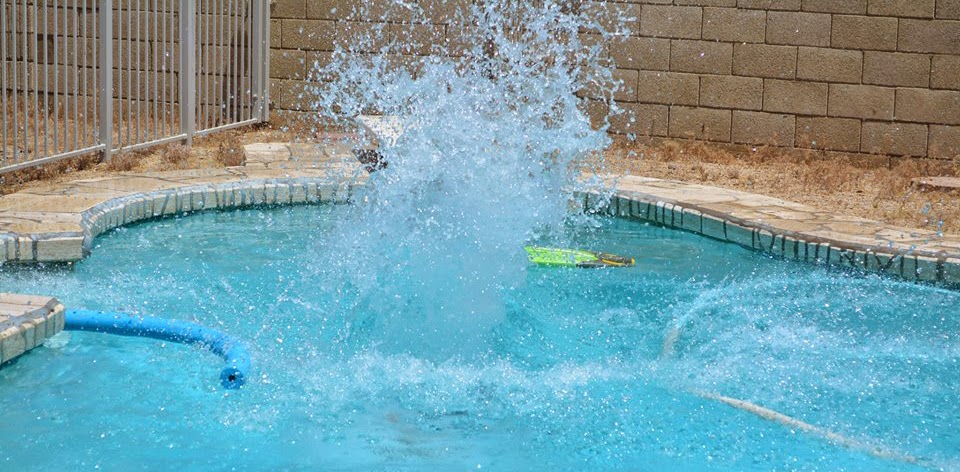
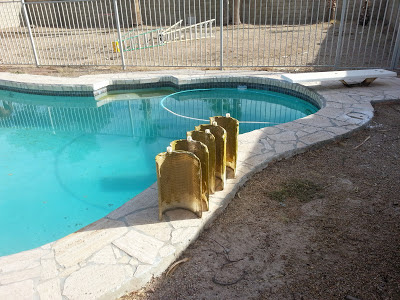
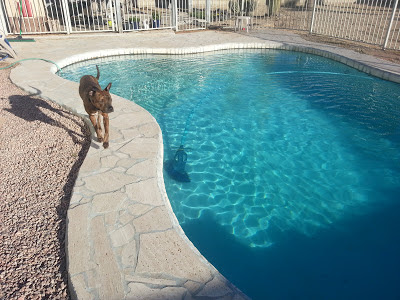
I wrapped the cable up to keep it off the ground, plugged it back in, and fired up the system. The final, most important step involved parking my posterior on a deck chair under the umbrella with a frosty beverage. I had to put my feet up and watch my work for a while. Don't forget this step.
"Cannon ball!"
- Gracie

This is a sponsored post. I am a proud to be a Bernzomatic Torch Bearer, though all opinions expressed are 100% my own. I won't recommend products I don't believe in.
The Torch Bearers are a group of tradespeople, DIYers, culinarians, adventurers and artists brought together to create projects using Bernzomatic torches and share their knowledge and ideas with you. Check them out here and get inspired to create with fire.
Visit the other awesome Torchbearers and see what they are up to on the Bernzomatic Torch Bearer Site.