Last time I talked about the state of our pool remodel, we were stuck in a state of analysis paralysis . We just couldn't choose a contractor or decide how we would repair the ugly deck. That's all over now. We finally worked out the details and plunged into the project.
I was originally going to break this post into chapters because it took a few months to get done, but ehhhhh... It's not a DIY post, it's a job we hired out. I'll just let you binge read this thing. Get a drink, settle back, and enjoy what took a couple months to finish in minutes. I'll share some tips about working with contractors along the way.
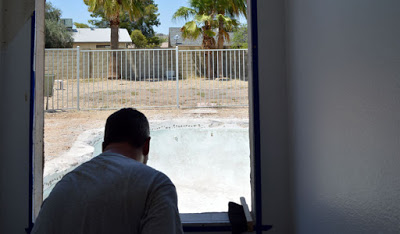
I'd already drained the pool when we were in our paralysis mode. It would save power, water and chemicals, not to mention a $200 draining fee. No one wanted to swim in the swamp anyway.
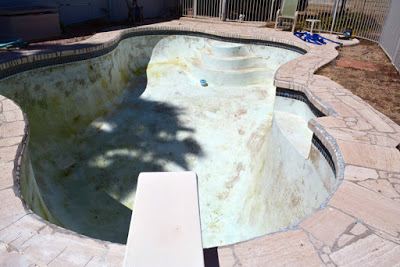
I'll start there, when there was still yellow slime algae and crusty, deep-rooted black algae basking in the sun.

Ohh the horror
We settled on the contractor with the best plan, gave him a last look at the price, and negotiated the terms of the contract. Remember, you don't have to sign what they give you without negotiation. I pushed back on three key points:
- Their contractual, complete lack of liability for their damage to our property. This was fairly typical on all the contracts I reviewed. Sure, I would accept a gate scuffed by a wheelbarrow, a busted sprinkler line, broken shrubs, and that sort of thing. It was going to be a worksite, after all. Stuff happens when there's heavy material and equipment in play. However, their lack of liability included everything. I demanded they would at least be responsible for damage to our pool equipment, block fence, windows, driveway, etc. If they wouldn't take wouldn't take care enough in their work to assume responsibility for burning our house down or similar disaster, we wouldn't need them as a contractor. I was adamant and ready to bail over the issue. In the end, we came to a good agreement. I felt comfortable, they felt comfortable. Win win.
- The payment schedule. They wanted a bunch of cash up front, a bunch at demolition, and the balance when the deck was poured, before the interior surfacing was even done and we could see if it would hold water? BULL-PUCKY. That was not happening. I insisted that I hold a retention until after the job was done. Look up advice anywhere about working with contractors, it always tells you not to pay 100% up front. In fact, just as we were entering into this project, one of the largest, most well known pool companies in Phoenix was in the process of screwing their customers over, leaving them with half-finished projects and thousands of dollars lost. Win. I got to write the last check when I was satisfied the project was complete.
- I wanted to pay by credit card. We'd have our financing deposited in our bank account and pay the credit card charges from it. I figured we'd rack up the bonus points and get some consumer protections from the credit card company if the contractor flamed out on us. I lost this battle. They wanted to upcharge for using a credit card. They just didn't have the margins in the job to pay the fees. I was only able to put the initial $1,000 deposit on a card.
Two wins and a loss in my book. Not bad. I was satisfied and felt comfortable enough with the company. One scary risk we had to take involved the skimmer / scupper assembly which had a 50/50 chance of surviving demolition. If it broke, it would be about a $700 hit to replace it. I guess that's a normal risk of jack-hammering a deck out that most contractors don't share. I appreciate that they at least warned us upfront, but gulp.
We were not ready to cough up another $700.
We picked out the materials and colors when we signed the contract. That part was pretty fun. There were a bazillion combinations of finishes for the deck, waterline tile, and interior.

Interior finishes

Closing in on a tile choice
We chose a beige ("Mesa Buff") coating, a slate-looking, Italian tile, and an "aqua blue," micro-pebble interior. The tile had a familial feel with the floor tile throughout our house. The pebble finish was an upcharge over old school, white "plaster" finish, but it would last longer. It would also look better. Closing in on a tile choice

The final choice, on the left.
Once that was done, we got on their schedule; it took about about three weeks to get started. I met the superintendent before work one morning and left feeling good about him. It was in his hands, I wouldn't be there to oversee the work, nor did I have the expertise to do so. Over the course of the project, I'd leave for work in the morning and see a group of workers gathering in the street, unloading equipment and drinking coffee. I'd get home and find something done.
That first day of work, I found a big, noisy beast, rumbling beside the driveway. I guess it was an air compressor / generator combo. I could hear jackhammers in the back yard. The neighbors must have been in heaven.
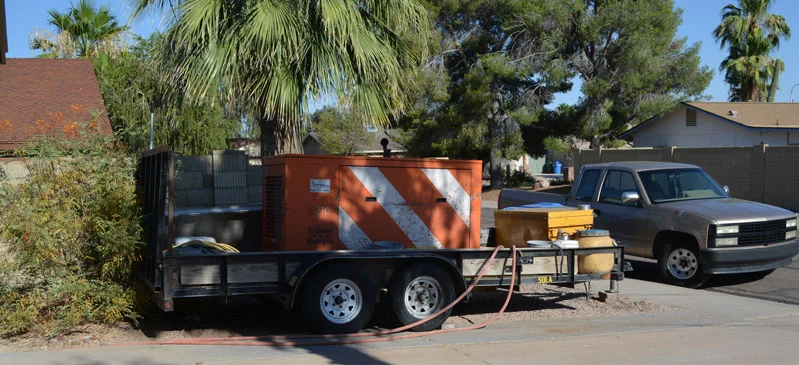
The Beast
The crews were still going strong in the afternoon heat, after 4pm. There were two jack hammers pounding away and two teams loading and running wheelbarrows, carting the busted stone and concrete out of the back yard.

It was exactly one hundred and holy-crap degrees out there and these guys were really humping it, while wearing long sleeve shirts and bandanas to protect them from all the dust. Bad asses. I handed them some cold sodas and let them do their work.
They left, a little more than halfway done with the deck demolition. They'd been smashing out the ugly mystery stone AND the concrete deck. We'd decided on the complete, new deck for roughly the same price as the option that took off the stone, ground the deck smooth and recoated it or the one that tore off the stone and covered the old deck with pavers. I'm glad we did, who knows what problems would have come up trying to save the old concrete.

A pneumatic jack-hammer, taking a break for the night.
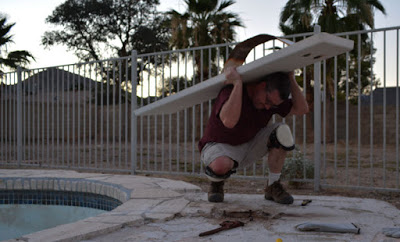
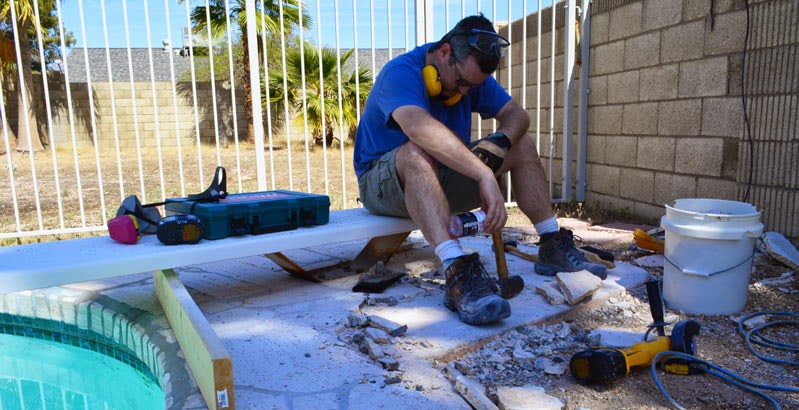
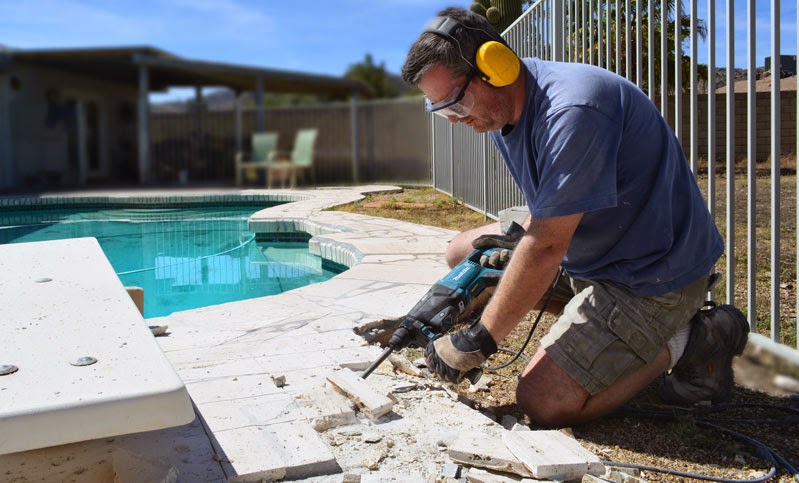
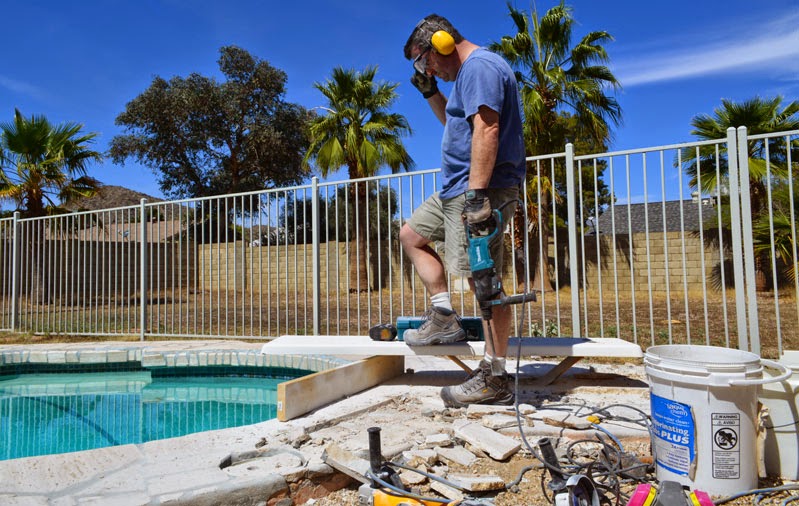
Those crews wielding monstrous jack hammers made me look like a weenie by comparison. I thought I was doing some heavy-duty demo work, back when I'd stripped some of the stone off a few months ago...

The happy little hammer-driller
The happy little hammer-driller
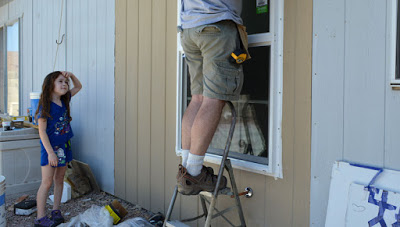
Back in present times, Gracie got some Minecraft style chipping done with a full-size pick-axe the workers had left behind. It made her day, despite the fact she could hardly lift the thing.

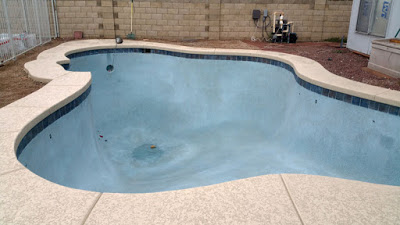
The inside of the pool looked like Tokyo, after an afternoon hosting Godzilla and his friends on a mad caffeine binge. There'd be no swimming anytime soon.

Not Tokyo
After the second day of demo, our entire pool deck was reduced to one purpose, to be the bane of our mail carrier's existence. Neither rain, nor snow, or 3,000 pounds of rubble kept her from her appointed rounds. The mail was on time.
Remarkably, no one stole anything overnight. The pile of crumbled stone, crushed concrete, and twisted rebar was left, unspoiled for a couple days, before vanishing while we were at work. It was likely the work of a highly-trained team of covert, Colombian concrete-recycling cartel members who "disappeared" it from our street, leaving no witnesses, at least none that would talk.

Just when we allowed ourselves to be excited at the work moving forward, with prospects of swimming by mid-July,.. bad news.
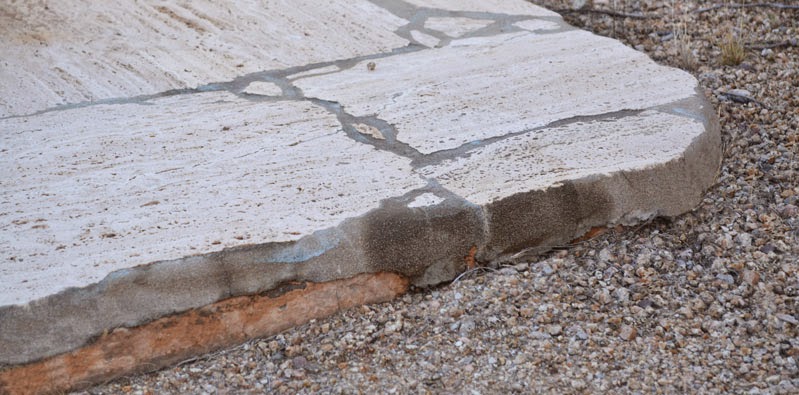
It was the "bond beam", the squared, concrete beam perched, level with the ground, atop the subgrade section of pool itself, but below the walking deck.

The problem was that it wasn't "squared" anymore. It was more "blown to crap" and would have to be repaired in order to receive the deck and waterline tile.

Bad news.
Bad news.
The original, late 70's - early 80's pool builder had installed the bond beam and essentially tied it into the deck by threading rebar through both concrete pours. They'd become functionally one piece. Apparently, the proper way to do it is to separate the beam and the deck, even with a sheet of plastic so the deck "floats". The parts should be able to independently expand and contract. With one piece sitting sub-grade, against the water and the other facing the wrath of the Phoenix summer sun, of course they'd expand and contract differently.

Very bad news.
Clarity moment,... this is probably why our predecessors covered the deck with the horrible stone in the first place, cracks in the original deck. Heck, there were cracks through the surfacing stone we'd just had torn off.
In conversation with the superintendent I learned this situation is a little something called an "unforeseen condition" and not the responsibility of his demo subcontractor. There is no way the water-line tile can be attached with such damage. Uh oh.
This "unforeseen condition" resulted in what is known as a "change order." In this case, it was a butt-puckering $1,500 hit to our bank account. We'd not planned for it and certainly not financed it.
Apparently the repair was so stupidly, expletive inducingly expensive, because there was a minimum charge for a concrete subcontractor. Our superintendent said he'd shopped it down from around $2,500 to get to the wee charge of $1,500. They'd be using some sort of primer and epoxy to fill cracks and prepare for new concrete.
Damn.
In the meantime, they tore out the interior surface, leaving a gray, asteroid pocked, lunar landscape.

I really wish I'd been home to see how they did this process. It was carved up, somewhat resembling craggy tree bark. I suppose they did it so the interior could grip to it.

A few days later, after some rain delay, the forms were in place for the deck and they poured the repairs to the bond beam.

This, my friends, is what $1,500 looks like before it gets covered up, never to be seen by human eyes again.

They added a pipe to get water away from the house. Water pooling has been a problem for years. I'm going to have to do some repairs to the house, but at least we've got a solution moving forward. Recognizing this and coming up with a good solution was another reason we chose this particular contractor.

It was a great surprise to come home a few days later and find the new deck poured. We made the right choice alright. There could be no more hidden issues, it was brand new. Not a lipstick on a pig solution.

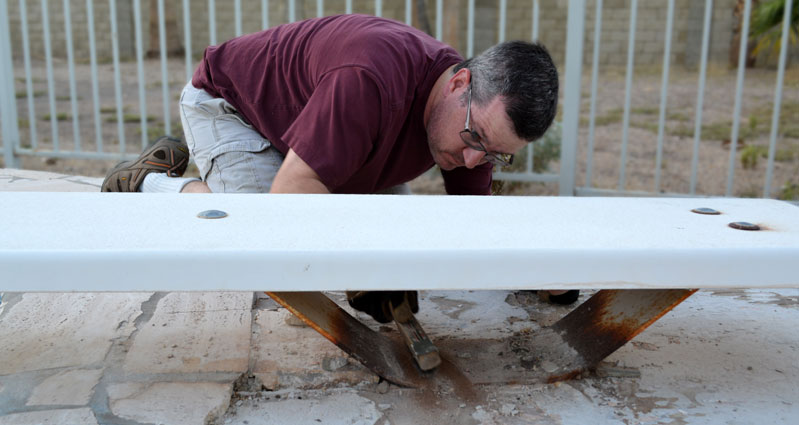
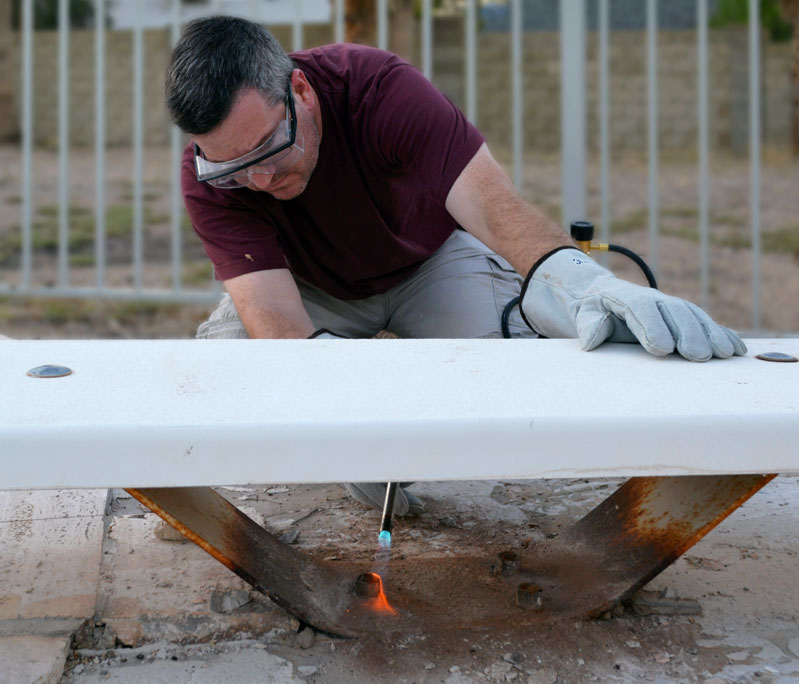
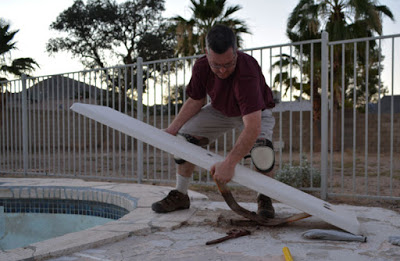
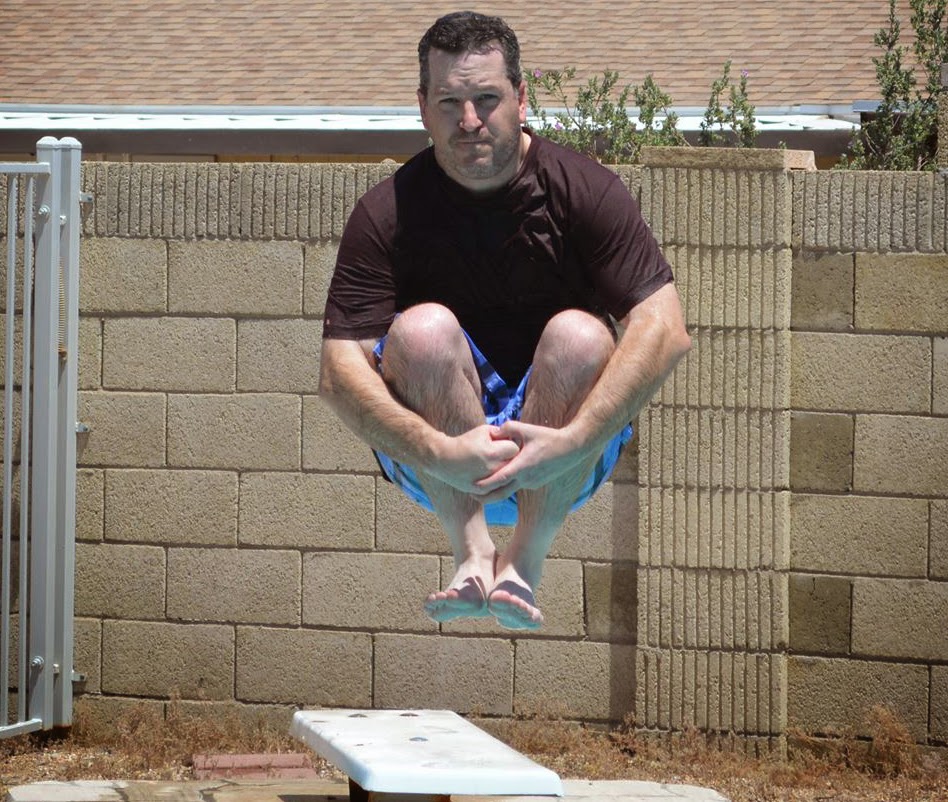
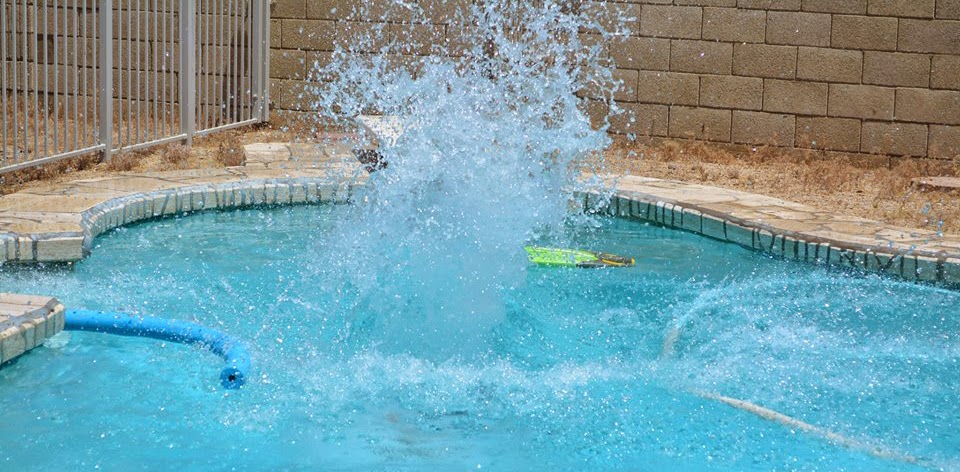
The diving board is gone. We won't miss it, but we did leave a bit more deck in that area as a runway for the requisite cannon ball action.
A few days after that, the tile crew showed up. Sometimes it does pay to hire a pro. Although the project was taking a couple months, it was incredible what we'd find accomplished in a single day of work.
The tile looks fantastic. It really does look similar to the larger floor tile throughout our house and tie things together. Believe it or not, this imported, Italian product was on the basic list of tile. No additional upcharge.

This is where we left it when we went to Michigan for a family reunion / vacation.

Of course we'd hoped to return to a sparkling, complete pool, but we were happy to find that the acrylic lace "cool deck" coating had been applied.

Although not the fanciest finish that can be done, it was the most affordable. For us, it's light years ahead of the godawfulness we had before. For a minor upcharge, we'd had them install a "deco drain" to keep water from pooling. That had always been a problem, since our pool sits a little low and too close to the house.

I don't know if it was my hand wringing anguish when I discussed the big change order with the superintendent, if I'm a master negotiator, or if he just took pity on me, but he threw in a couple umbrella sleeves. Adding them was my wife's idea, to allow us to swim in the shade, earlier in the day. After we buy a patio umbrella, of course.

The micro-pebble interior was installed about a week later. It was pretty-ish, but not quite finished, still a little hazy. Still, we were in home stretch.
Plus, we had this sweet bonus pool further out in the back yard. It's obviously a highly coveted Hollywood celebrity-style, age-rejuvenation bath they left us because we're such cool customers.

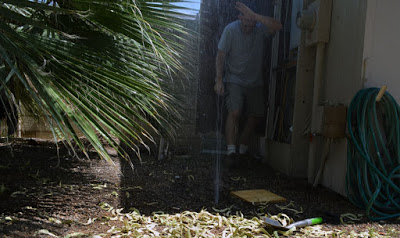
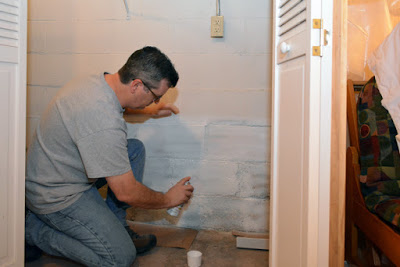
The next morning. a sweet Saturday at 6:30 am. A motor suddenly fired up in the back yard. Thinking of the neighbors, I stepped outside to find a couple dudes power washing (acid washing?) the finish.

One of two power washing dudes.
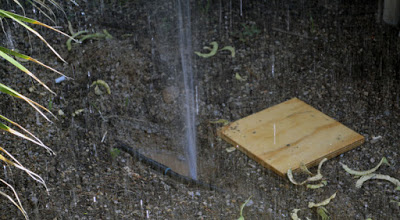
They disappeared as mysteriously as they arrived. Leaving our Hollywood rejuvi-bath in shambles. In it's place was a giant slab of blue taffy baking in the sun.

The only clue they left behind was this...

It was a good sign. The kids thought it was a good sign indeed.

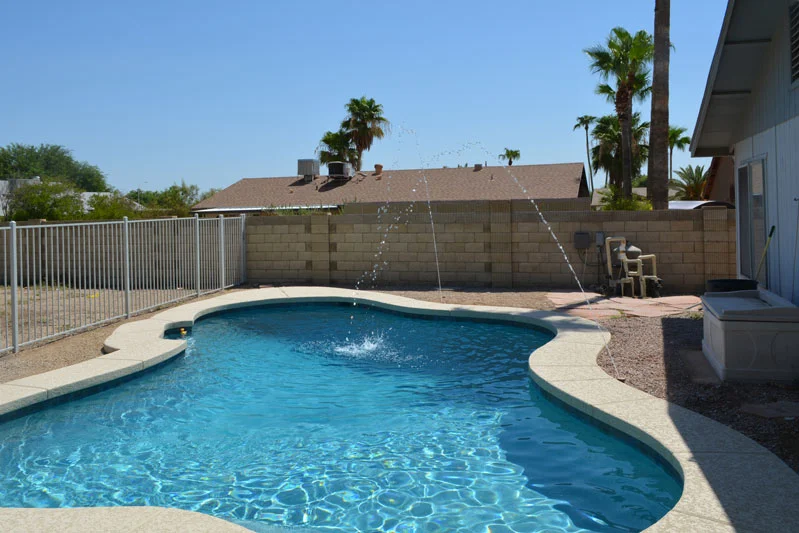
We got the green light the next day. Some of the family was mildly interested.


It is a beautiful thing. We still can't run the vacuum robot guy for a while and we can't run the salt water chlorination system for a month while the finish fully cures, but we can enjoy it.

It wasn't entirely done yet. There are some minor items like deck coating smudges on the tile, some less than filled grout joints and a void over the skimmer that needs grouting in, The contractor has been great, taking care of everything with only my slightest inquiry.

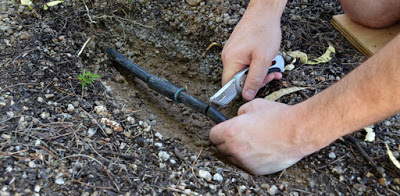
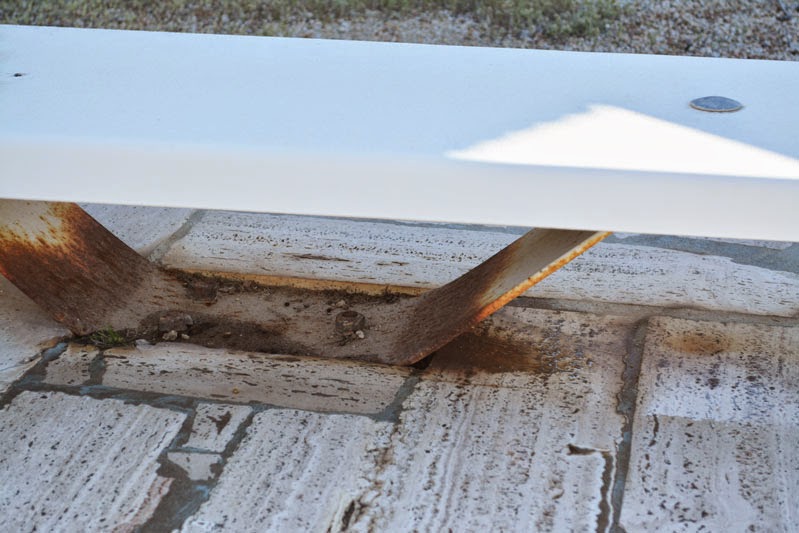
Then Sweetie found a big problem. We'd had an aerator before; it was missing. The aerator was a fan-shaped fountain sticking out, just below the deck. We controlled it with a valve, allowing it to spray into the air and land in the water. We liked it not only to cool the water, but as a water feature with pleasant sound while enjoying a morning coffee.

I was sure there would be a fight, but the superintendent was accomodating. He took accountability for missing it when his demo subcontractor tore it out. He gave us a choice to fix it. He could tear out a section of the decking to install it, which would mean a re-pour and recoat or he could give us a couple "deck jets," mounted outside the deck shooting into the pool.
Easy choice.
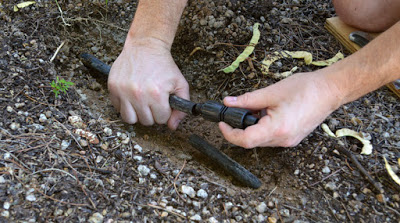
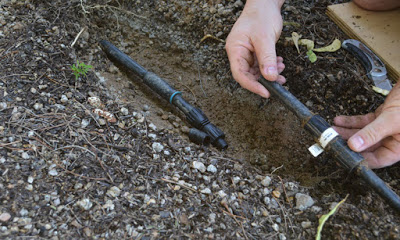
We chose the jets. No more disruption, plus they are cool. The little turrets allow us to change the elevation and aim the nozzle however we choose.

We can independently adjust the power to each one, from completely off, to a little tinkling arc, or to a 10 foot tall geyser . Of course, we like 10 foot geyser action.

I learned the hard way to turn them off at night. Our power saving multi-speed pump slows down after a while and circulates the water at low RPM for hours. Low RPM means the jets won't make it to the pool. Overnight, we made an investment in our local water utility by flooding the yard while the new autofill device merrily pumped water back into the pool. Lovely.

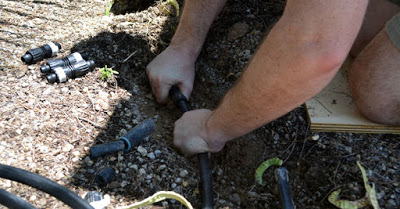
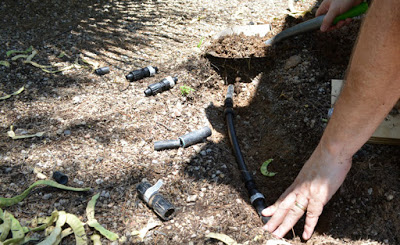
I'm glad we added the auto-fill device. It will keep the pool topped up and won't let it overflow. I don't know how to work on it, set it, or maintain it yet, but it's working perfectly. I noticed there is a valve sunken into the deck that looks just like the one in a toilet tank.

That's it, done deal. We're going to start working on the back yard more, decorating the pool area, landscaping, fixing the back patio, and finishing the back side of the house, lots to do.
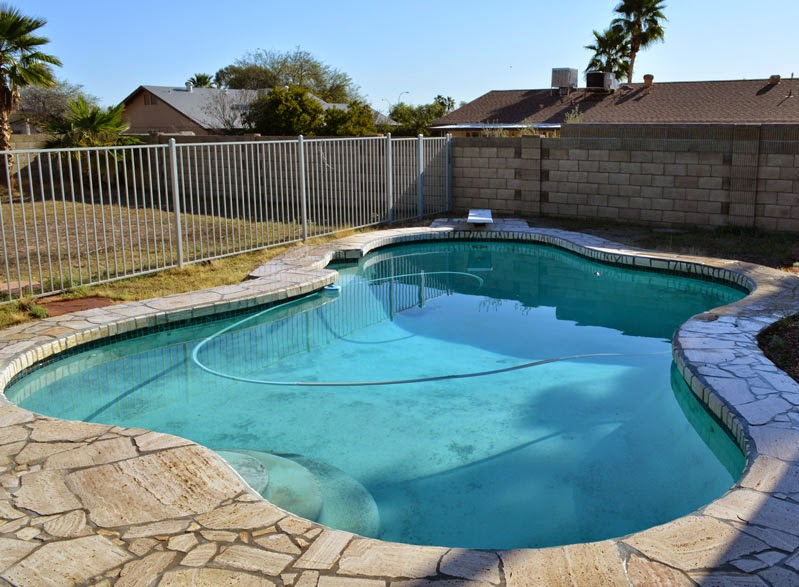
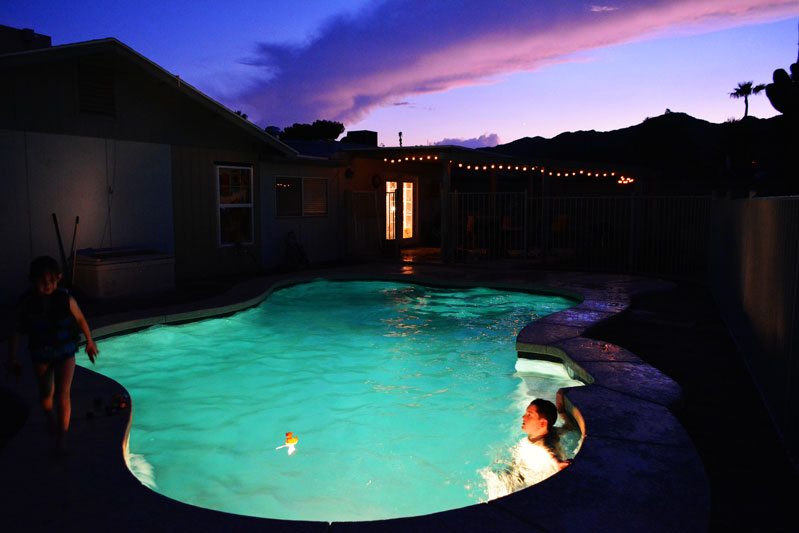
It's been great to have it done. With temperatures hitting 117, we don't even mind that the pool water has hit 94 degrees. We've swam more in the last week than in the prior summer.
Before

After
Sometimes, it's ok to hire someone. It was a big expense to get it done; we'll be paying for it for quite a while. But it got done and done right, while I did other things around the house. It's a huge part of our family entertainment and adds value to our home.
I think we made the right choice.


.")