


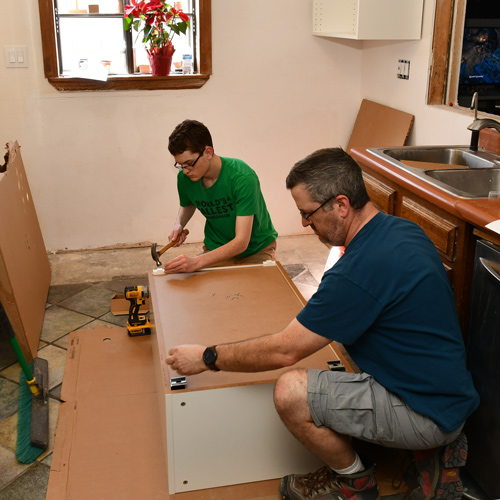
Party on the left, serious work on the right.
Unless you're just getting here, you've seen me do this before. We've been installing an IKEA kitchen, so it's super simple, for the most part.
It all starts with hanging the cabinet support rails.
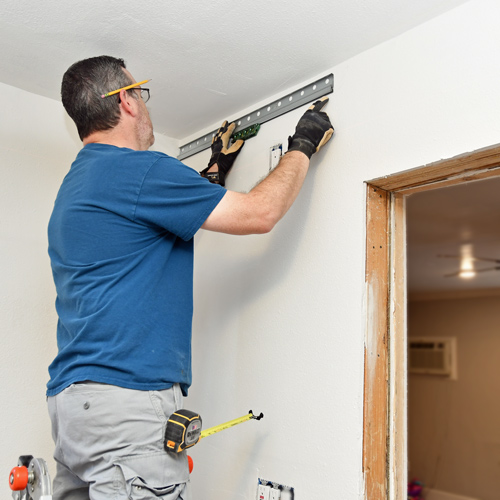
This time, I couldn't run a continuous rail for all the upper cabinets. There's a brand spanking new / enlarged "window" opening in the way where there will be no cabinets.
What's that big opening-thing architecturally called anyway? It's not really a window is it?
Since every last inch of our house is out-of-level, crooked, and warped, I blazed a sharp laser-line across the room. I'd measure up from that as I installed the other sections.

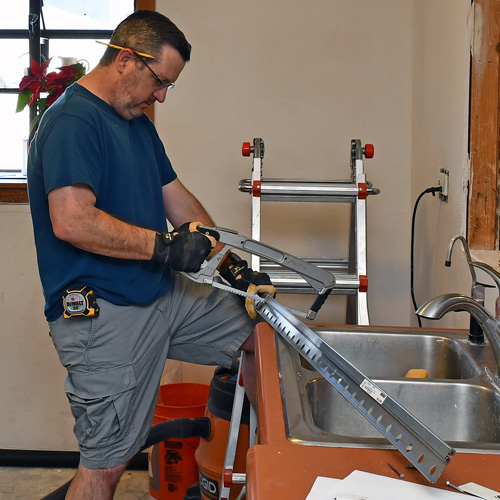
Cutting tip:
Have you ever seen the ol' leg vice trick? I learned this during my stint as an electrician when cutting conduit. Clamp an unwieldy stick of material, tight behind your knee as you squat down with the other knee on the floor. Three points of ground contact and the left hand holding the material makes a very-stable cutting vice on the fly. The wonders of the human body eh?

The Old Leg-Vice Gambit
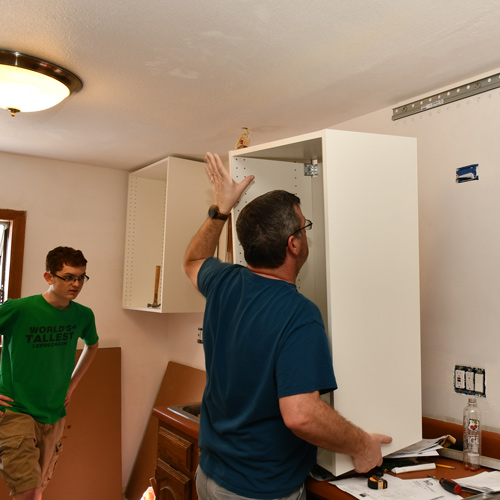
You gotta love the IKEA suspension rail system. It's just so stinking handy. A normal person can hang cabinets alone, without any sort of contraption.

Jack and I got into production mode again. We're seasoned hands at speedily assembling flat-pack cabinetry at this point. Check out my tips and tricks for building and installing IKEA if you missed it: 12 TIPS FOR INSTALLING AN IKEA KITCHEN

With the uppers hanging on the rail. I popped the old sink out for the last time!!!!!! I was so, unbelievably sick of that sucker, in-out, in-out, in-out, in-out,...
I lugged it outside immediately and gave it a good, swift kick with my steel-toe for good measure. It felt good.

Never again.
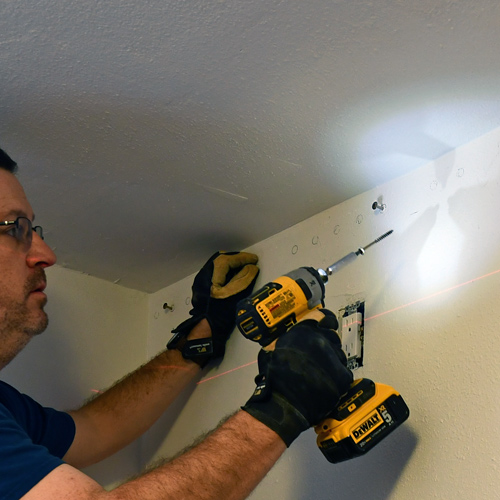
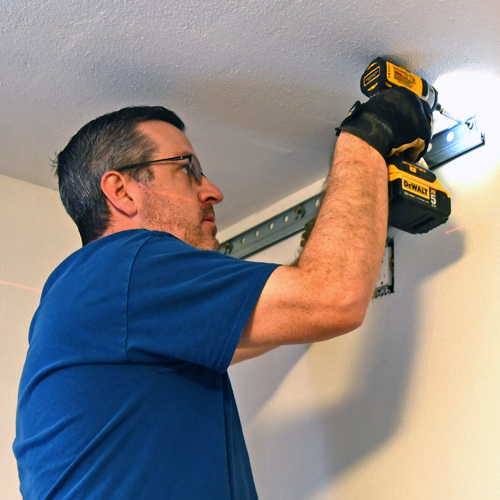
I started zapping the lower suspension bar in place. Like the south wall, I used heavy, self-drilling Spax cabinet screws, right into the new studs.

Screw it!
The lower run got a straight line of rail, end-to-end. It was a lot easier to level out.

I can hear the train coming.
I hate spoiling fresh clean cabinets with a bunch of holes, but the sink base needed a handfull. I made cutouts for the drain, cleanout, hot and cold water lines, and the electrical outlet for the disposal.

It's like being inside a speaker cabinet. Loud.
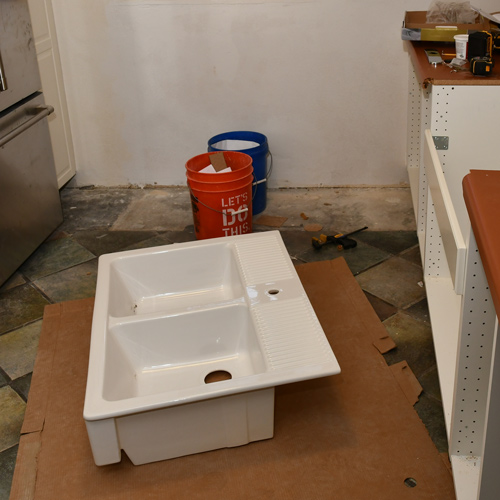
Everything AND the kitchen sink
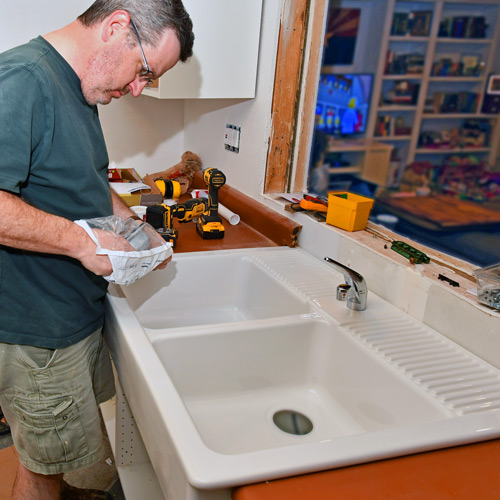
I popped the massive, Domsjö double-bowl farmhouse sink out of the box, prepped it with some plumbing and manhandled the 100 lb. behemoth into place. This thing sits on-top of the counters, from the front, all the way to the wall. I'd laid chunks of the old counter-top down temporarily, while we figure out what we're going to do for our permanent solution.
Foreshadowing note: You'll notice that the sink is in absolutely pristine shape. It's not broken at all (yet).
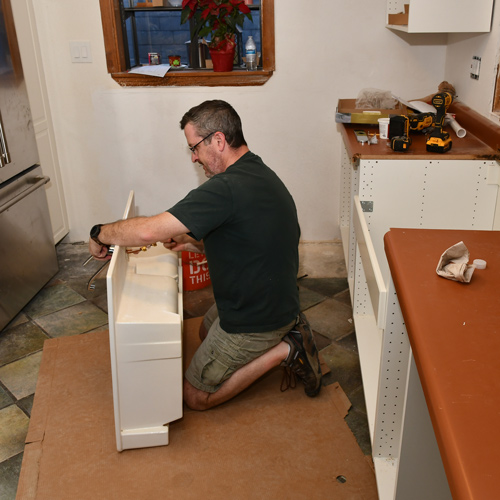
I capped off the day by re-plumbing everything under the sink, installing a tiny, temporary faucet, and almost a brand new garbage disposal.
Unfortunately, there's a flange under this particular sink that prevents most disposals from mounting. I had to install our old stinky one and order a new one from Amazon.

Oh things are really moving now!!! I can't wait to share the next steps.

I'll be installing the new faucet, garbage disposal, and dishwasher. There will be trim to install around the window opening. There's gonna be doors, drawers, pulls, knobs,...
...aaaaaaand yes,...there... will... be.. COUNTERTOPS!!!
Damn right! It's about time.