

We’ve had a few ferociously windy nights the past few months. Each time, just as I drifted off to sleep there was a horrendous noise from what I initially thought was the attic. The first few times, it sounded like some kind of creature gnawing on the framing; then it got worse. It sounded like a conveyor belt spewing drawer-after-drawer of silverware down a metal stairwell. Horrible.
When outside I could tell it was the turbine attic vents. I couldn’t see what was wrong from the ground, but they didn’t spin unless there was a decent wind; then they squealed a bit. Meanwhile, all the neighbor’s vents silently whirled with an ever so slight, puff of breeze. I kept forgetting to climb up and see what was wrong because storms don’t come along too often in Phoenix.
Recently, I was up on the roof doing photography for a sponsored post when I got a close look at the vents. They were damaged alright, three out of four.
Sealing above the ceiling.
The top bearings had broken through the tops of the fans, dropping the whole turbine piece down to where the lower edges of the rested on hex-screws heads.

Laying down on the job.
The whole thing would clatter violently in the wind, bouncing around on the spindle shaft, the screws, whatever the internal structure there was holding the spindle.

Pop goes the weasel.
It probably wouldn’t take long before a winter windstorm would rip the the heck out of them. A couple years ago, in a particularly nasty haboob shredded one of our neighbor’s vents. They had it fixed, but there must have been a mess inside the house due to a 14 inch, open tube gaping skyward in the middle of a storm.

All better now.
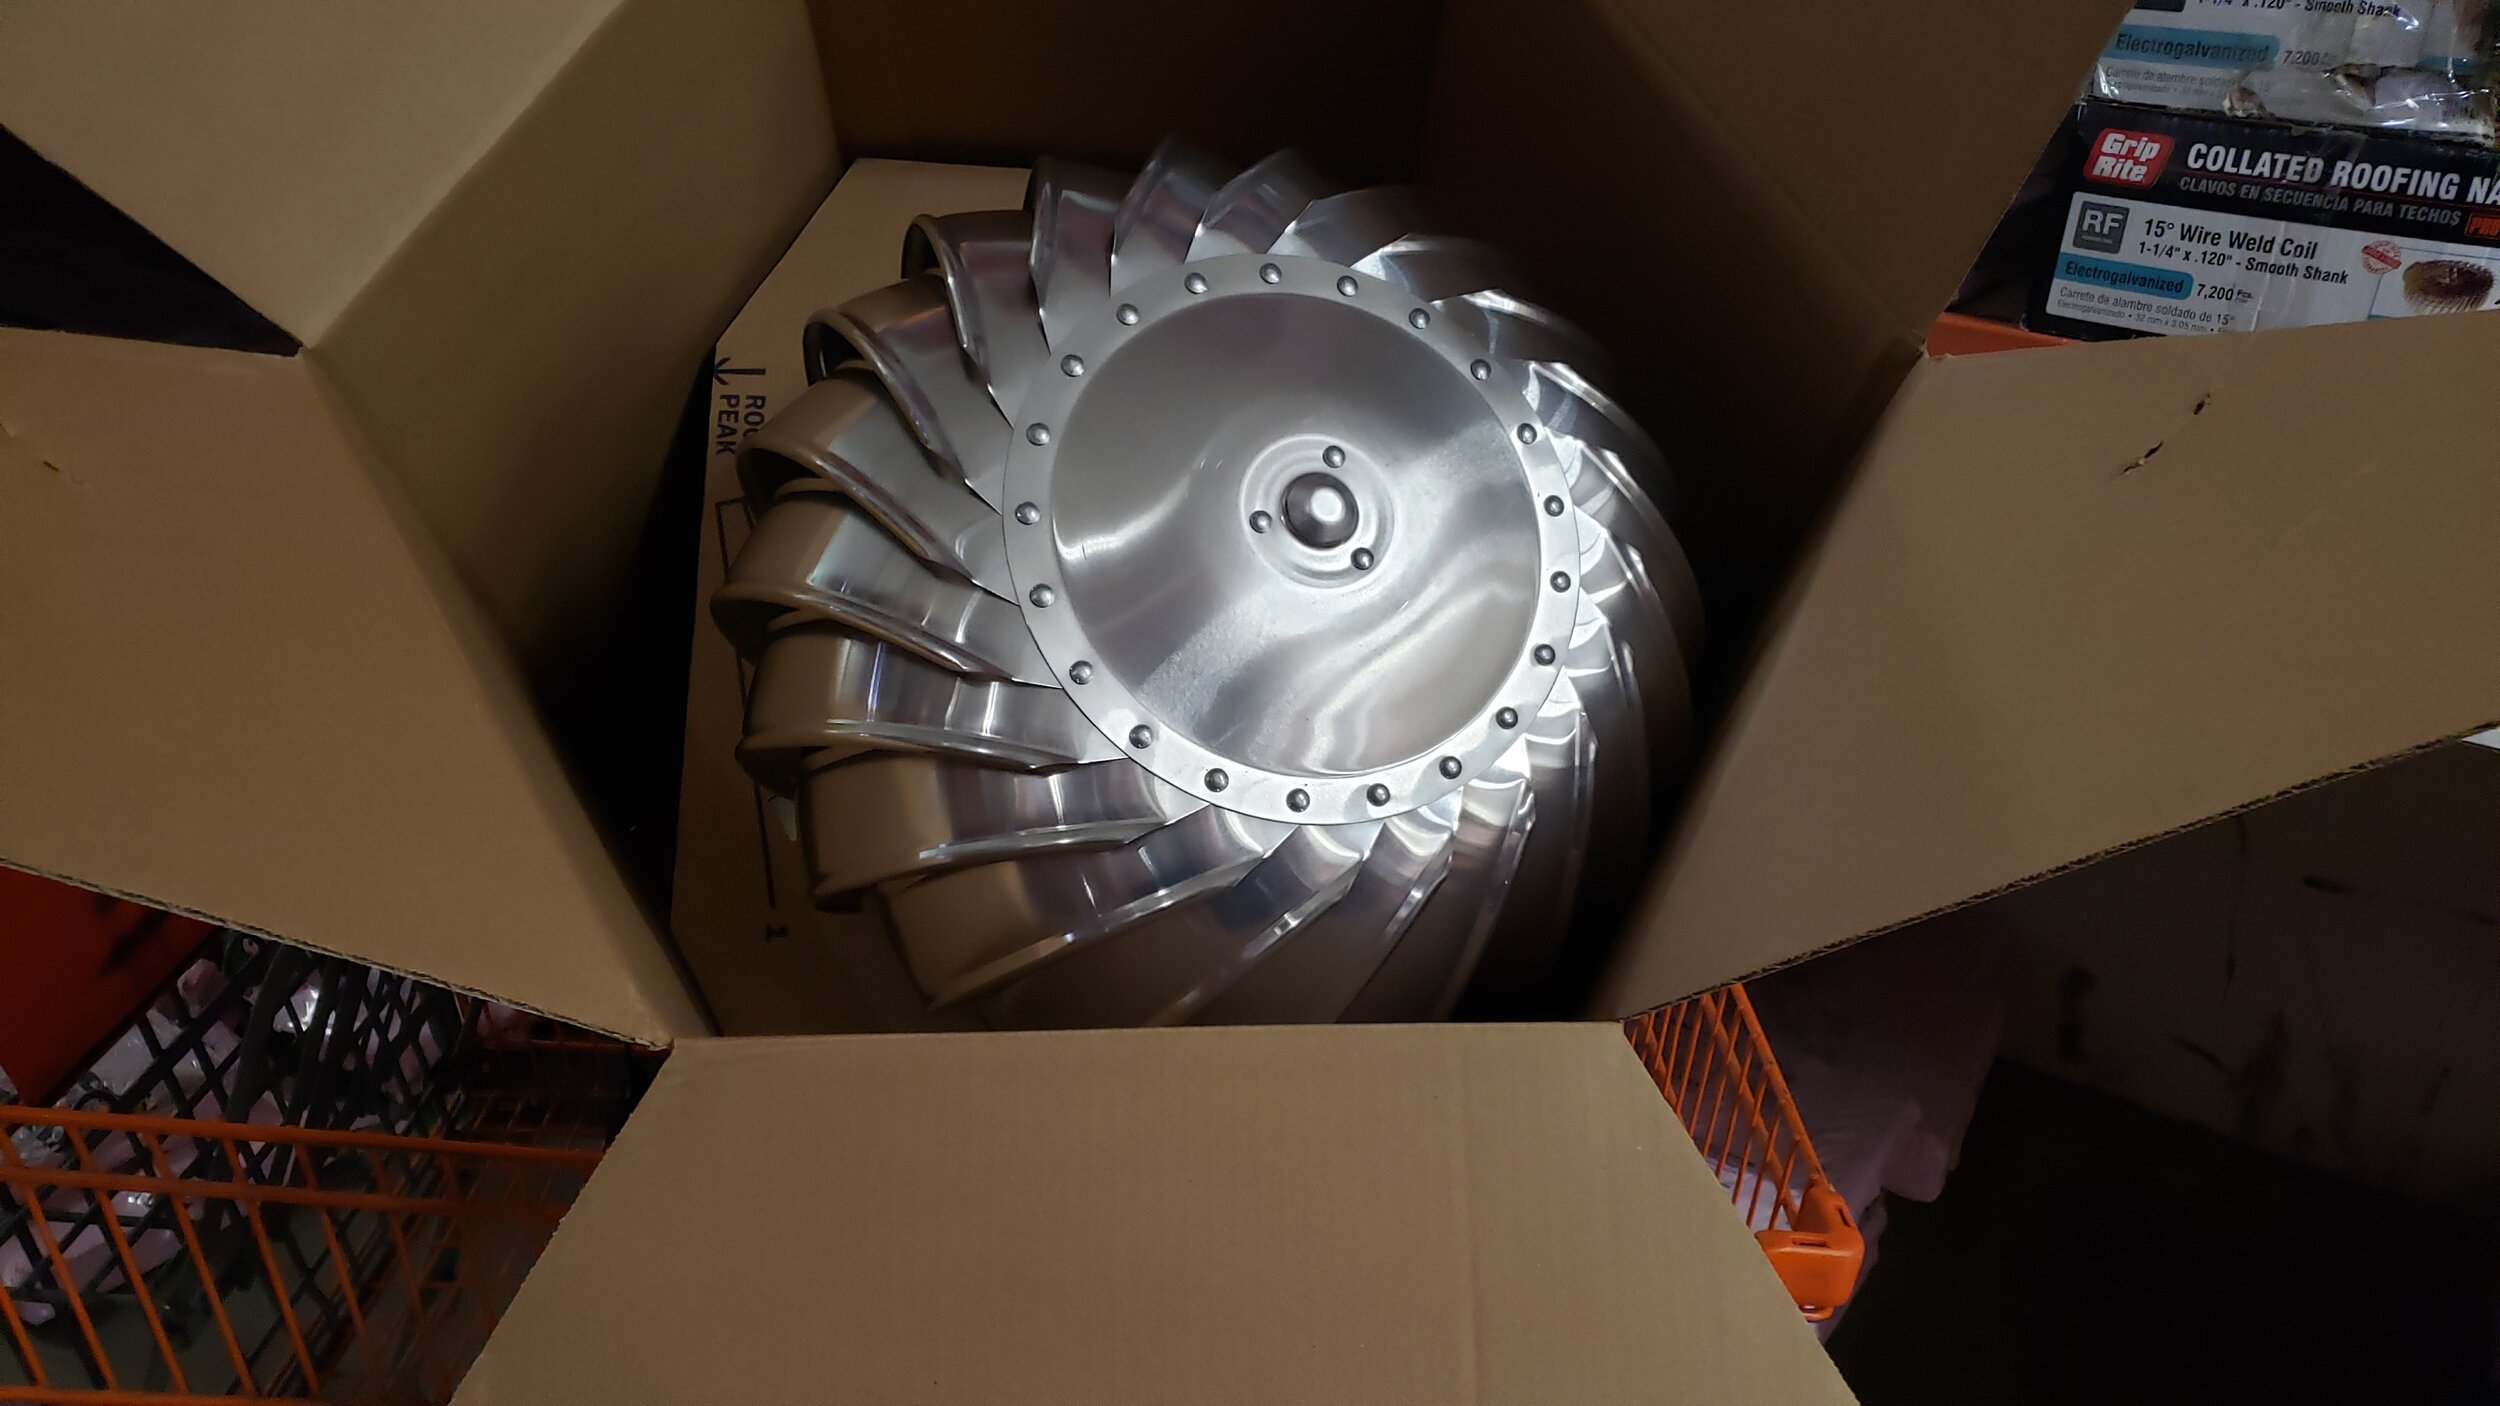
These turbines are mounted on a kind of tripod apparatus mounted atop the base-tube, with a spindle the spinning turbine vent rides on. I’ve seen versions where the mounting frame is more like an exoskeleton instead of inside. I’m sure it’s just differences of manufacturers, but the concept is the same.
I was able to simply lift the first vent straight off the spindle without tools. The bearings were completely destroyed and no longer physically connected.
Once you pop the top the fun don’t stop.
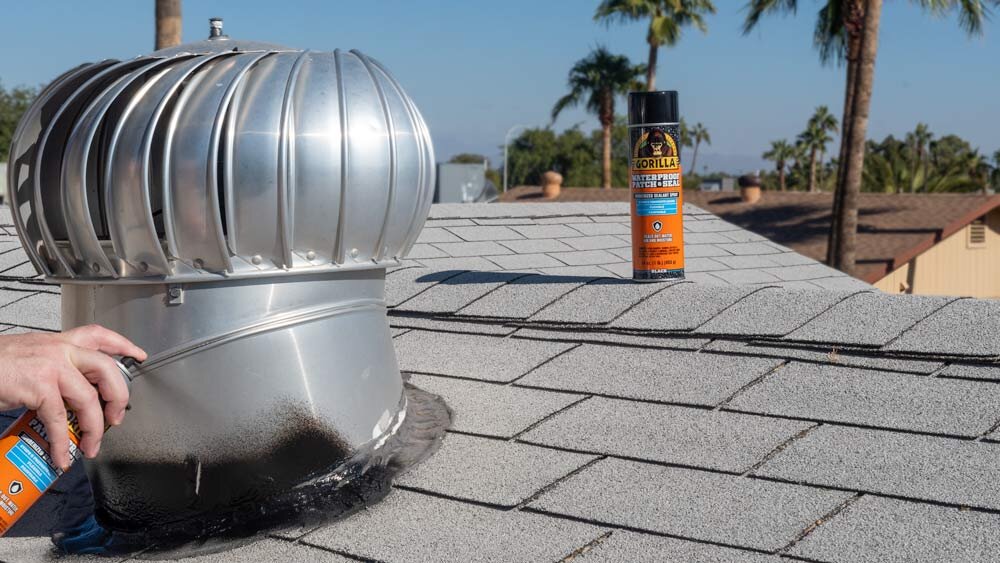
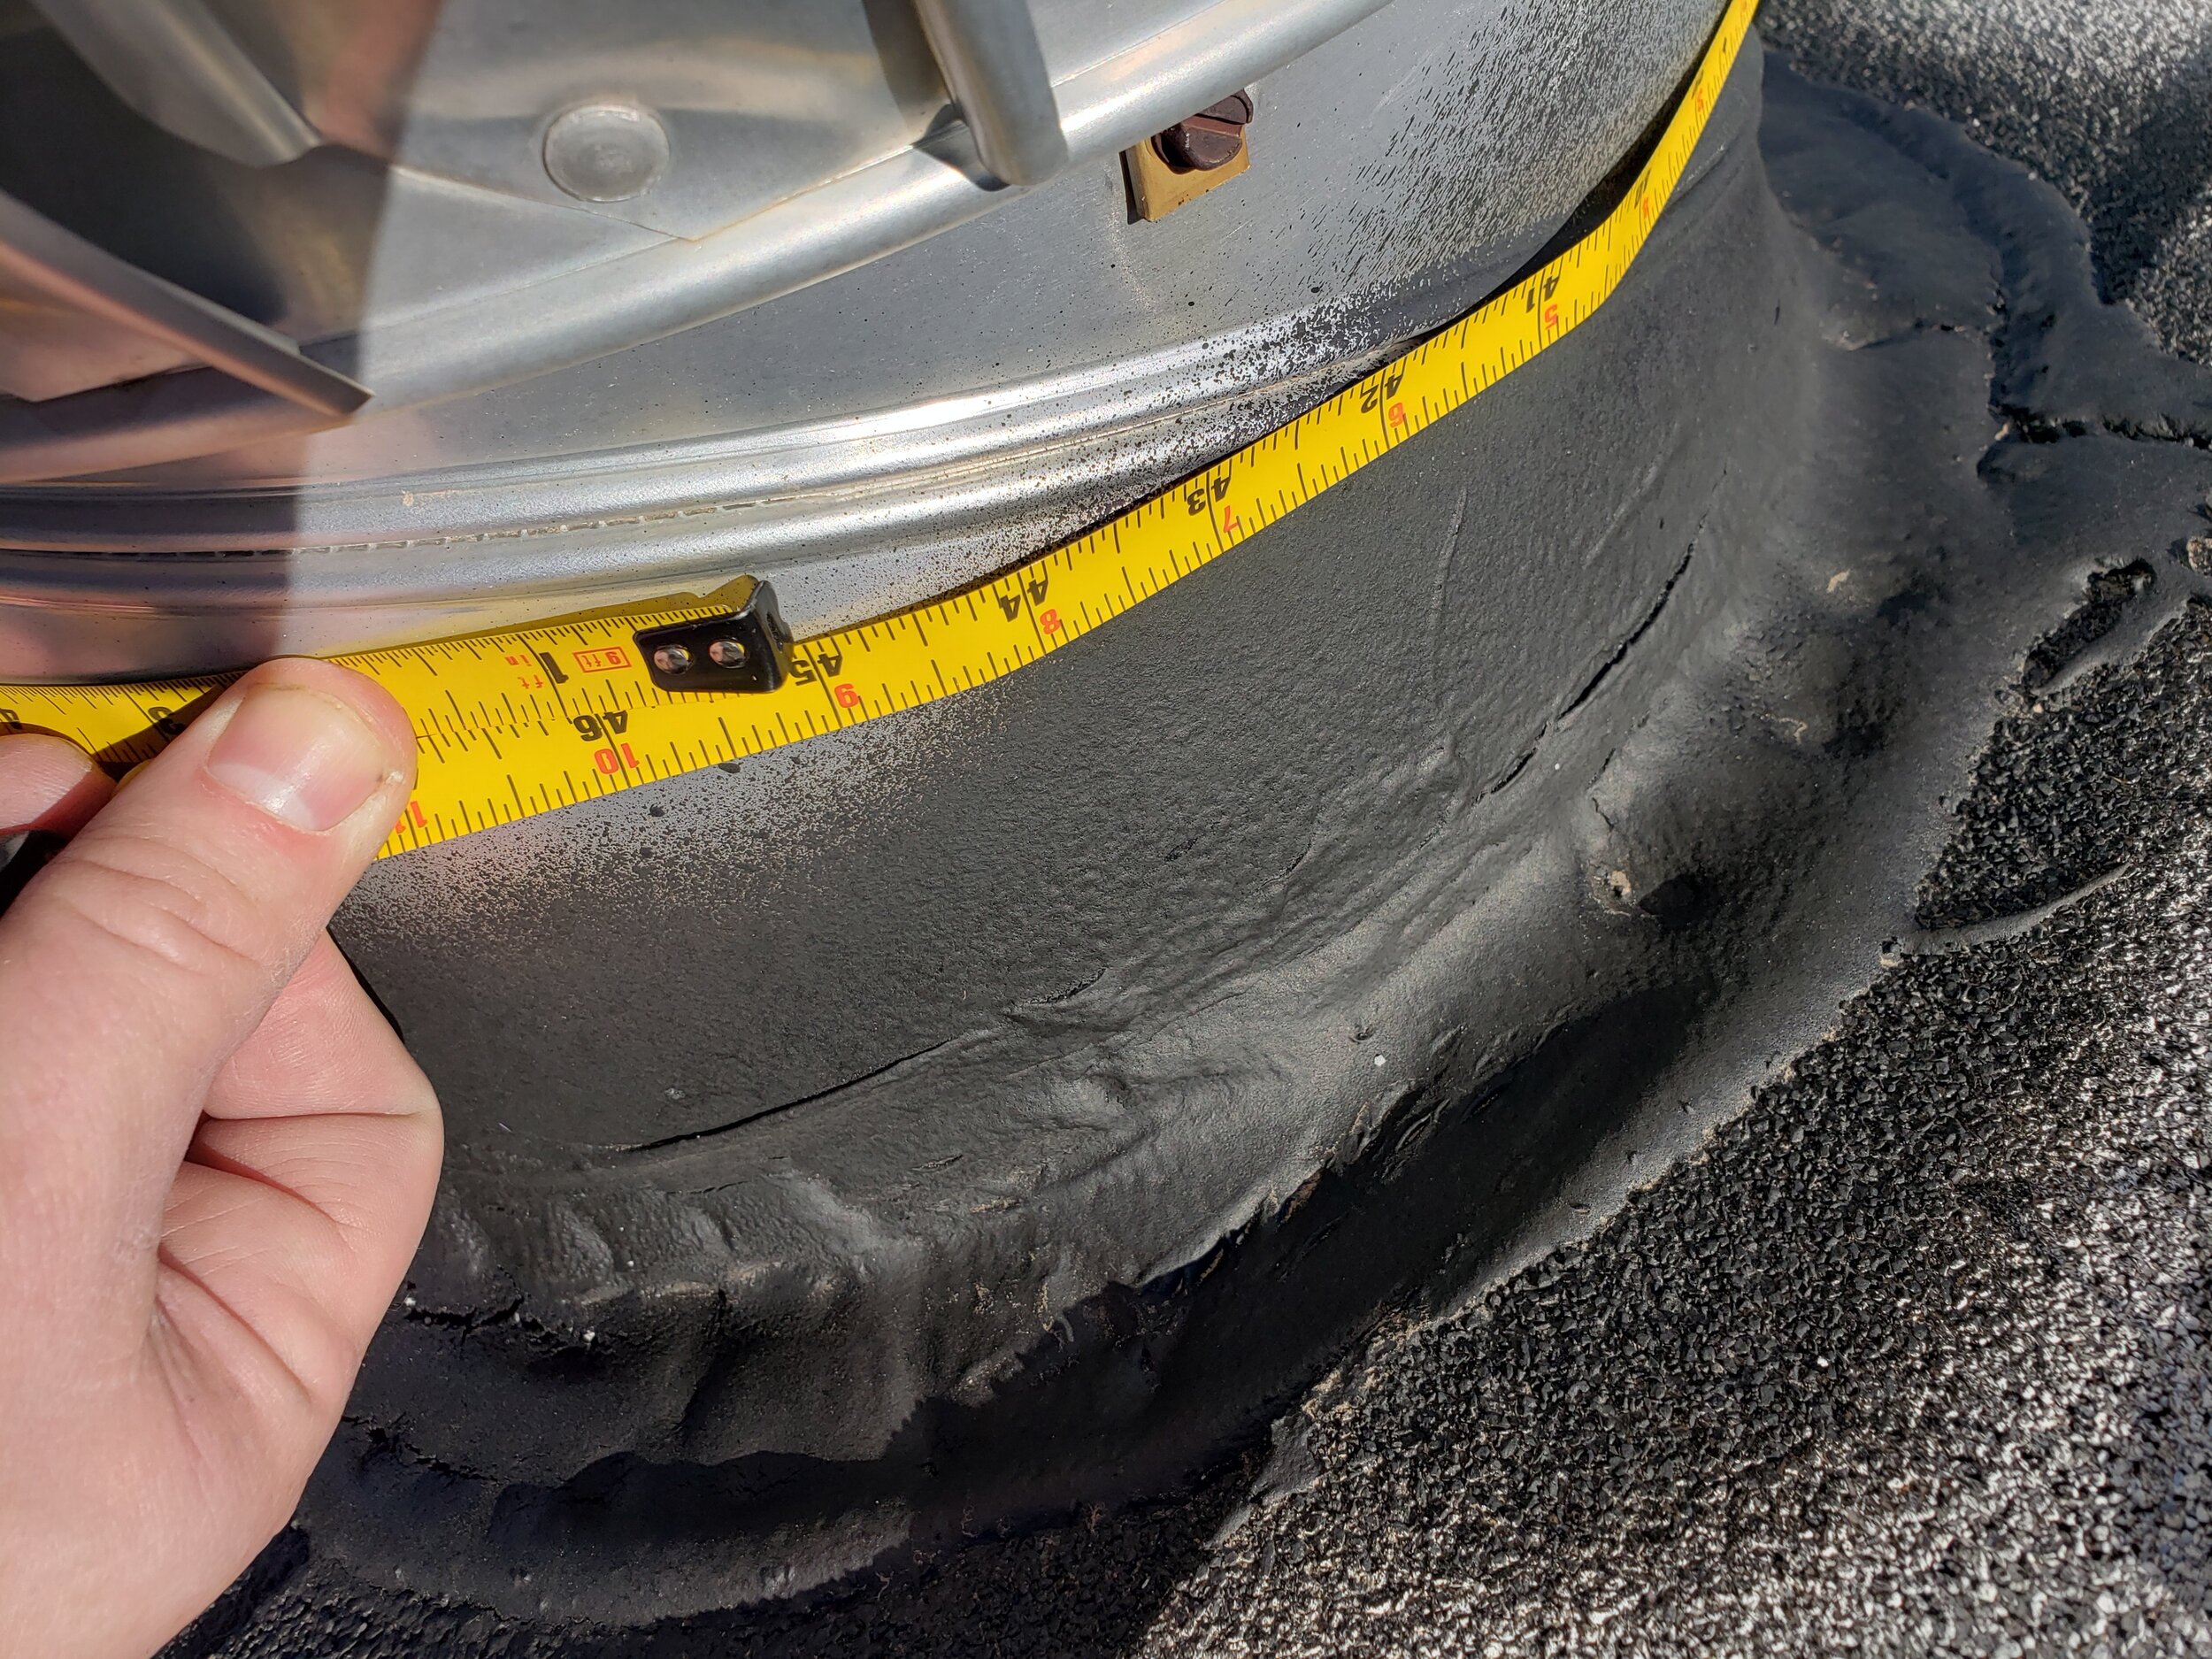
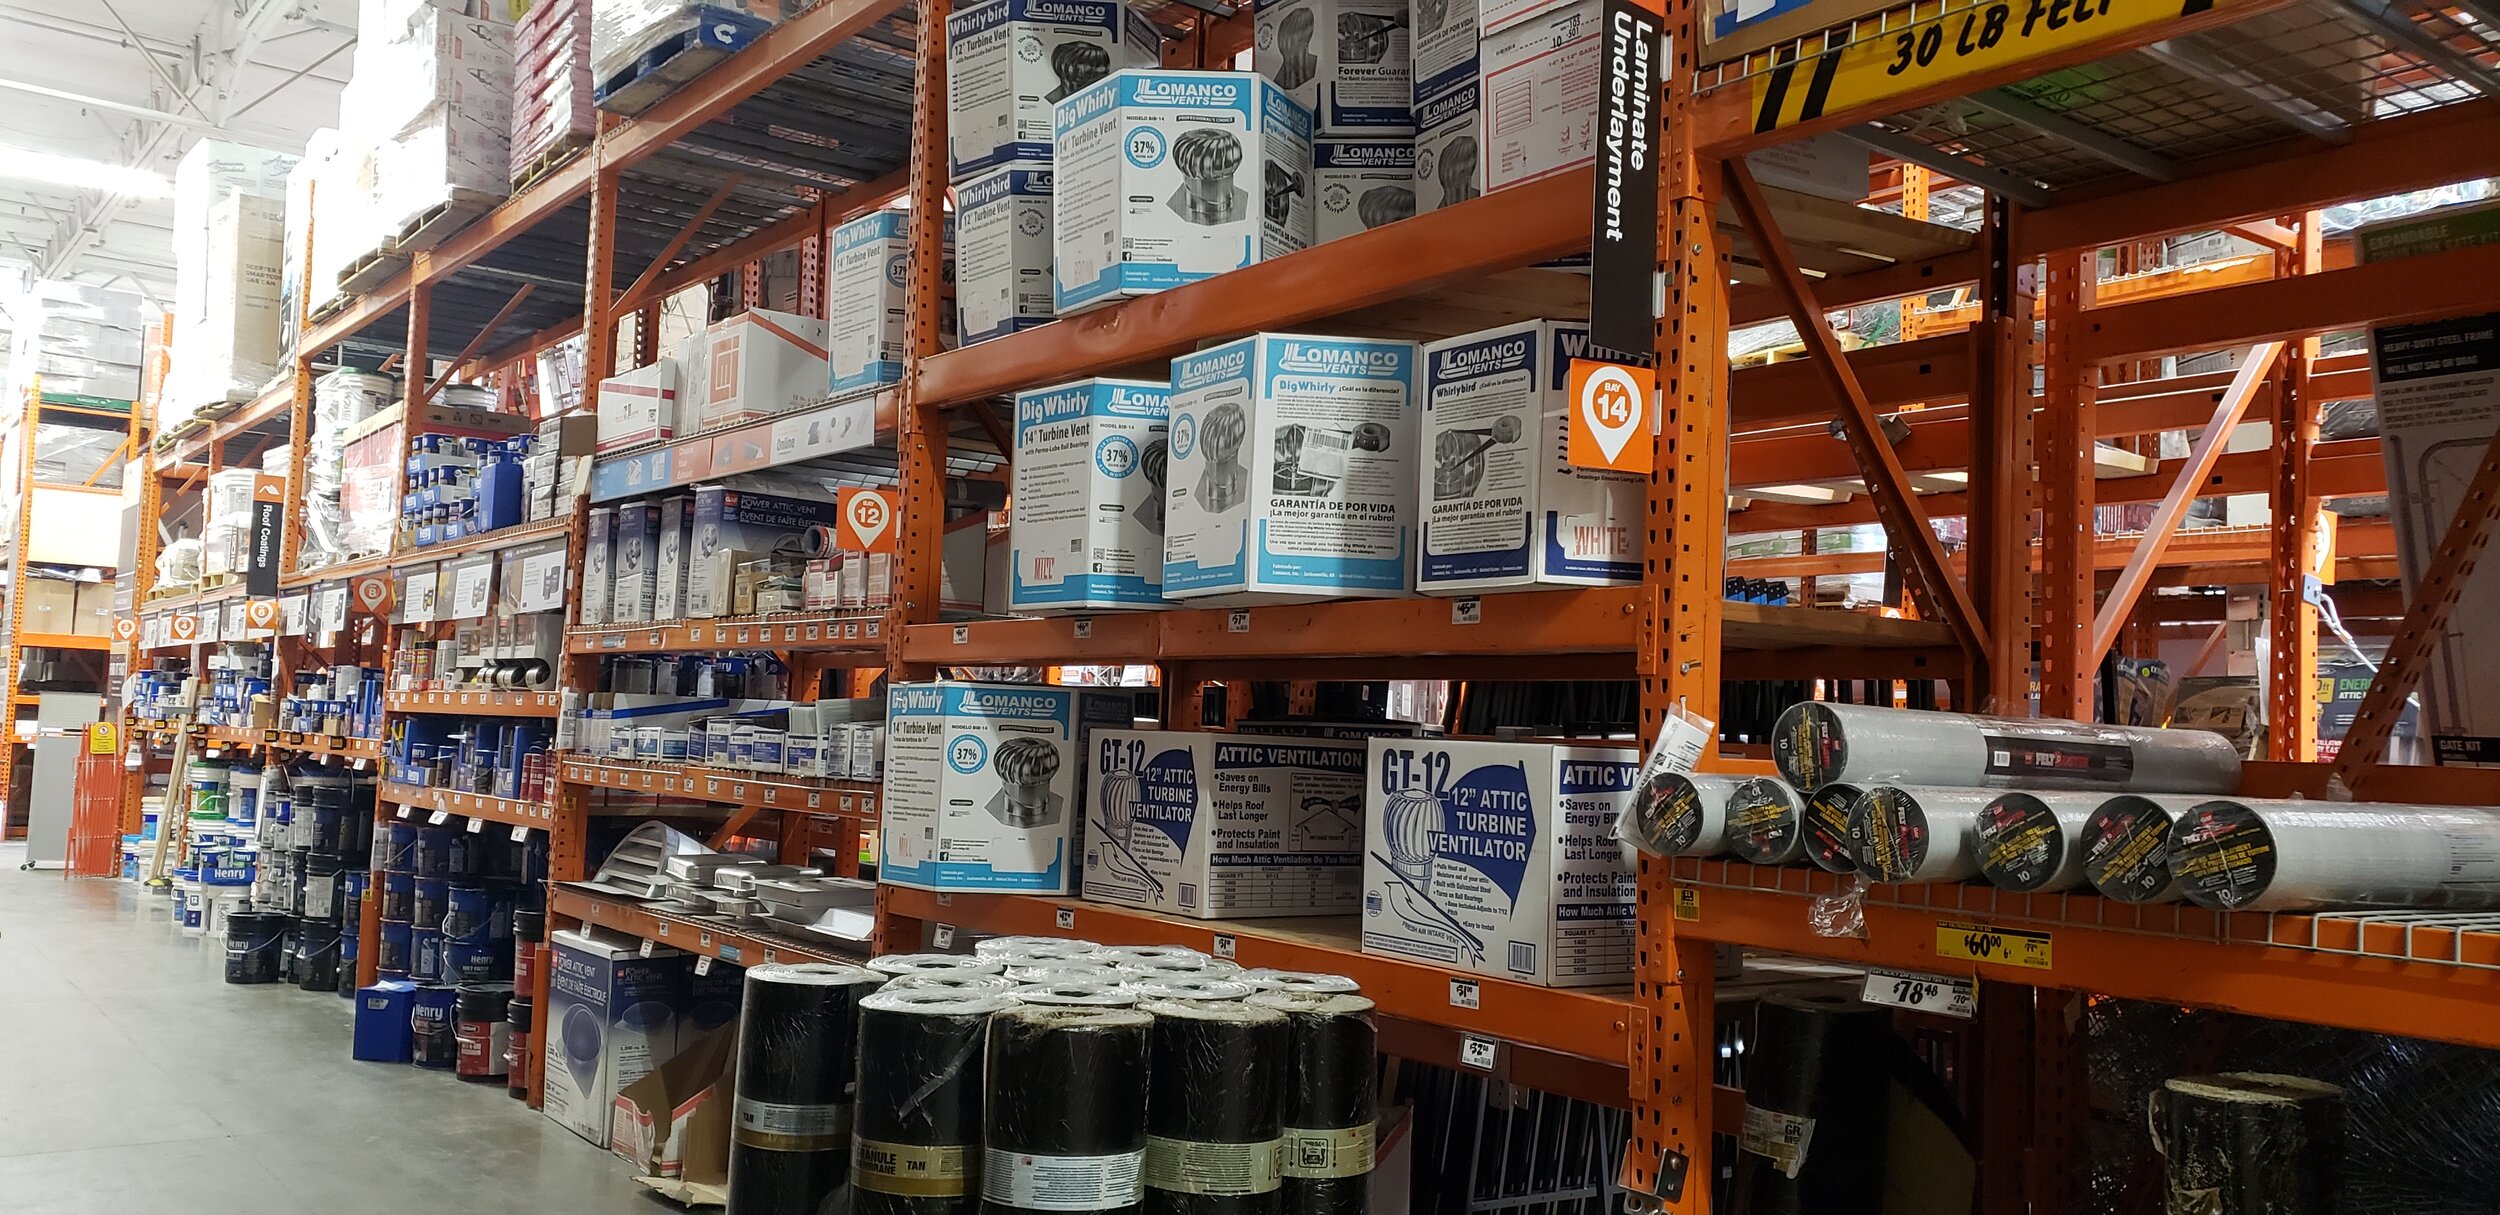
I really didn’t know what brand or size to shop for. I figured I could find a vent to fit the same size base tube. Even if whatever kind of attachment didn’t line up, I could fabricate something with some combination of a drill, tin-snips, pop-rivets, or self-tapping screws. I measured around the tube and went shopping.
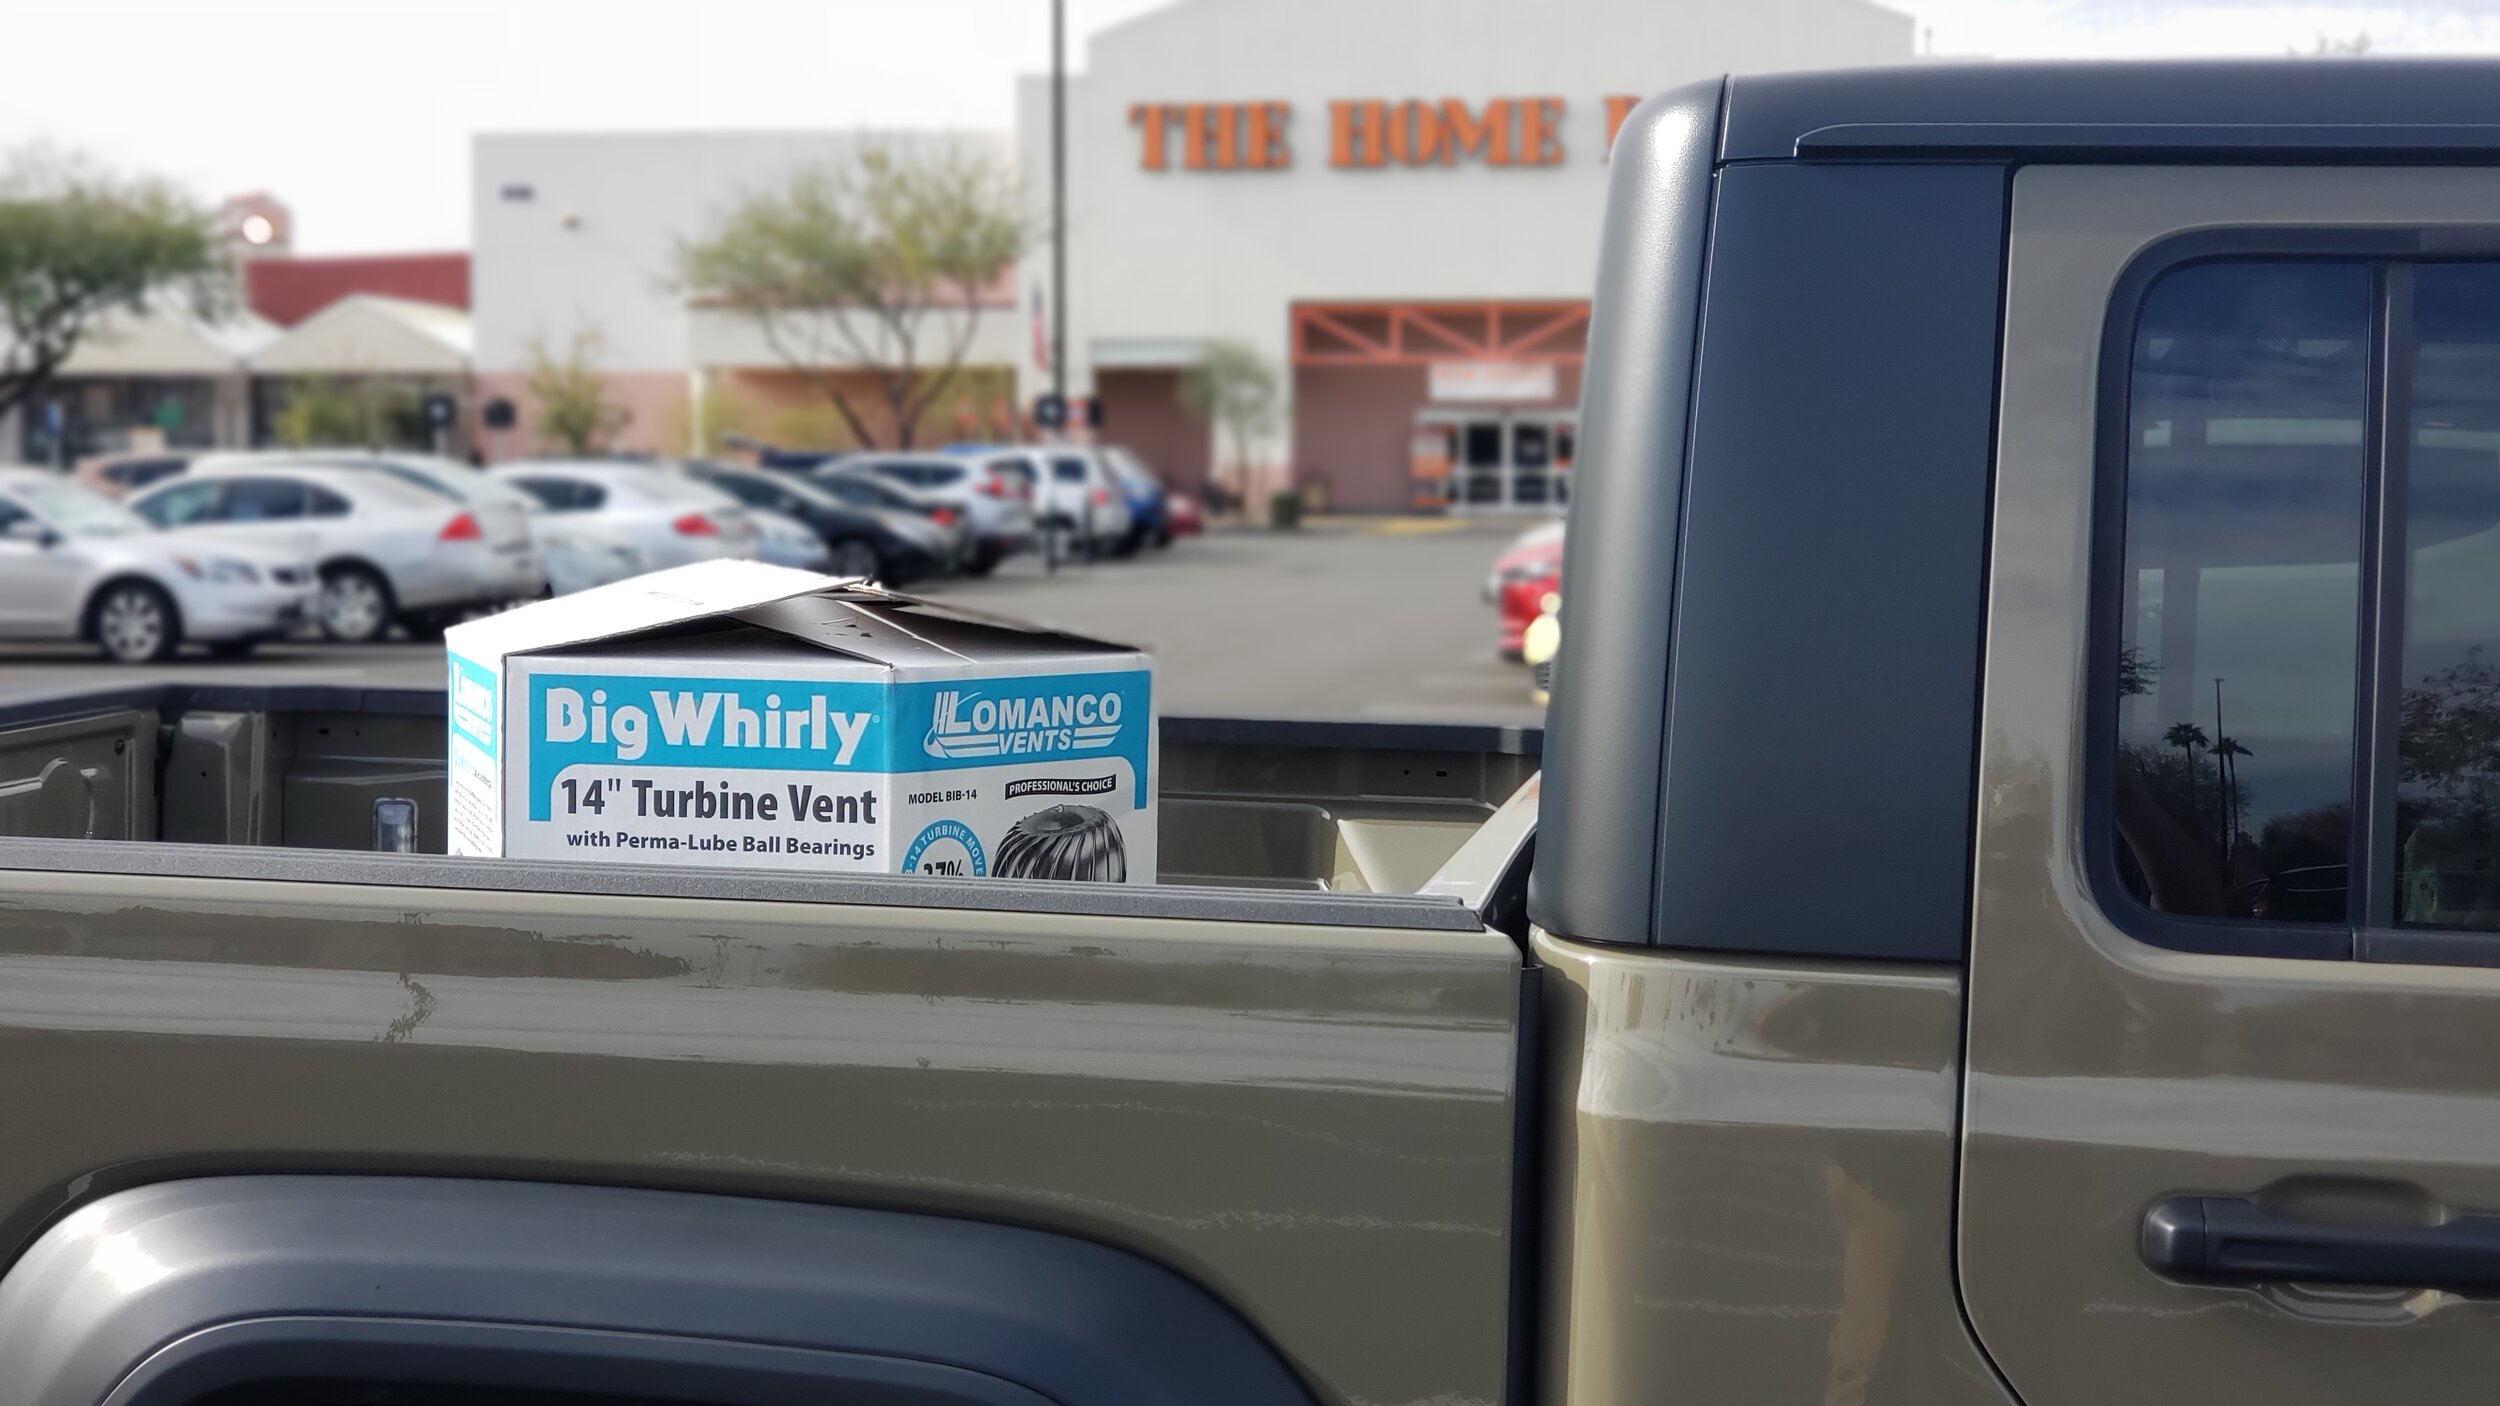
I had three busted vents to repair, but I only bought one that looked like it would work. I wanted to make sure it was good before I bought the other two. I figured since it was just shy of $40 and if it was a misfit and I didn’t damage it in the attempt, I could probably return it.
Buy a Repair Kit or a complete Vent?
Apparently, you can order retrofit kits online to attach to existing bases like ours, but I didn’t know exactly what to order, plus the shipping and time involved pretty much made it not worth it. I bought the whole shebang, including the adjustable tube, hardware, and the mounting flange. I was not going to start peeling shingles to install the whole thing though, I’d do whatever adjusting might be necessary to make the new top piece fit the old bottom piece.
I wouldn’t need the extra parts. I’d chuck ‘em. Well, I’d put the unused aluminum in the recycle bin the next week.
I’d bought the same “mill” finish that existed on the house, but they did have white and brown in stock as well at the ‘Depot.
These things not that important in the wintertime (even in Arizona), but getting hot air out of the attic in the summertime is imperative.
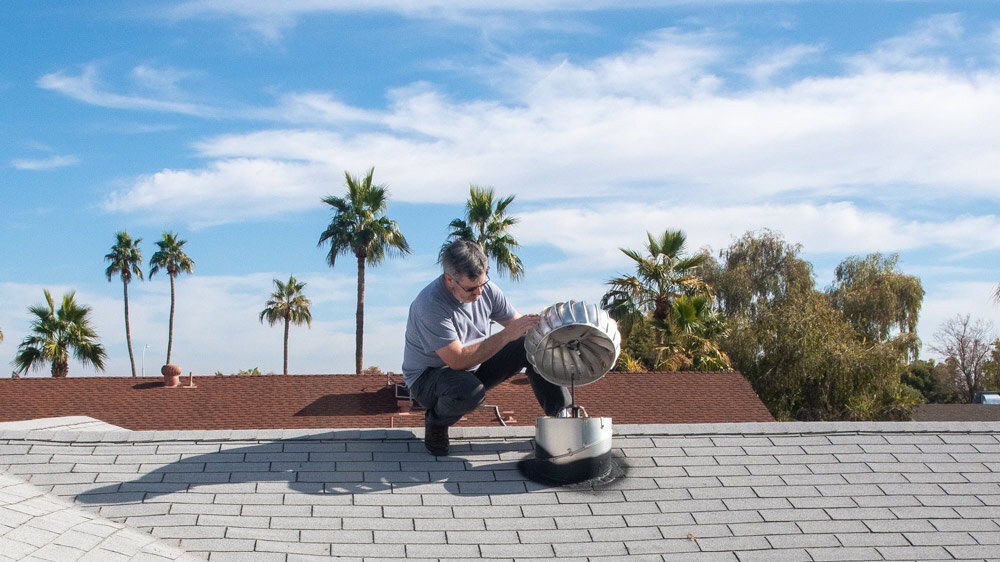
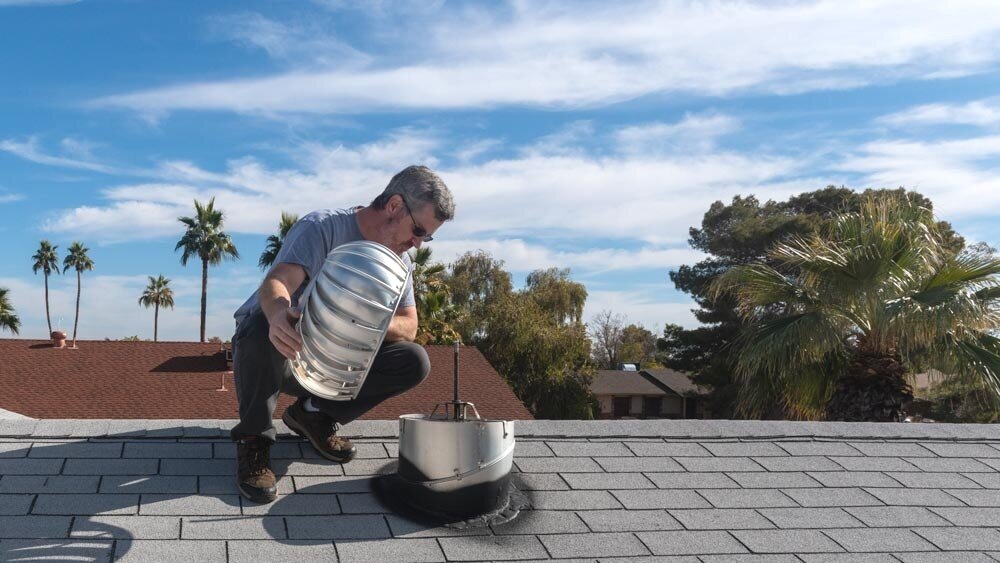
Back on the rooftop I removed the busted top again and peered down the shaft.
Wintertime in Phoenix
The tube really is just a gaping hole, facing skyward, definitely not something desirable in a rainstorm. This first vent was over the garage, directly above the access hatch. I could see through the attic all the way down to the bicycles and the home made weightlifting power-rack lurking below.
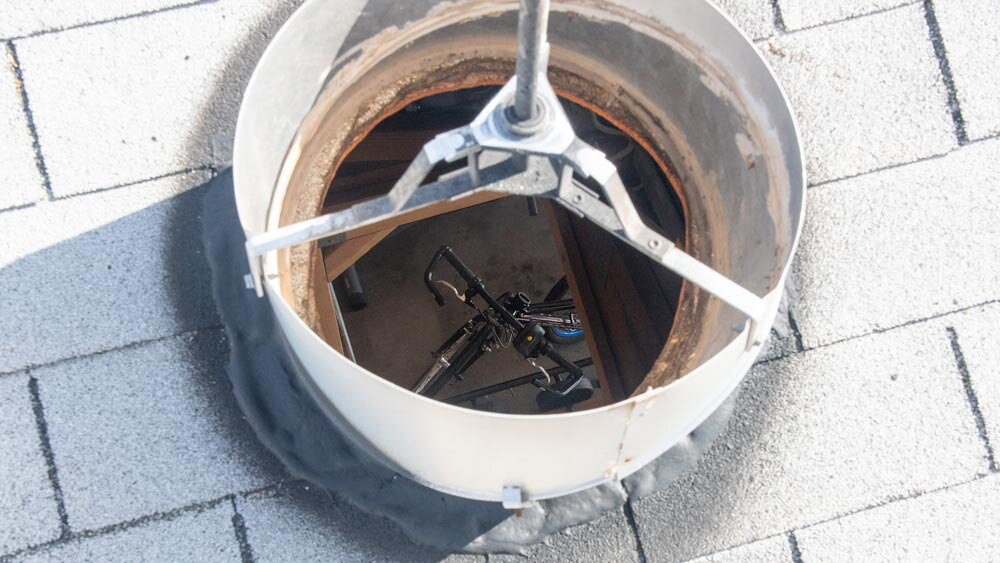
Bicycle in the hole.
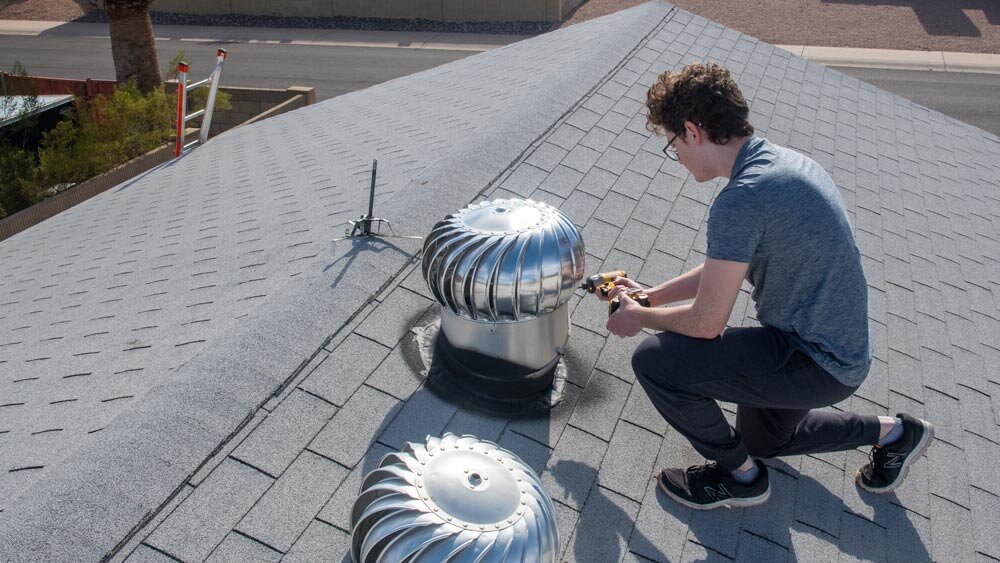
Jack came up to spend some quality tool-play time with the old man. He zipped three screws out with the impact driver, removing the old spindle from the tube.

One old and one new on the roof, plus there are vents.
As luck (or perhaps standardization) would have it, the new assembly fit perfectly. The existing screw holes were perfectly in line. The turbines sure looked identical. I assume the busted vents were installed over 20 years ago. Awesome.
An engineering Student at work.
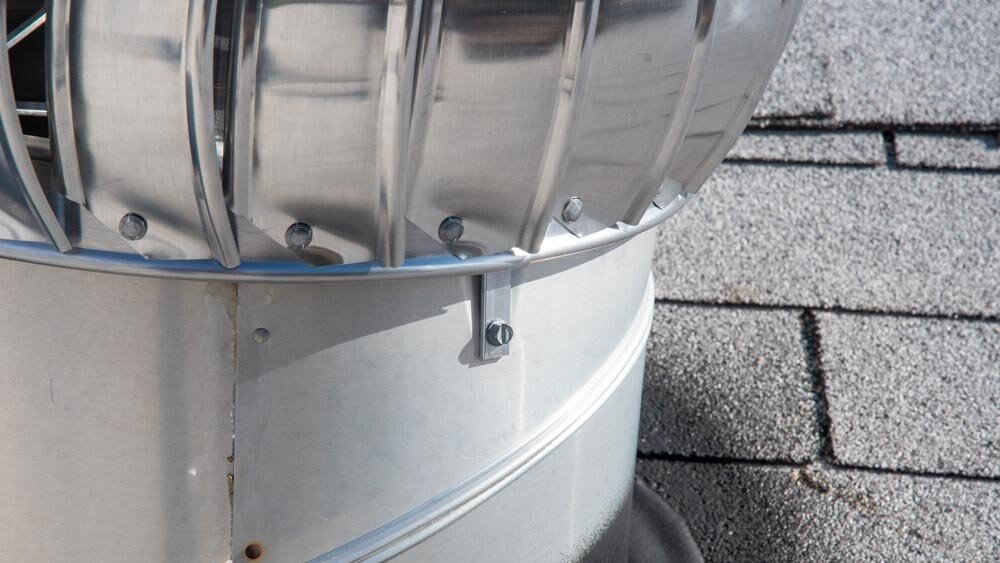
Three simple tabs at the bottom of the spindle assembly protrude below the turbine. They get zipped into the tube with included sheet-metal screws. It’s silly how easy this is.

Making an impact
That’s all it takes. Three-simple screws and a fresh turbine begins lazily spinning, with delightful silence at the slightest breeze. It truly takes a couple of minutes to make the swap and very little handy ability. It can be done with a screwdriver (see the video below); I just like power tools of course.
I’m not going to grind anymore
There were two more vents to go. The next weekend, I knocked those out as well.
This time, I snagged you some fun video, enjoy the sound of the clattering and grinding when I give those last two crunchy ones a spin.