

Making some Elbow Room

Please don't throw me in dat briar patch!
- Brer Rabbit
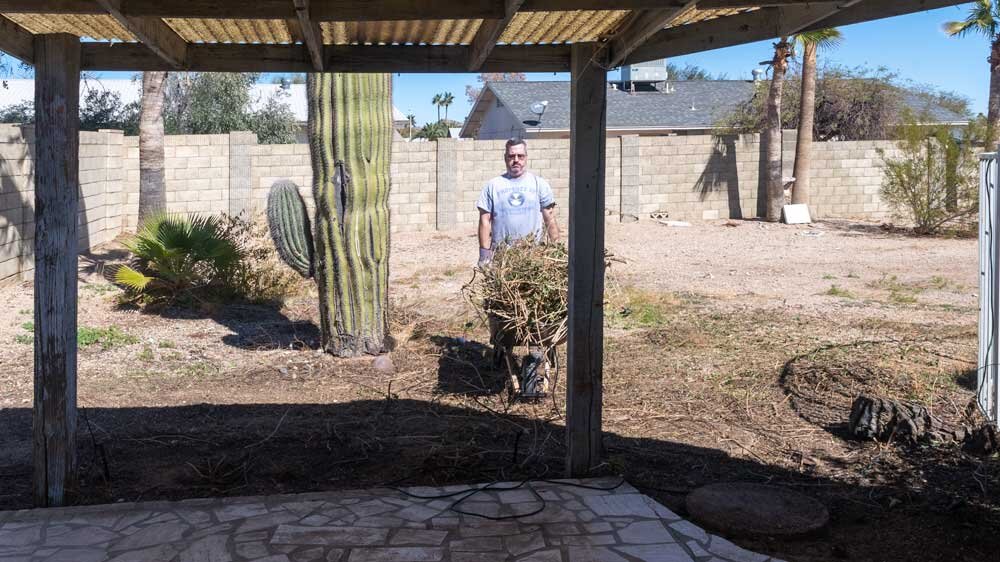
I took an allergy pill and dove in headfirst into the thicket with a pair of hand clippers. After about an hour of sweating, grunting, and scratching up my forearms, I’d rolled up a couple of bundles, tied them with twine, and wheeled them out to the curb.
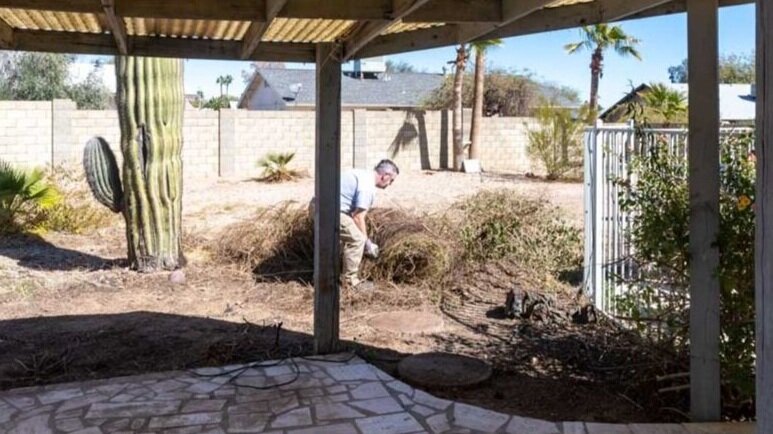
Lantana is a hearty, flowering plant that works well in the desert. They can be clipped down to a nub and spring back to sprouting pretty quickly. I hadn’t trimmed these down in a couple years and it’s later in the winter, so I don’t know if they will survive this scalping, but plants are cheap and I need room to work.

A clean slate
Demolition begins
I’m going to attack this project a little differently than most. I’m not going to completely demolish the entire patio cover all at once. There are just too many big steps to do along the way that I don’t want the exiting completely gone and edge of the house exposed for so long. You’ll see what I mean later.
The first bit of fun was to remove the fiberglass panels from the first half of the roof. These things are not exactly pretty when they are brand new, but ours were absolutely fried. The top portion of resin was completely gone’ leaving the glass strands fibers exposed. It had been screwed down from above.

Why didn’t they use stainless screws?
I started backing the screws out with my impact driver. Most came out fine, others snapped off or were so rusted I couldn’t get the Philips bit to grab. I started yanking them out with my little trim pry bar.

The panels were super lightweight and easy to pull off and chuck to the ground.

It was slow going working my way across the roof since I had to move my ladder several times to reach all the screws along the edge.
The more you know… Hours later, I came to regret not wearing a long sleeve shirt for this part. my forearms were absolutely peppered with microscopic fiberglass bits. It was an uncomfortable evening, even after a good scrubbing shower. I didn’t have any noticeable problems, but I probably should have worn a respirator too. Stupid.

Like a convertible
Those screws through the top probably should have had some kind of washer or something to keep movement down, but 25-30 years would bring damage anyway. In some places the holes around the screws had opened up, allowing water to penetrate and start some rot.

Rotty Mc Roterman
I busted the panels and half and ran them out to the curb for the bulk trash pickup.

My friends, if you have never had the pleasure of demolition with a Stanly FUBAR, allow me to share what an absolute joy it is. Regular readers have seen me let this beast out of the cage many times over the years and know its ferocity well.
This isn’t for precision work where there’s a remote hope of re-using material. No, this war-hammer is for knocking the crap out of stuff and turning it into splintering waste.

KA BAM!!!
Occasionally, a particularly stubborn section of nails holds the line against the onslaught of shear kinetic assault. That’s when the FUBAR shows its teeth and outclasses a mini-sledgehammer. It takes only a quick spin in the hand and the jaws grab ahold of the offender to rip it out.

Still, the pounding is the best. I really like the slightly more expensive and harder-to-find FUBAR, that flairs out slightly at the nail puller in the base. On more than one occasion, it’s slipped in my gloved hand but stopped just shy of being flung through a window.

don’t hit the camera, … don’t hit the camera,… don’t hit the camera…
I decided to leave the outer framing in place for now. I lopped through each of the rafters in rapid succession with a reciprocating saw and a rugged demolition blade.

The hanger’s the rafters were connected to into made a valiant attempt to hang on tight, but eight feet of leverage did the trick.

It’s physics, not strength.
I diced the lot into 3-4 foot sections, pounded the nails over, and loaded the wheelbarrow.

Amongst the carnage
For the moment, I’m leaving the electrical line in place. Although I’m wielding primarily cordless tools, there are some big tool moments coming in the near future. Plus, I’m using the outlet to power my Trager grill over by the pool. Trust me, bacon and Pillsbury Honey Butter Grands biscuits on the Trager are how you have to start the day for one of these projects.
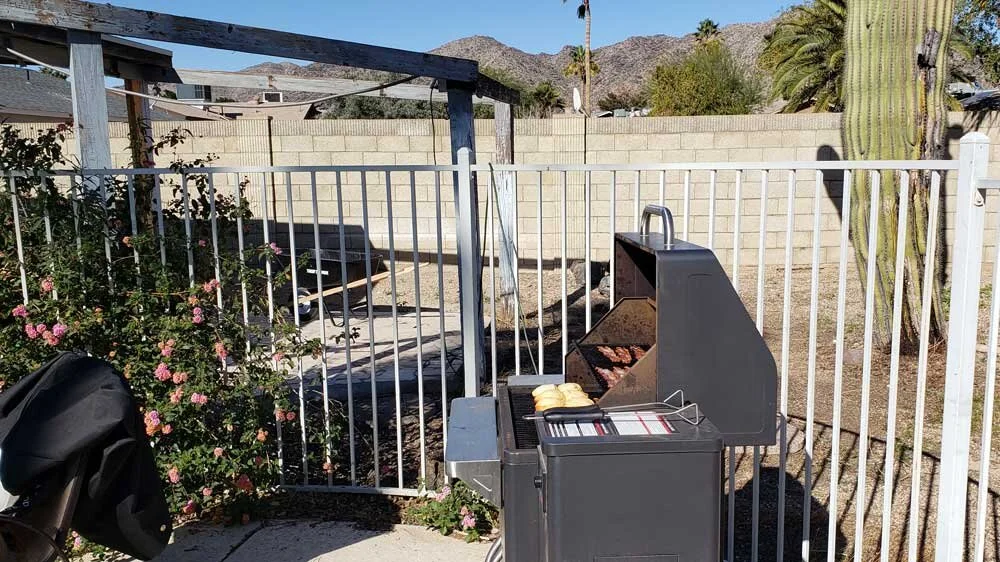
Smoked biscuits and bacon. Ohhhh my.
Yeah, I’m leaving the outer frame for now. No need to announce to the neighborhood I’m doing such a major fix to the old eyesore. Even though it had likely stood for more than 25 years, I don’t want any potential for surprise entanglements with the homeowner’s association.

Here comes the sun, do, do, do…
- The Beatles
There’s a little more demo to do before I start the first stages of construction. It’s only going to get more fun from here on out!