


I have a quick and easy method for removing paint from wood. There are no nasty chemicals, no rubber gloves, and very little fumes. I'm using a blowtorch....on wood! I cannot believe how easy it is. This method is easier than peeling a potato.
But wait, there's more...
I didn't want to strip these windows for my own use; my friends at Bernzomatic asked me, as one of their cadre of Torchbearers, to create some projects to display at the Annual Ace Hardware show in Atlanta. While my projects would be shown as finished products, Bernzomatic pros would be on hand demonstrating the techniques live. They'd even have an HGTV celebrity on hand to show how it was done. More on that at the end of the post, as well as the other two projects I sent to the show.
Thank you to Bernzomatic for sponsoring this post. The opinion and experience is 100% my own.
Stripping Paint Off an Old Wooden Window
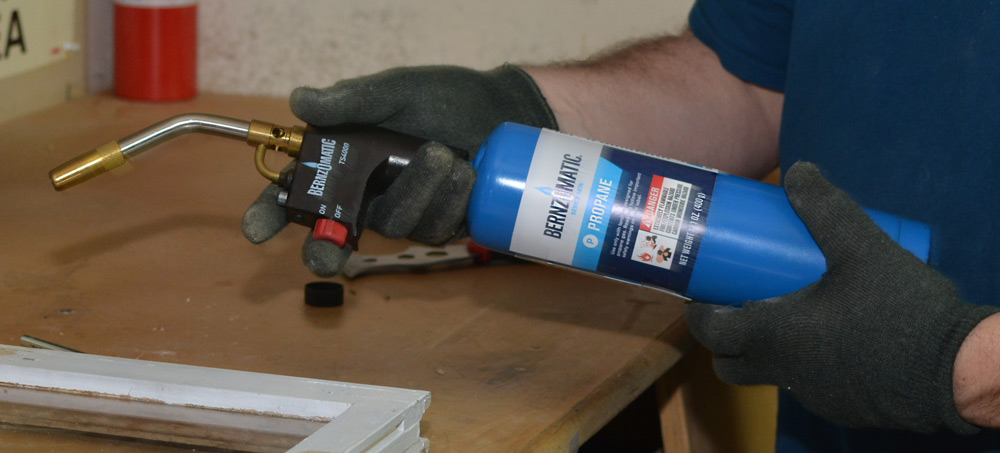
Bernzomatic TS4000 High Heat Torch
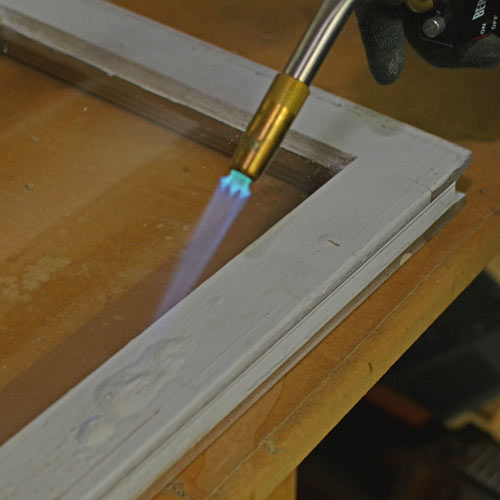
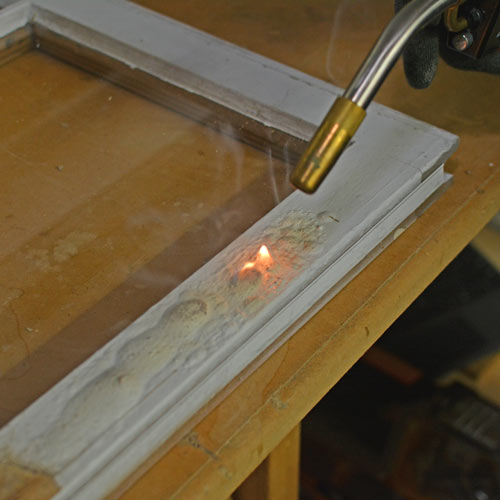
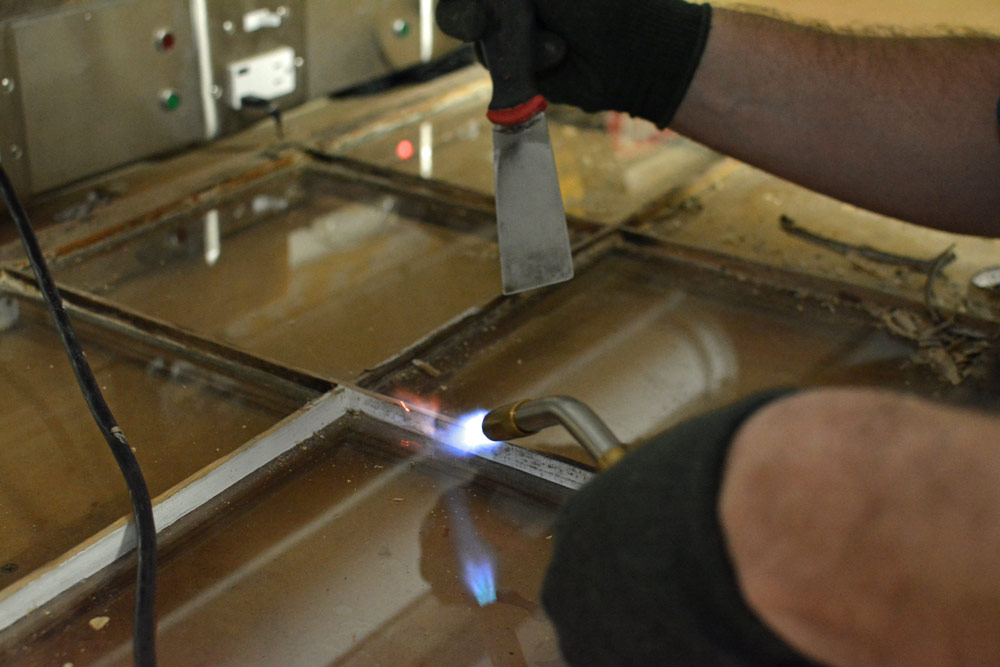
Step 1 - Fire & Bubbles
The trick to stripping paint from wood is to not overcook the work piece, to keep the flame moving. The paint bubbles almost immediately.
NOTE: Never use a torch to strip paint known to contain lead.
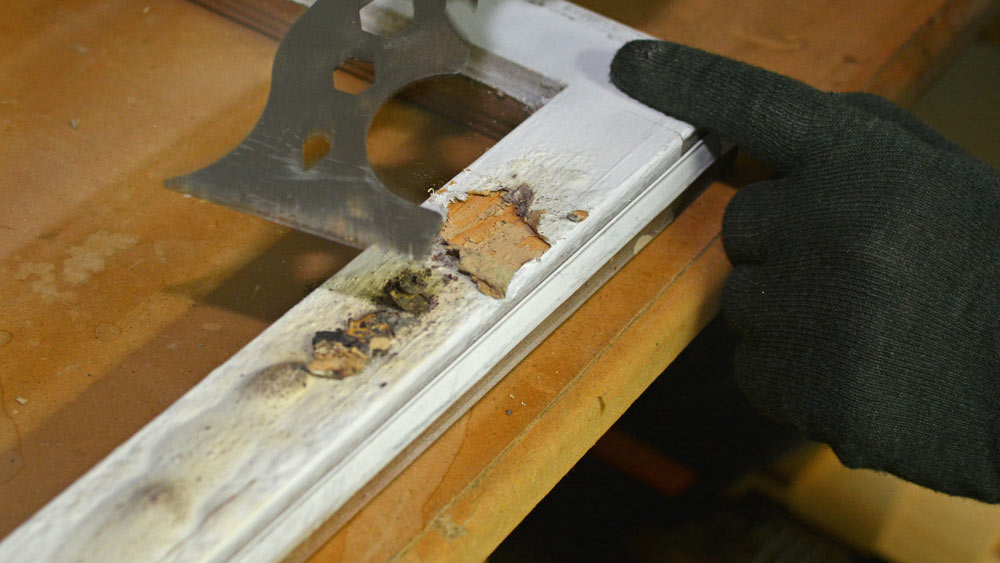
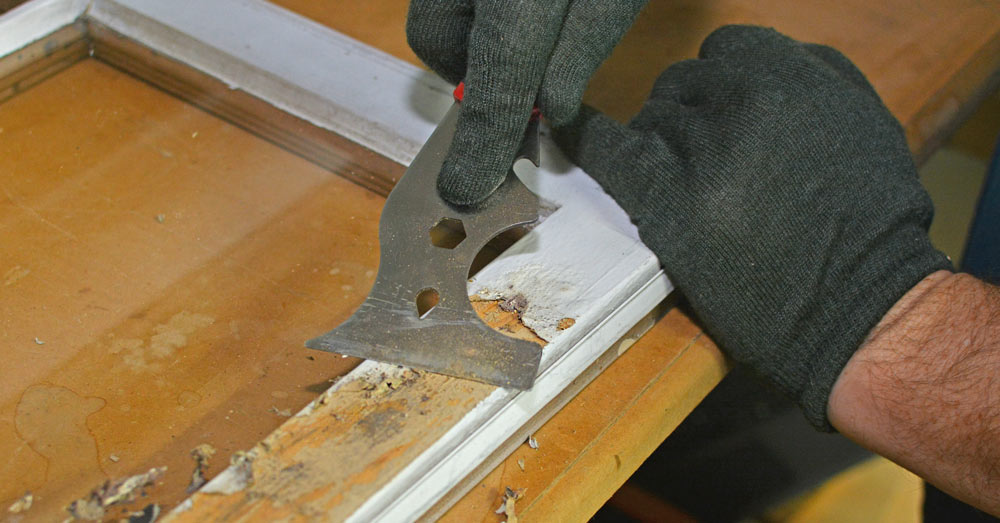
Step 2 - A close scrape
The paint is easy to slough off with a flat blade. A chisel, putty knife, or a painter's tool like mine does the trick nicely. It doesn't even take much elbow grease.
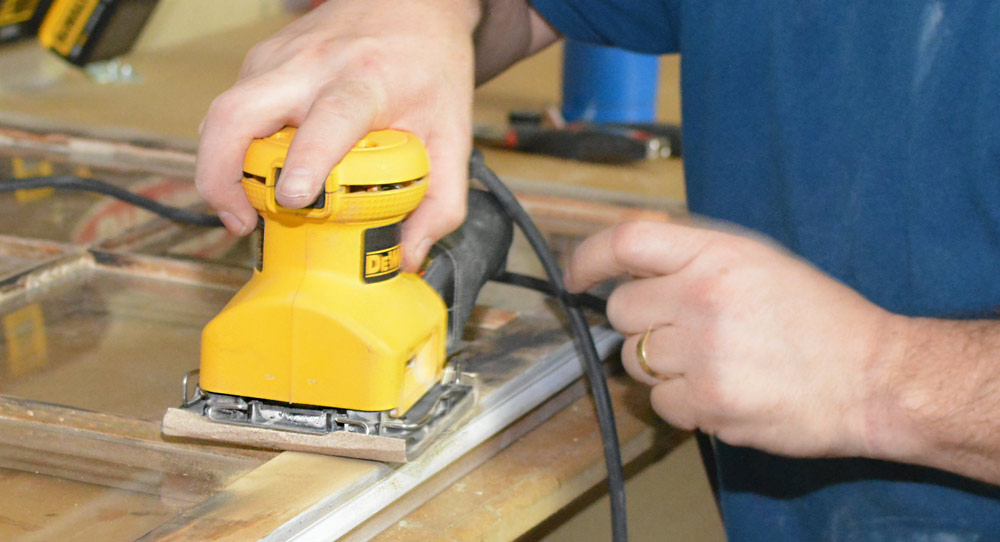
Step 3 - Sand
My old window had some faint remnants of another coat of paint worked into the grain, plus there's a little bit of gooey residue here and there. I hit it with a quick hit of 150 grit sandpaper on the palm sander.
Stripping paint is as easy as that. Super speedy.
There's a bit more to do on old windows though. The glass is held in by painted and chipped glazing compound. It's a kind of putty that dries hard before taking paint.
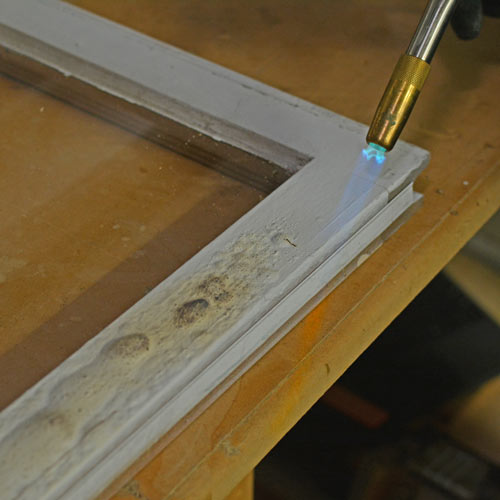
Removing the Window Glazing
I found the best way to break down the glazing was to give it a brief zap with the trusty TS4000. A quick toot of flaming propane breaks it down right quick.
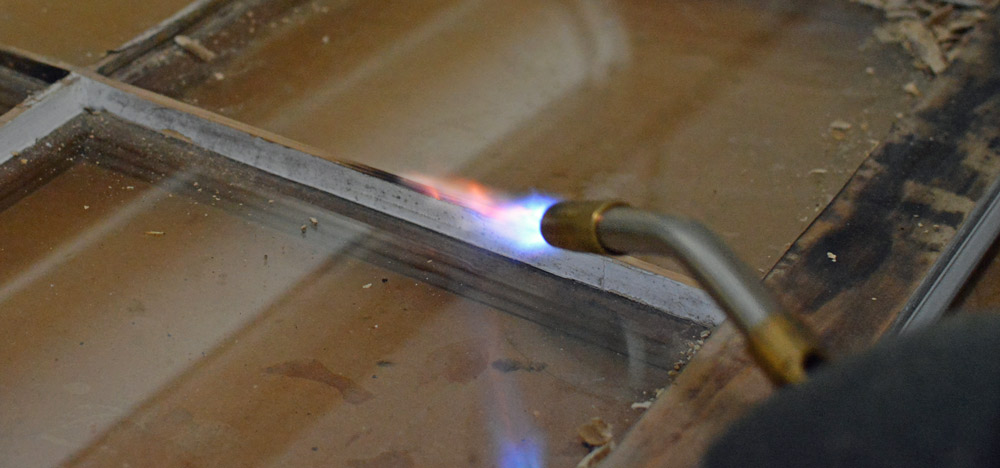
I found popping the glazing off was easier when it was still warm. I'd scraped the mullions (glass dividing sticks) so I could slip a putty knife between the edge of the paint / glaze and the bare wood. I'd give it a shimmy and a wiggle to pop the glazing free.

The little shimmy wiggle.
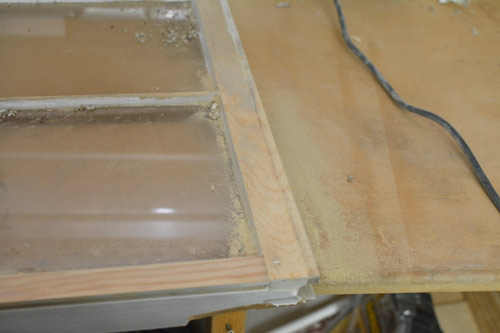
With all the glazing out, I carefully lifted the glass panes out of the frame and cleaned the last bits of crud out with a sharp chisel. A good overall cleanup with the palm sander made the surface look brand new.


Check out just how clean I got this thing in about 20 minutes, from painted to bare wood!
I didn't have to use any nasty chemicals with rubber gloves and dispose of any of that slimy goop a paint stripper leaves behind. There was a slight odor when I roasted the paint, but it wasn't bad at all.

Clean wood, ready for paint or stain.

Off to the show!
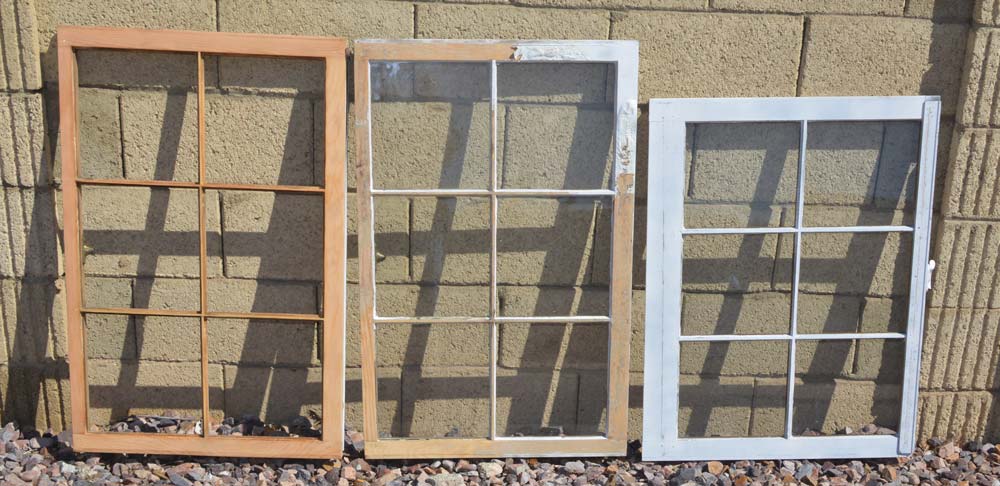
I sent three windows to the Ace Hardware show in Atlanta for display. One was finished, one was underway, and one untouched. A neat little display.
At the show, Bernzomatic demonstrated the technique live in front of the finished display.

Photo: Courtesy of Bernzomatic
But wait there's more!
Did you notice the other fun stuff in the photo above? I also did a little leather branding and decorative wood burning for the show. The Bernzomatic pros could show techniques for a few moments too, while a finished example sat on display.
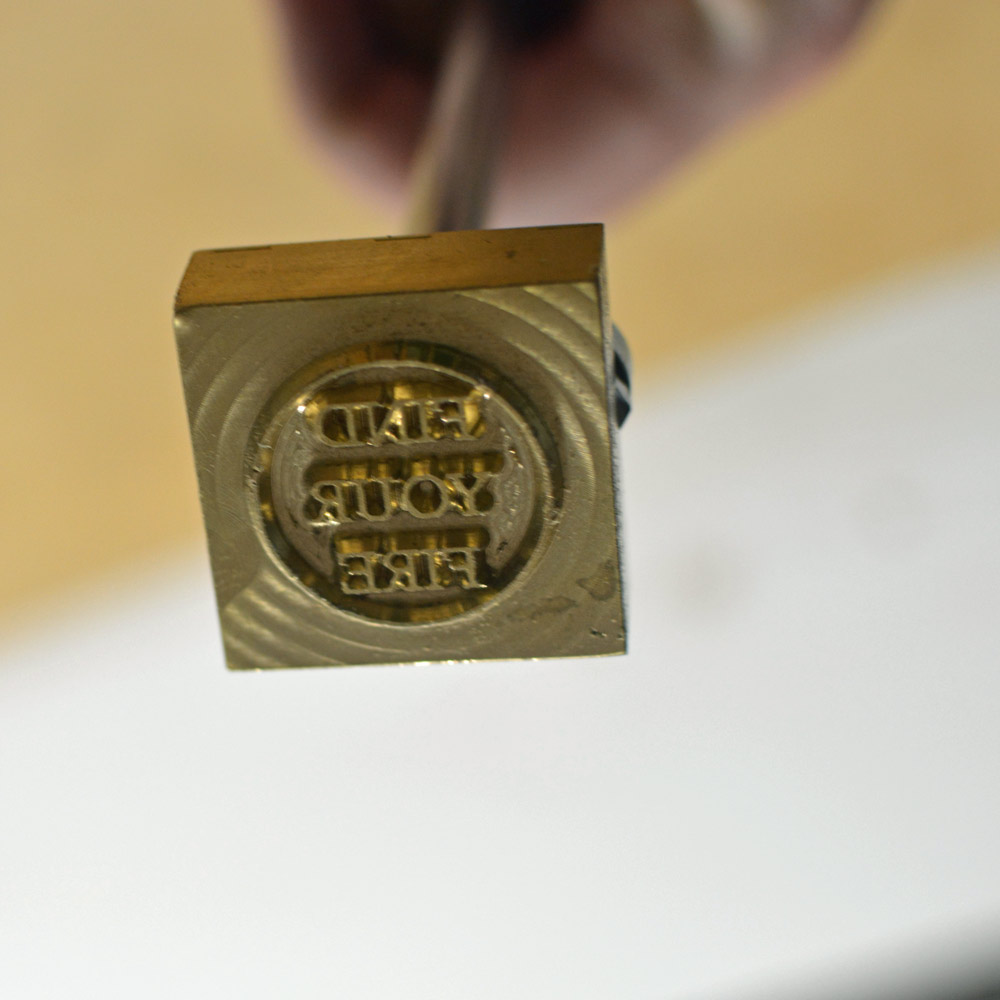
Leather Branding
Bernzomatic sent me a custom branding iron to play with. I did some experimentation to get my heating / timing right on the back side of one of my dress belts before doing the final product. It doesn't take too long to get the brass "iron" up to proper heat with the TS4000.
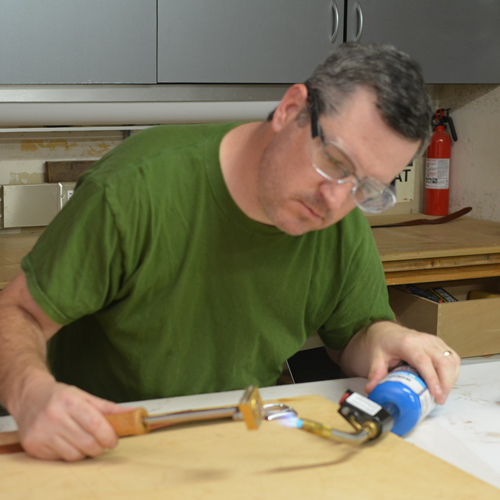
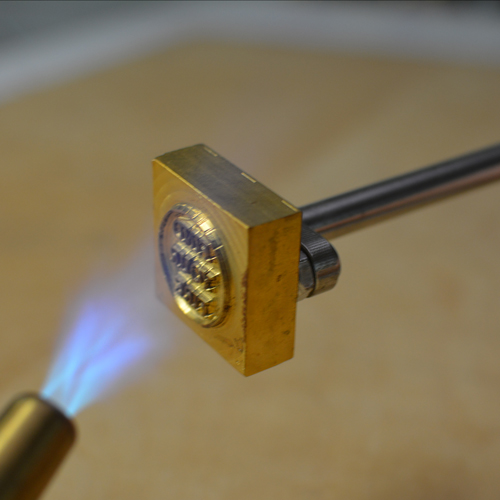
Just a quick press with even pressure and lift the brand off. I'm a cowboy!


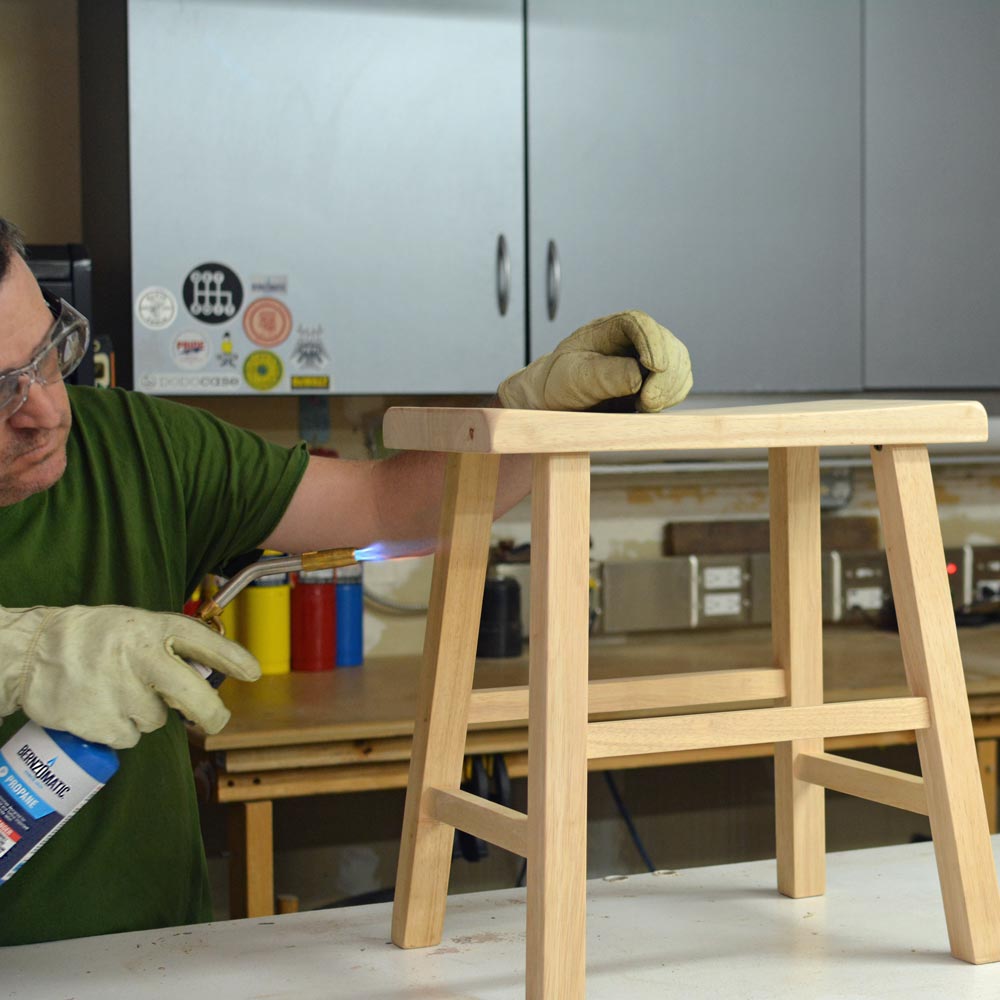
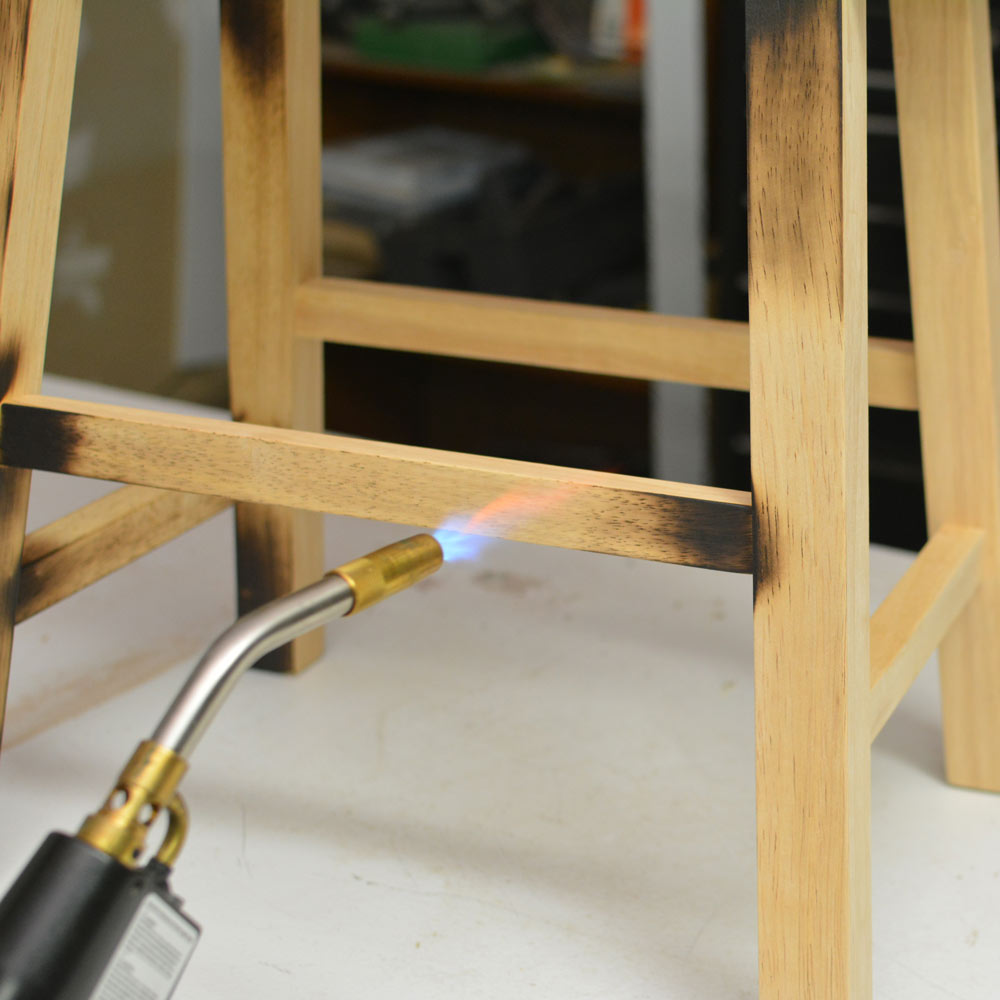
Decorative Wood Burning
I used the same technique to finish a wooden stool that I had used on my lap desk project. This time, I pushed the limits all the way from a light toasting (like the desk) to a hard char like I had done on my pirate flag project.
I gave it the torching treatment, a quick hand sanding, and a few coats of spray urethane.

Nicole Curtis of HGTV's Rehab Addict spent some time showing her torching skills at the Benzomatic booth, too. That's my stool on the floor in front of her.
Nicole Curtis shows off her DIY savvy at the Ace Hardware Show in Atlanta, sharing the countless ways to use a blowtorch around the house.
Posted by Bernzomatic on Friday, March 17, 2017
Thanks for reading, friends. This was another fun one.
The Bernzomatic Torch Bearers are a group of tradespeople, DIY'ers, culinarians, adventurers and artists brought together to create projects using Bernzomatic torches and share their knowledge and ideas with you. Check them out and get inspired to create with fire. Thank you for supporting my sponsors!