This is a sponsored conversation written by me on behalf of Cricut. The opinions and text are all mine.
SUGAR AND SPICE AND EVERYTHING NICE…
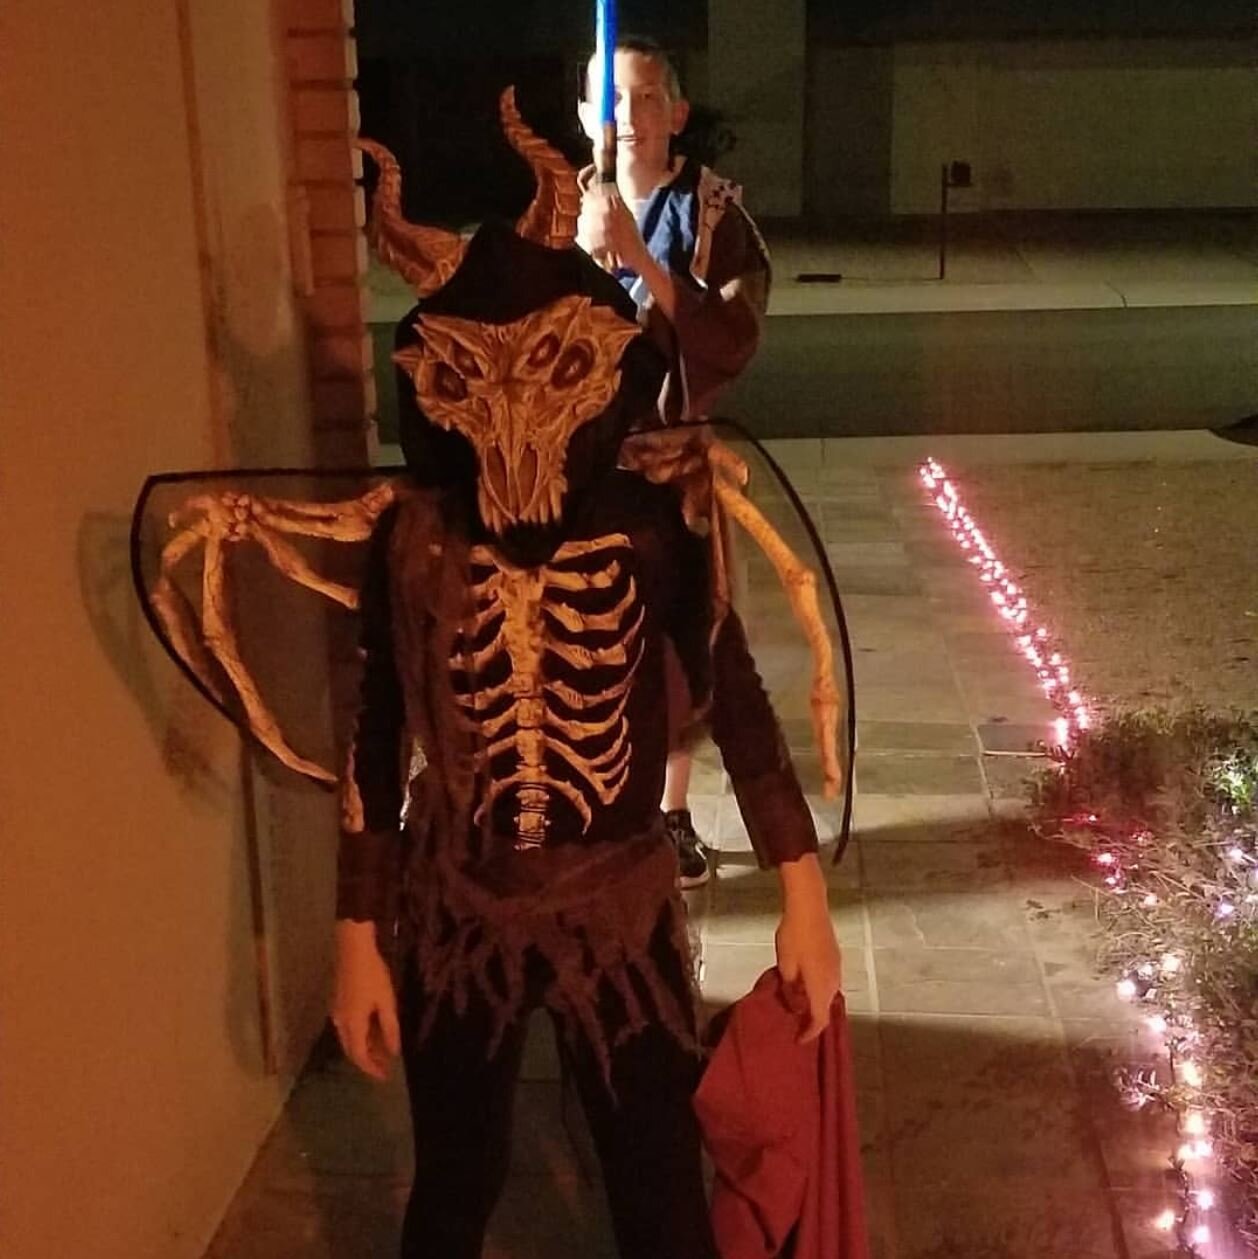
Not all little girls like ponies, unicorns, and rainbows. Our mighty Grace is one of those. She likes what she likes, period.
Most of all, this girl is into Dragons. She’s dragon crazy.

On a recent visit to my office (day job)
In fact, her last three Halloween costumes have been horrible, winged beasts of one sort or another.
Grace has been wanting some Dragon shirts, but everything we’ve been able to find is either too cutesie, too boy-ish, too loud and obnoxious, or has sayings like “This girl loves dragons” on it. There’s nothing she’d be willing to wear to middle school. Check out this Amazon search for “girl’s dragon shirt” to see what I’m talking about.
It turns out, my new Cricut cutting system is perfect for creating unique designs. She lit up when I told her we could make a shirt with whatever she wanted on it.
A Dragon!!!
Creating a custom design
This was going to be Grace’s shirt, designed by Grace. She brought piles of drawings out of one of her school binders and started working on what she wanted on her shirt.

The Dragon Artist
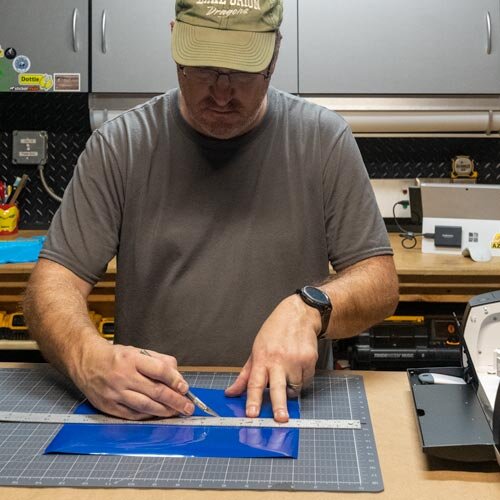
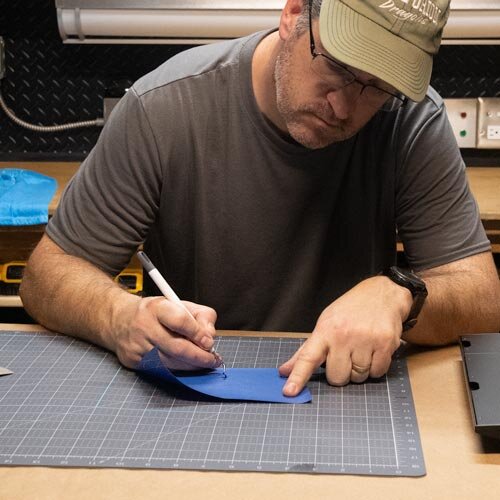
She started with super-detailed pencil sketches. They were beauties, but most were too complex to break down to simple line art.
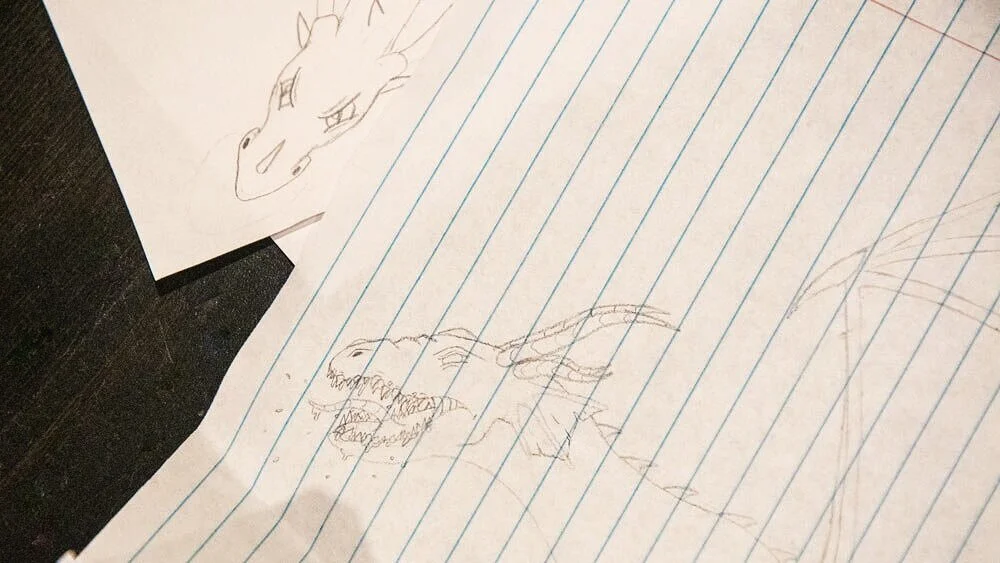
Dragons and fire!
Eventually, she chose a simplified one of her favorites. We traced and thickened the lines with a Sharpie marker before I took this photo.

Outlined with a permanent marker
I popped it into my photo editing software to clean up the lines. We played with the image a bit by stretching it slightly and lengthening the wings. We added some detail back to the dragon’s head from her original pencil sketch and tweaked the feet until Grace was pleased with how it looked.
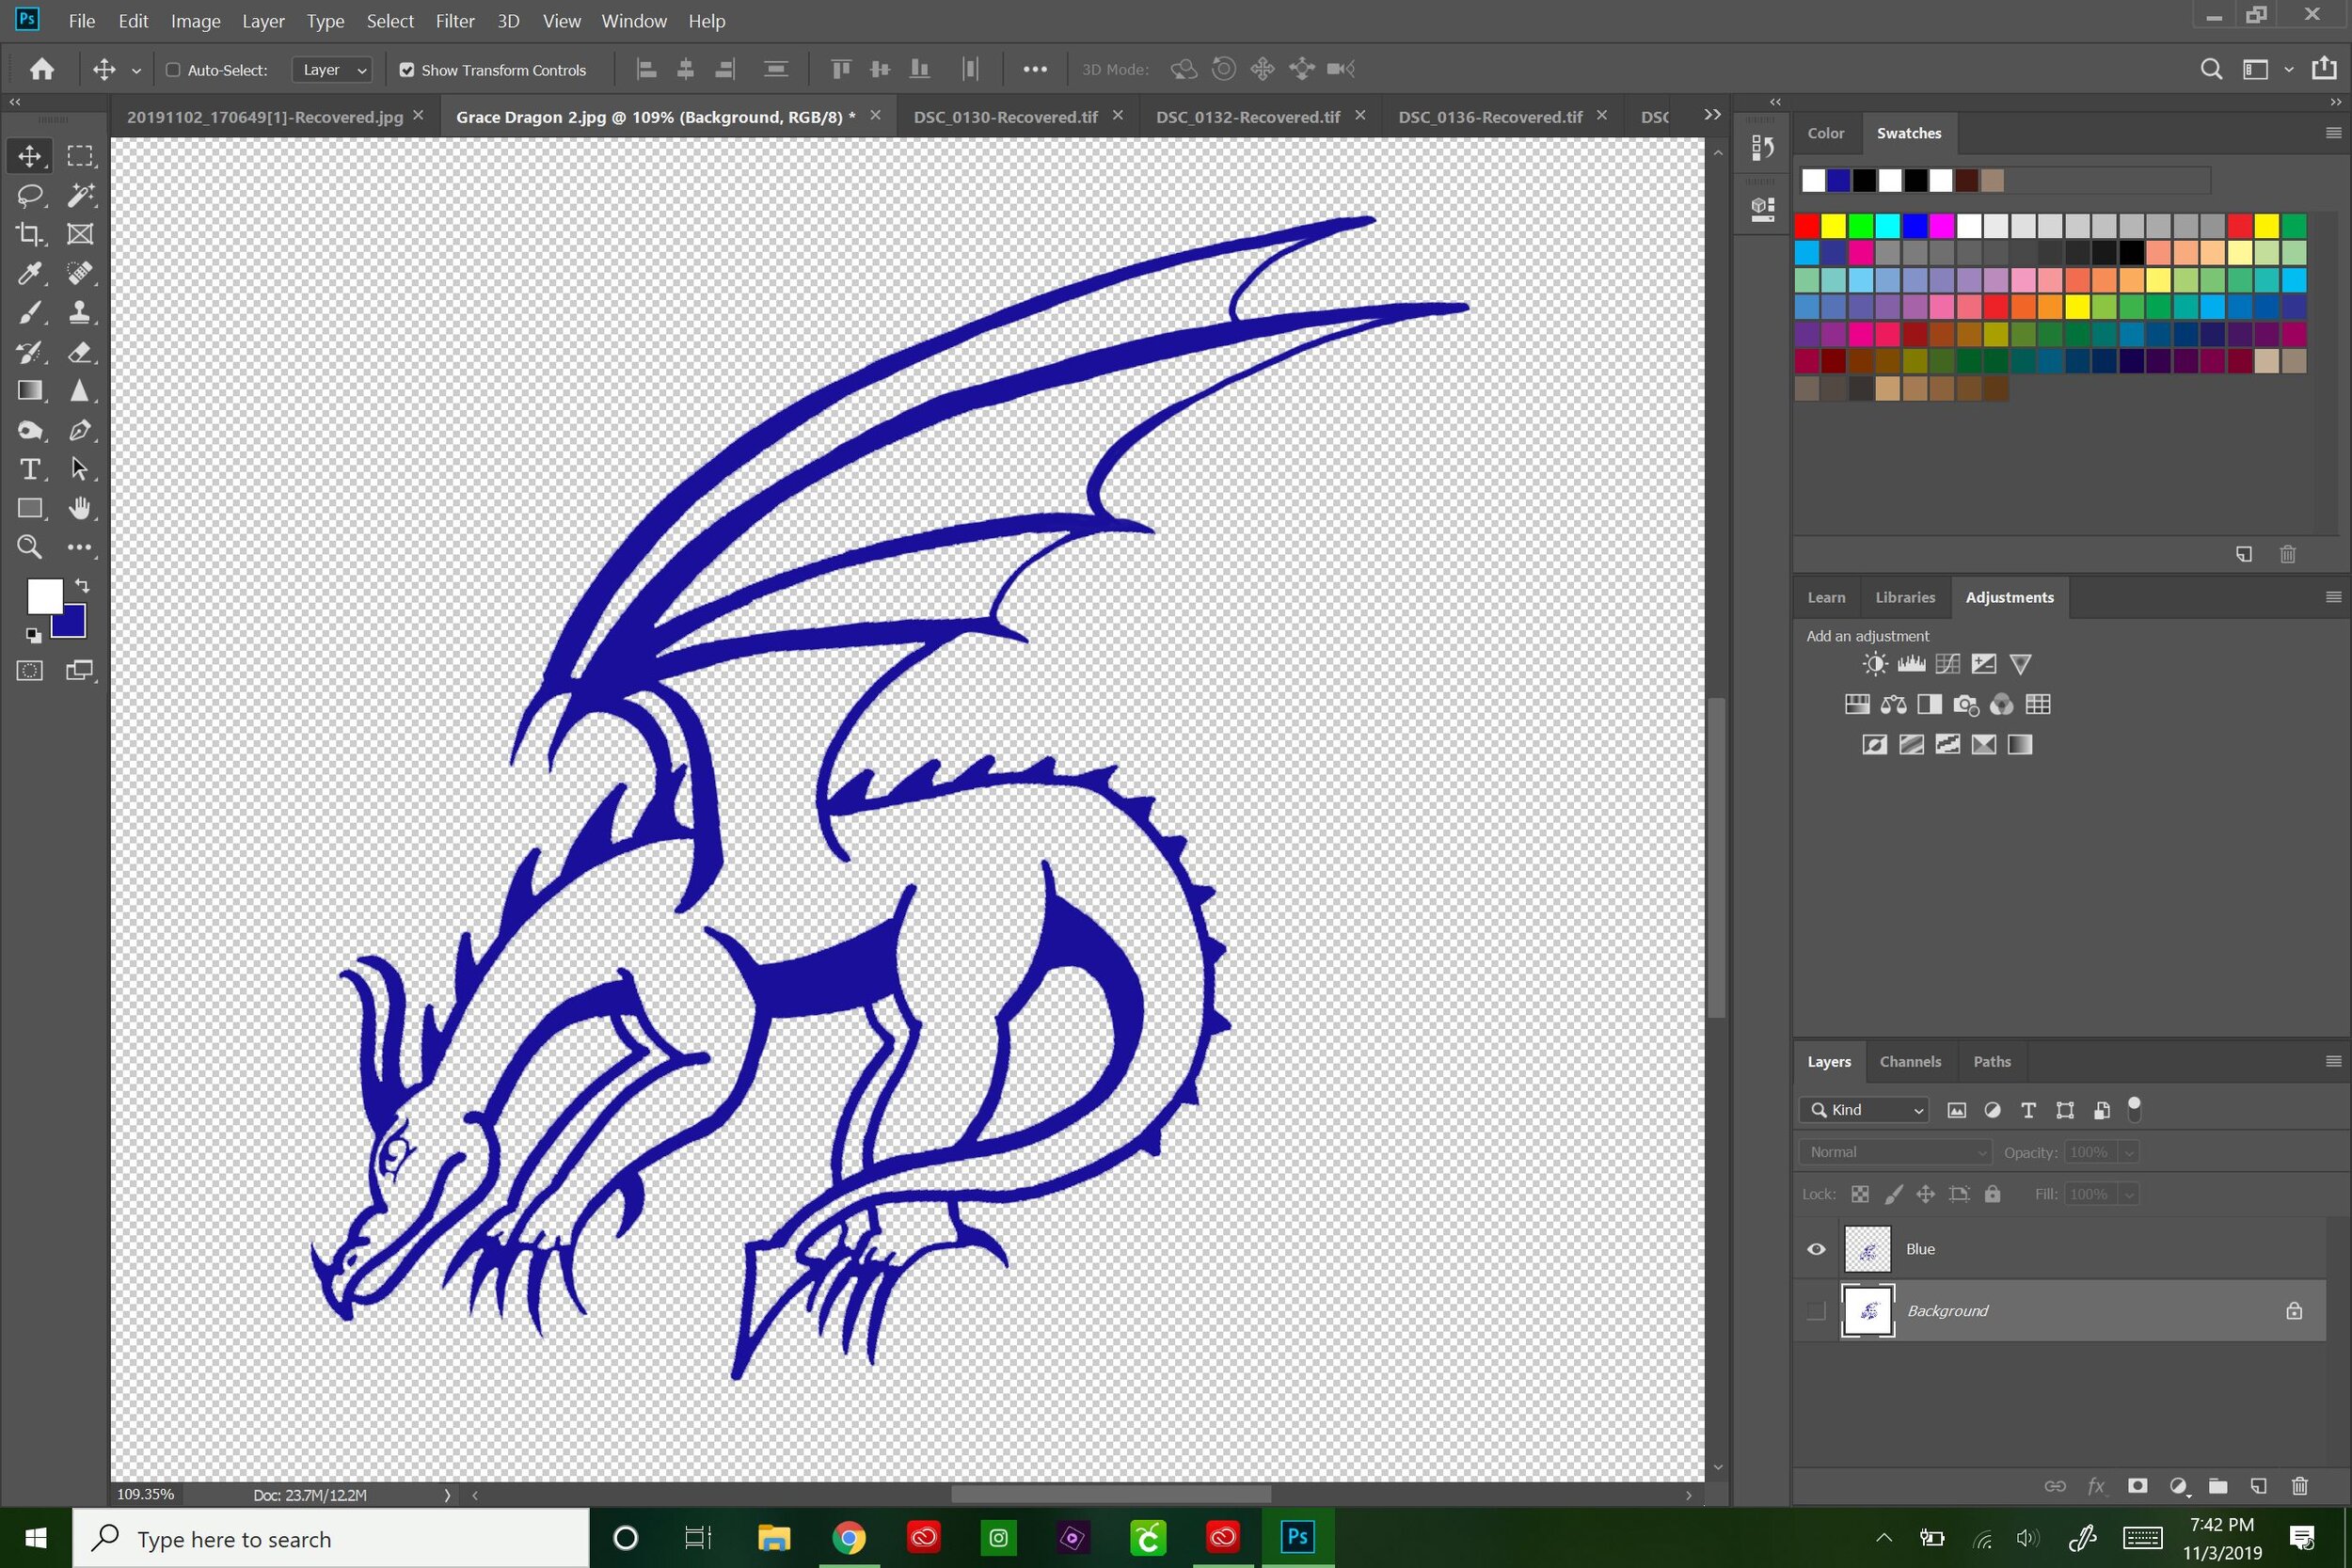
The finished design
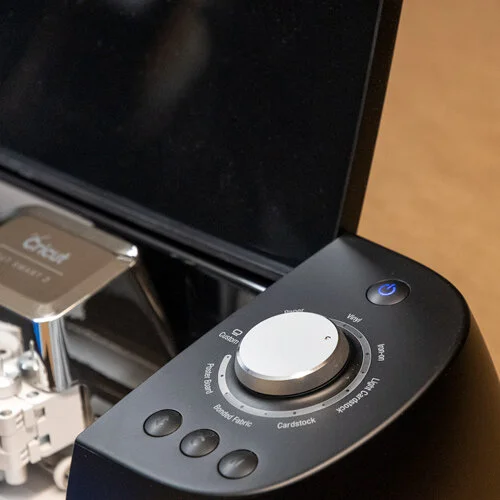
With the image saved, I uploaded it into the free Cricut Design Space software.

Cricut Design Space
I measured the her new shirt to figure out just how big the image should be. Seven inches seemed like a reasonable size, big enough without being obnoxious.
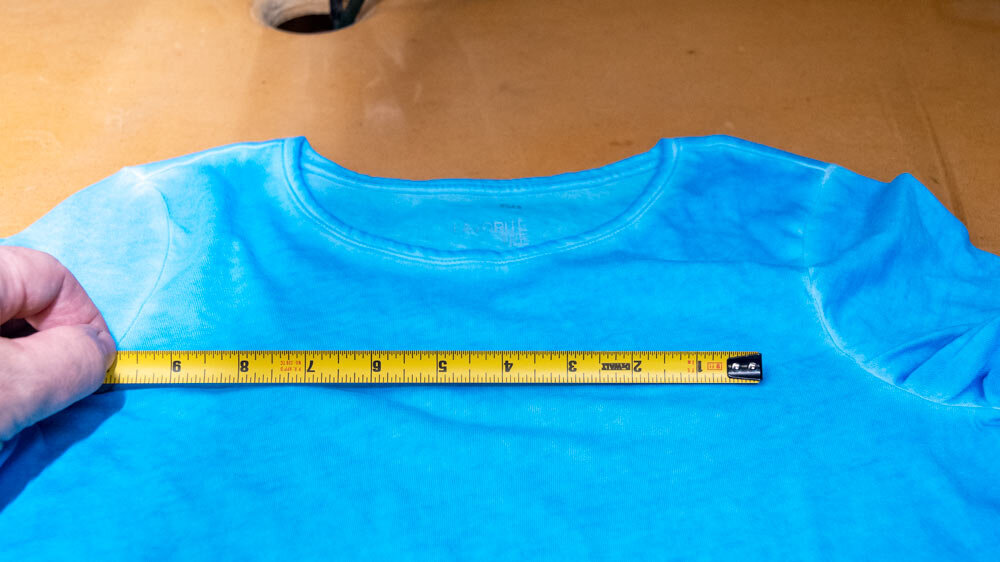
The Cricut design software is super easy to use. I resized simply by typing the new width into the toolbar. With the aspect ratio locked, the 7 inch width automatically adjusted the height to 5.173 inches.

Cricut Design Space
Cutting an iron-on design with a Cricut


A press of the button and the Cricut cutting blade started doing its thing, zipping back and forth.

Cricut Explore Air 2 cutting Everyday Iron-on
The cut lines are so thin and precise, they don’t show up well on camera. It’s incredible.

Cutting head
I peeled the Machine Mat off the Everyday Iron-on sheet, keeping the sheet flat. It keeps the Iron-On from curling too much.

Peeling the mat

I got the last, tiny sections cleaned up and flipped the design over. The Design Center software has a setting that can reverse the image if desired, since it cuts the design from the underside of the material. We didn’t decide to use it, but is would have been essential if there had been text.
Unlike my last Cricut project where I’d made vinyl stickers, I didn’t need to use a transfer tape to hold the image together. The Everyday Iron-on stays attached to the original thicker, plastic backing.


Applying an Iron on with an Easy Press
Check out the newest tool to my arsenal!


STEP 1: Get the settings
Cricut provides an interactive quick reference guide which not only gives the settings for the various iron-on materials and types of fabric to adhere it to, it also walks you through the process, step by step.
I was using Everyday Iron-on and a Cotton / Poly Blend Shirt, so I plugged that into the site on my cell phone.


Intermission:
At this point, I caught a detail in the instructions that I’d missed earlier. “…prewashed without fabric softener”.
Dang it. I chucked the brand-new shirt(s) in the wash and took a sandwich break. While they were still in the dryer, I got back into Cricut Design Space and started cutting more designs for my own wardrobe. There’s more on that at the bottom of this post.
Step 2: Pre Heat:
With the shirt spread smoothly over the pad and the EasyPress2 at the preset temp of 315°F, I both smoothed and pre-warmed the fabric with a quick, 5 second press.

“one, Mississippi,… two, Mississippi,… three, Mississippi,…”
Step 3: Apply the Design
I eyeballed it. It was an irregular design that Gracie had come up with, so it took some judgement on what placement looked best. If I was using something with a somewhat regular shape or text, I’d have measured from the edges of the design to the seams of the shirt sleeves to make sure it didn’t come out lopsided.
The iron-on lays down, shiny side up.

See how the dragon is facing the other way? Be sure to reverse the image in Design Space if you are using text.
Step 5: Under Pressure
With the timer counting down and a light hand pressure, the EasyPress2 did it’s job. It beeped when the 30 seconds were up.

T-Minus 7 Seconds and counting…
Step 6: The Flip and Bake
The final step with the EasyPress2 was just as important as the pre-heating of step 2. To make sure the iron-on is good and set, I flipped the shirt over and gave it another 5 second press on the back side.
Step 7: Peel
After a few moments of cooling, I slowly peeled off the still-warm plastic sheet, leaving the design on the shirt.

Freeing a dragon
After it cooled, it seemed really locked in. I even picked at the edges with a fingernail. It was really on there and wasn’t coming off anytime soon.
It looks awesome!

Fly, you glorious beast!
She’s super happy with her new shirt. We’re going to make some more.

The best part is that it was her own creation.

That other design…
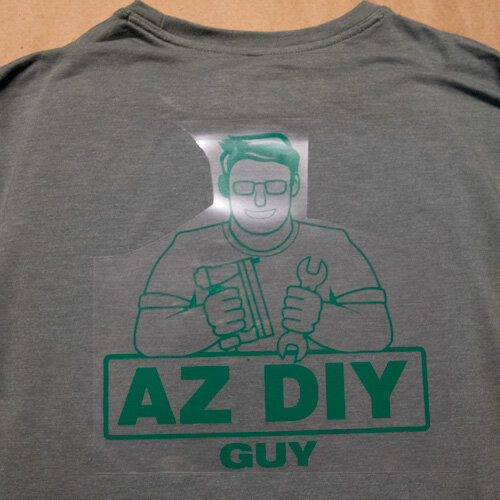
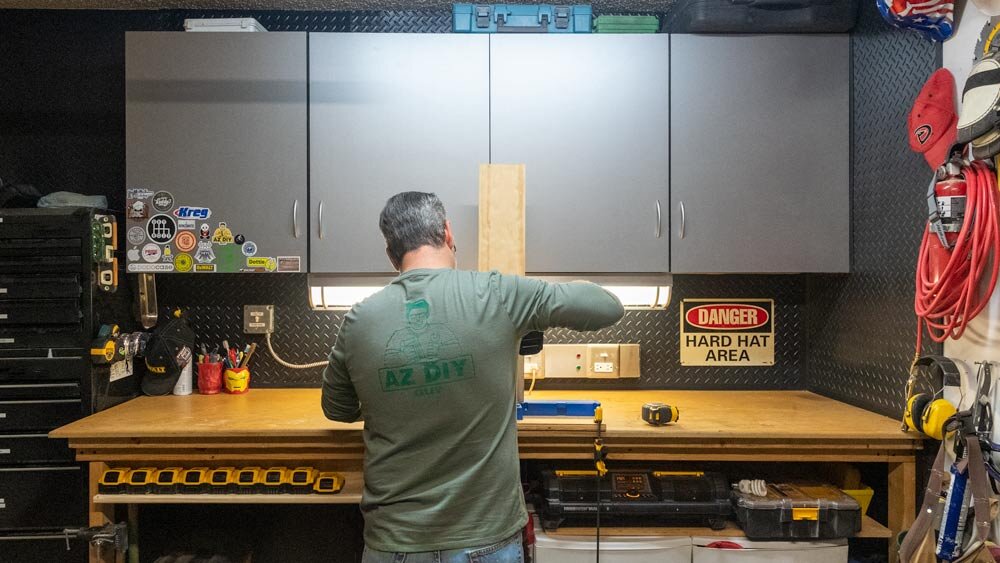
Remember the intermission while I washed the shirts? I did some AZ DIY Guy logos too.
Place those images tight together to save material
I Liked Grace’s blue-on-blue, so I decided to do a green-on-green for myself. I like that low contrast look. I put a small logo on the front breast of a long-sleeve t-shirt and a big one on the back.