

The torpedo is in the water. The grenade pin has been pulled. The bomb has been dropped. The trigger has been,... triggered.
All very war-like ways of stating that this project is underway, big time. Following our decision to remodel the living room, it's time for demolition. The nasty carpet goes first.
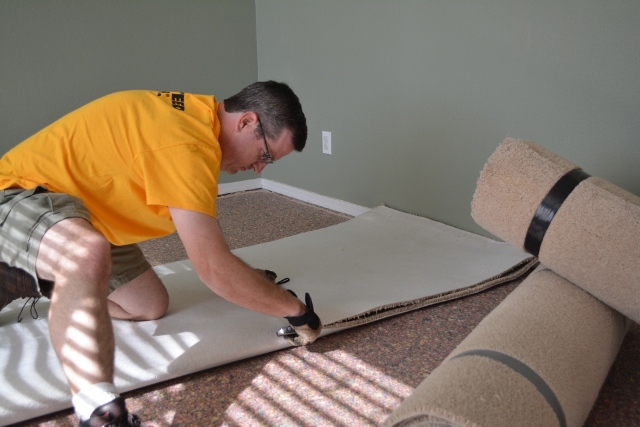
I'm embarrassed to admit that I've pulled carpet the same way for years. I'd slice it up from the top with a utility knife, dulling countless blades against the floor beneath, carving the padding to ugly chunks, and littering the room with bits of yarn and foam in the process. I had just started following the Home Repair Tutor blog a while back when I watched Jeff fold the room up in a neat little package and slice the carpet from the bottom. Genius! I liked it. This is the first time I've actually gotten a chance to put his method into action. It's just stupid easy folks.
I pulled up the corners of the room with my multi-tool's pliers and folded it over at about three feet wide. I left it alone there that first night and went to bed, exhausted from furniture moving and lugging tons of material into the house.
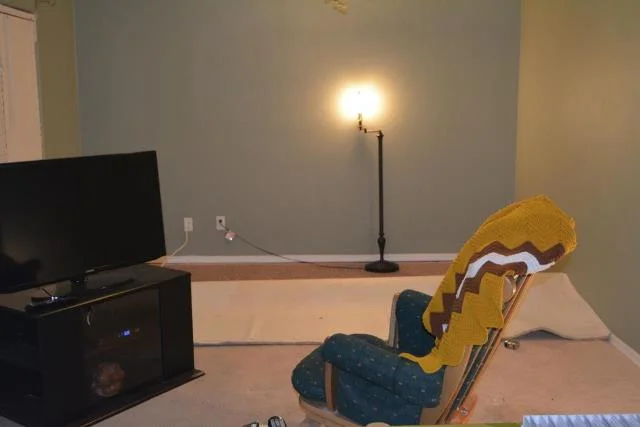
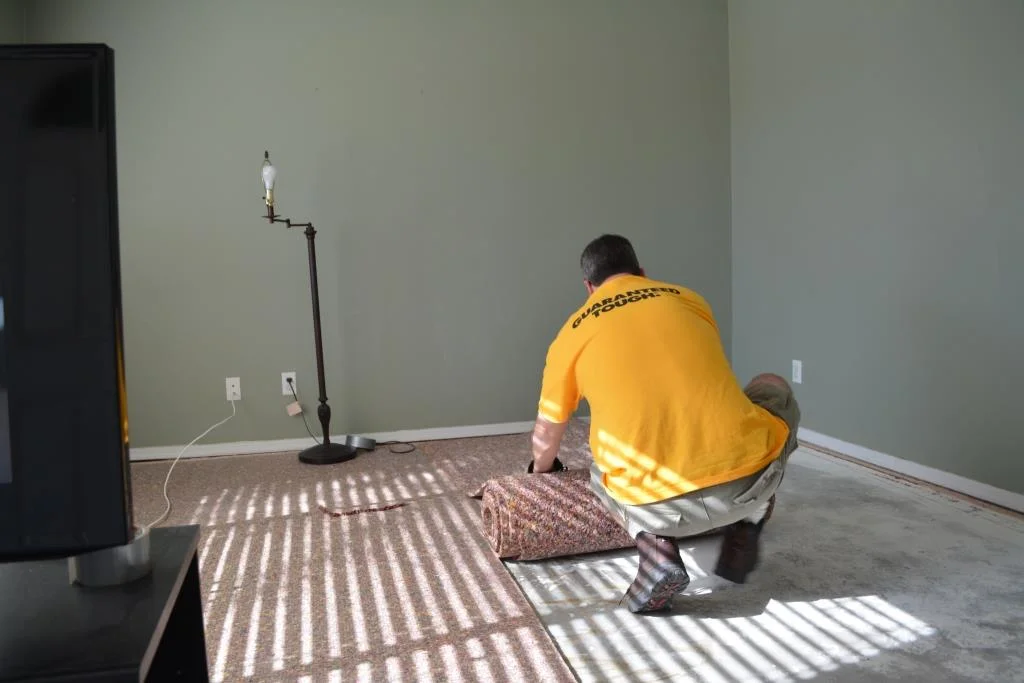
We're not giving up TV#2 until the bitter end.
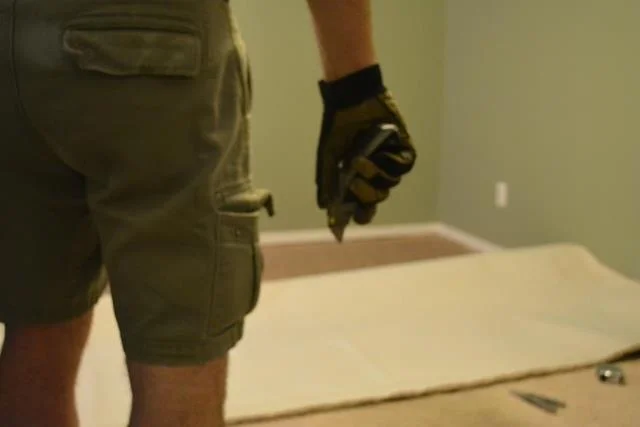
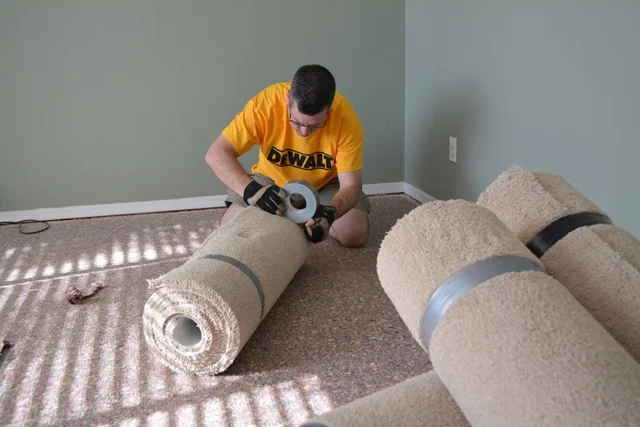
The next morning, the quick slice down the fold line with a utility knife was a piece o' cake. I didn't even use a fresh blade and it lasted the entire room.
I really watched the cut line carefully so I didn't slip and slash my femoral artery. Bleeding out in a torn-up living room just wasn't in my plans.
I rolled them all up...
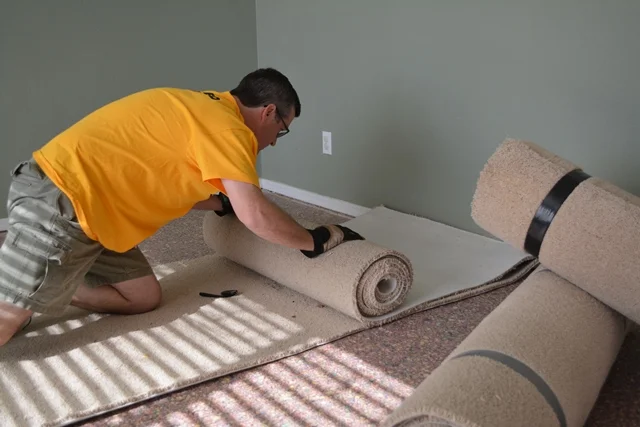
... wrapped a quick loop of duct tape around them,...
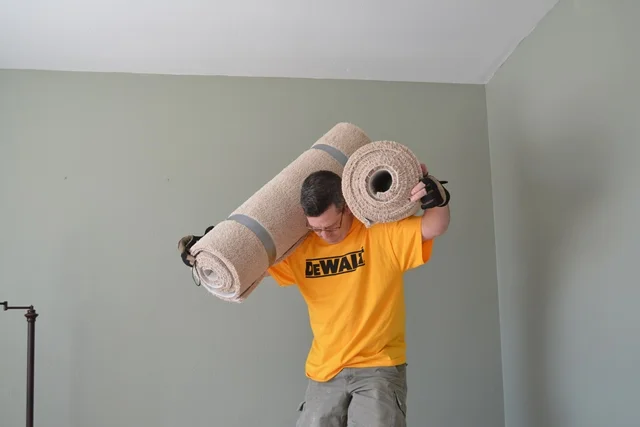
... and carted the rolls away, apparently, in the most Herculean pose I could muster.
AZ DIY Guy Shrugged
I'm not sure the average DIY'er can pull this maneuver off successfully unless they are sporting the latest fine DeWalt garment, obtained by winning a Fan of the Week photo contest,...but you can sure try.
The padding below turned out to be only edge glued and was easy to pull up. I folded the wide sheet over once, rolled it up, and taped it. Without it being carved up by moronically hacking through the carpet from above, it was an easy, mess-free task.
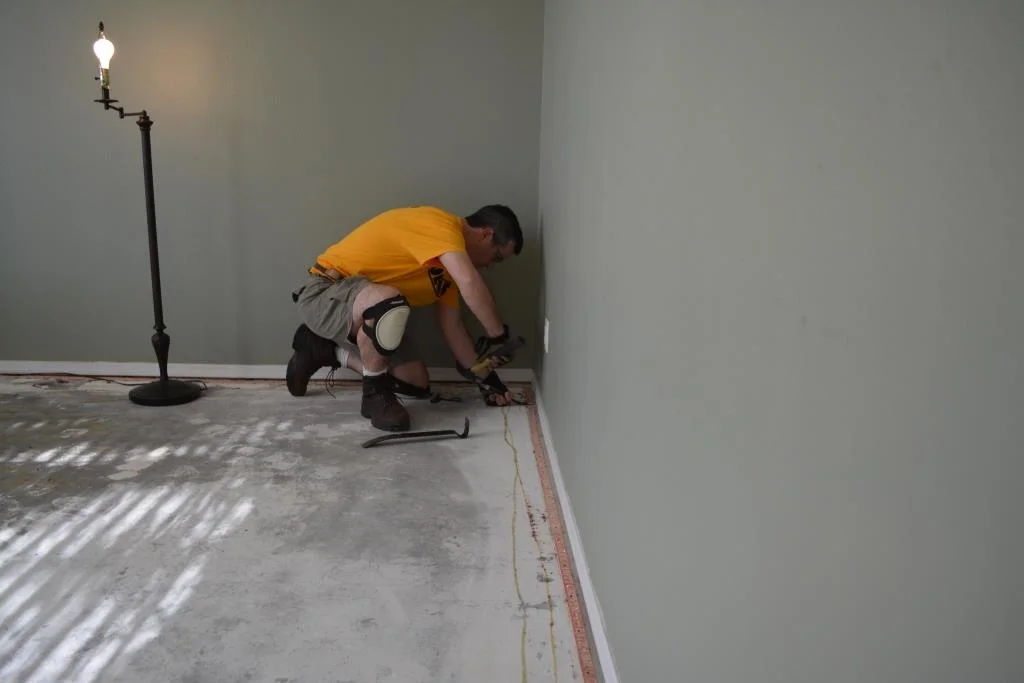
Whackety-whack! I drove a pry bar under the tack strips at the concrete nails and popped them up with a mini crowbar. Knee pads are an absolute God-send here. I really recommend you add a pair to your tool kit. It only takes one time of kneeling, bare-kneed on a loose concrete nail to make you a quick believer, with a nail-shaped divot in your knee. I admit they become a bit uncomfortable after a while while wearing shorts, but, so what?
I'm wearing shorts with the outside door open, in late December.
Don't hate me 'cause you're knee-deep in your frosted, winter hell, my northern friends.
"Whackety-whack"
- William Shakespeare (?)
I took a wee bit of special care when I got to the tile edge. I didn't want to damage an irreplaceable, out of production tile, just because I was in a dim-witted rush to stand vertically again and stretch my aching back.
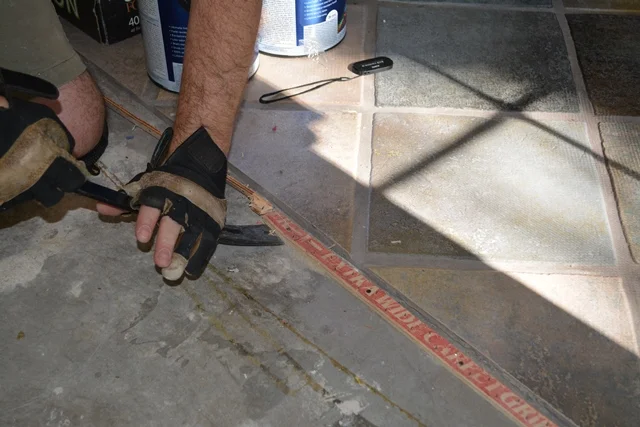
Gloves, my friends. Trust me, you don't want blisters when you have days of work ahead.
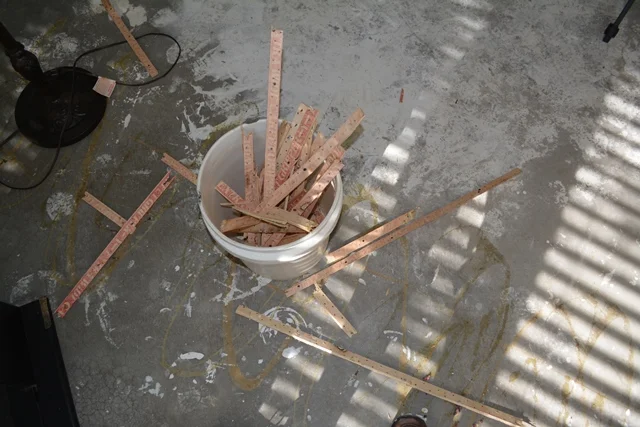
I used a 5 gallon bucket for waste. Soon it was full of nail-filled, splintered tack strip. Those sharp, nail-encrusted bastards are another reason to wear decent gloves. Chucking one, bare-handed into a bucket from across the room will eventually leave at least one flap of fresh-carved, bleeding skin.
Next, it was time for base molding. It only took a quick slice through the caulk and it pry it off by hand. The drywall in this room had been deemed undamaged in the toilet-feed flood of 2006. The restoration contractor hadn't replaced the bottom foot like they had for the rest of the house. It was obvious there had been water damage; there was crumbled drywall at the bottom, barely capable of holding the trim nails. It was basically held in place by caulk. We're going to replace the trim with a taller profile anyway, but it's still disappointing to discover half-assery by the insurance company / contractor.
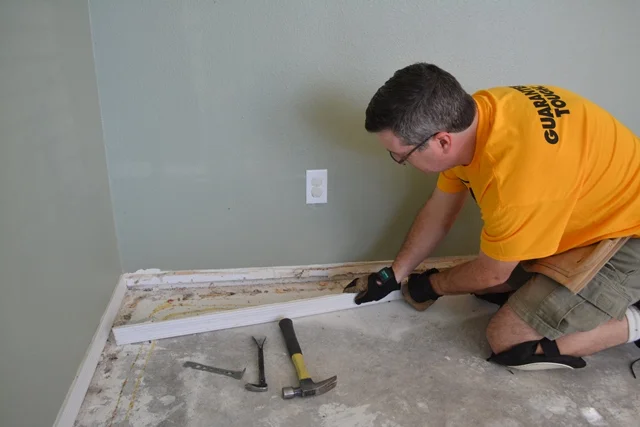
Why yes, loyal reader, that is "Sweetness" my loyal electrician's hammer. Good eye!
Next, it was on to a little wall patching with drywall compound and a putty knife. I blotted it with a damp paper towel to match the existing texture

It looks like I'm at the blackboard, "I will not chew gum in school"
The electrical trim plates came off. I'm going to replace all the plugs and switches later, after we freshen up the paint.
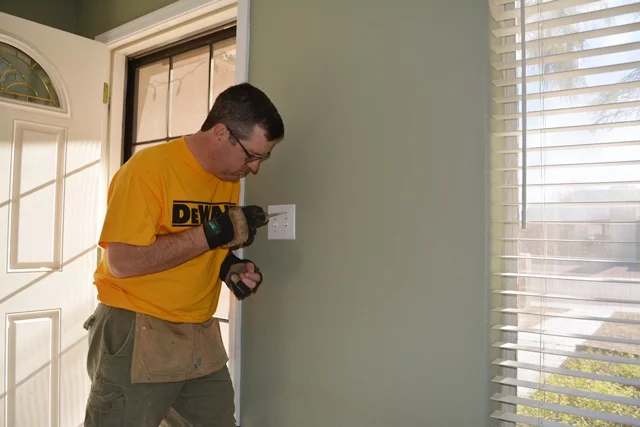
Lucky I was there to hold the wall up with my shoulder.
The decorative curtain thing, blinds, and mounting hardware came down too. Check out how the top of the window enclosure isn't even painted the same color as the walls. Lazy. Our desert-scaped front yard is finally visible, another reason we're re-doing the room. Moving the TV will open up the view of the mesquite and cactus out front.
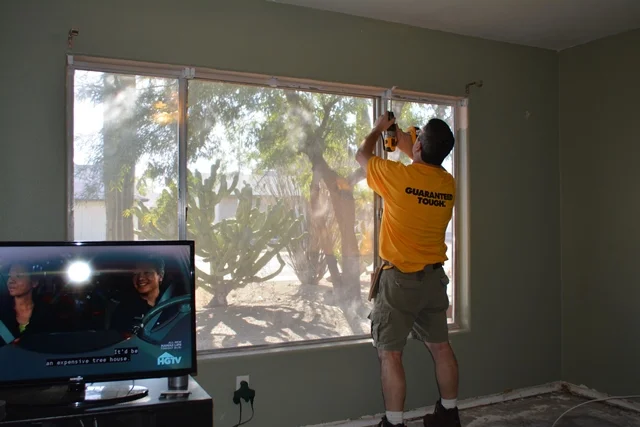
Yeah, I had HGTV on for inspiration. I'm still a manly man, honest.
I really like the green colored room. I think it gives a nice splash of color and contrasts nicely with the white trim. It was poorly painted, but a little touch up and it would look great! Sweetie disagreed. She wanted something in a nice sand color, to offset the dark color floors we'd be installing. As the man of the house, I put my foot firmly down. We need to keep the green, dammit!
So, naturally, the next step was to start painting the room a nice sand color.
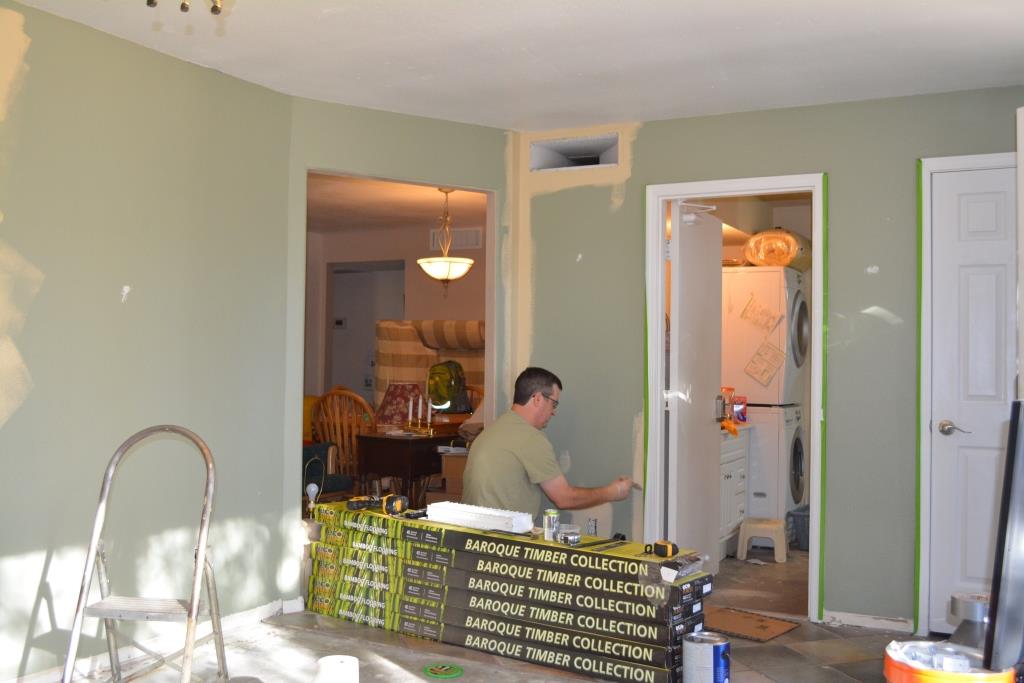
I chose the green ,...colored Frog Tape.
Sweetie grabbed a roller and took care of the whole room, while I did the masking and cut in with a brush. Considering we're replacing the base and will be installing crown molding, we were done in no time by only roughly edging the floor and ceiling. We used premium-grade paint, Valspar Signature Paint + Primer in "Cliveden Sandstone", from Lowe's (but no hot dogs). This was some really outstanding stuff; it took only one coat! It's really impressive, considering the (gorgeous) green already on the walls. This is the first time I've sprang for high-quality paint, and I'm sold.

Not bad for one day eh? I'd pulled the carpet in the morning, but took time out to grocery shop, get a haircut, and take the trip to Lowe's. It was afternoon before I took the first tack strip out. The second set of hands with a paint roller really helped.
Next step, scrape the floor smooth and start flooring. Tune in next time Super Friends.
Keep following the story...