

Although the kitchen isn’t 100% done, I’ve jumped headlong into a dining room remodel. They’re connected rooms, so it still counts as one project right? I’m not really jumping from one project to the next without completing,… although I do want to rebuild the mailbox out front….
So far, I’d started with a Craftsman style trim around the doorway in the angled wall between the kitchen and dining room. Through it is the living room and ultimately the front door (Catch-up read: The Dining Room Remodel: The Next Big Project).

Is it called a doorway without a door? or shall I call it a trabeation if I’m feeling fancy?
That One Weird Doorway
The next doorway leads to the bedroom side of the house. All three bedrooms are over there. It’s the living quarters wing of the palatial AZ DIY estate.
Unfortunately, the doorway is jammed over against one side wall and doesn’t leave room for the full Craftsman style face casing and trim I’ve been doing.
We’ll just see about that, won’t we?

The odd doorway.
Regular readers know there’s not a straight, plumb, level or square part in this whole, dang house. This particular gem of doorway was one of the finest examples of spacial ineptitude to grace a dwelling west of the Mississippi. The wall thickness alone was a tapering horror, nearly an inch off, from top to bottom, while undulated drunkenly at all points in between.
Figuring it out
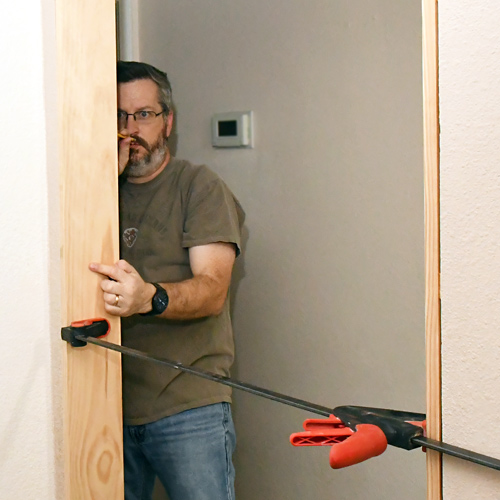
I clamped a piece of clean pine in place and scribed a cut line along the back side, tracing along the wall with my classic marking tool a #2 Ticonderoga pencil. Don't be jealous.
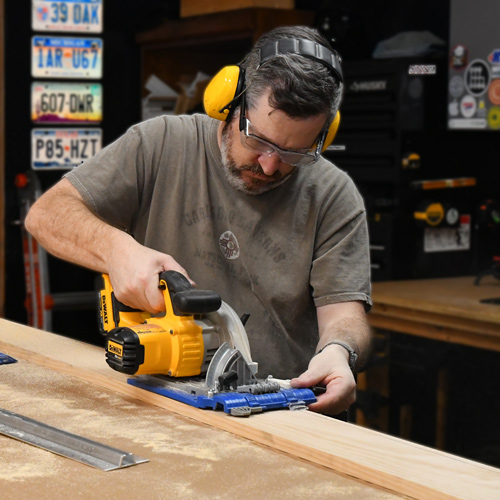
It was not a straight line at all. I had to do a free hand cut along it. The blue thing on the bottom of my circular saw is the sled that clips onto the Kreg Accu-Cut and Kreg Rip Cut guides. I had it set up so nicely that I figured I’d just leave it on there, even if I couldn't use either of the Kreg straight cutting goodies.
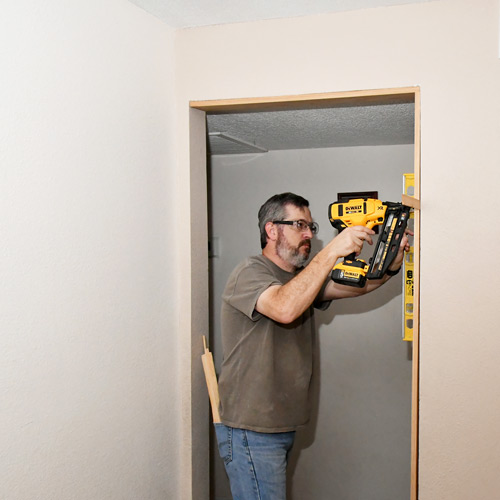
I had to install shims to keep the boards plumb. The crooked 40 year old mess would finally be straight. When my level finally showed good, I popped it in with some finishing nails.
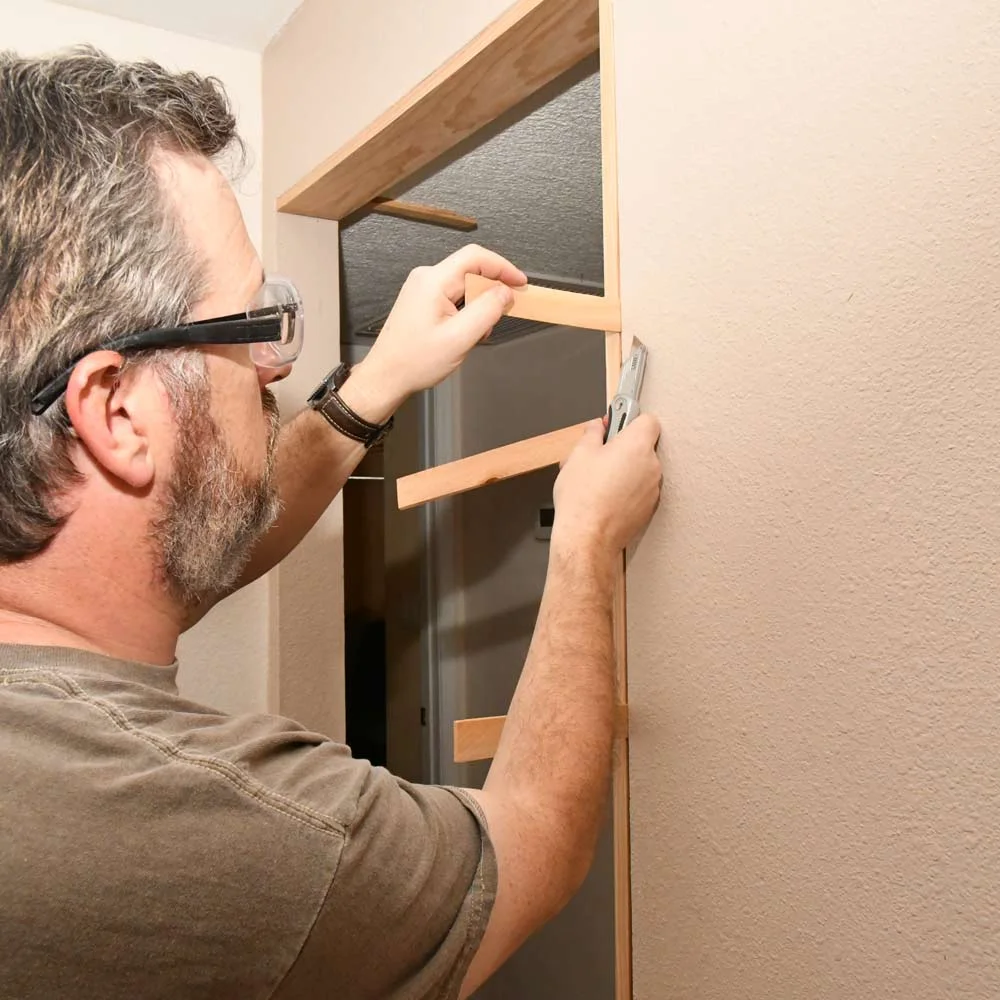
With the inner part of the pass-though nicely wrapped with the clean, smooth pine, I shifted to the decorative casing work that would cover the shims and gaps left by the straightening.
The Craftsman face trim style I’m using in this whole part of the house consists of two 1x3 (¾ inch by 2½ actual) vertical casings with a 1x4 (¾ inch by 3½ actual) head casing and a 2x2 crown across the top. I’m using a little thinner narrower stock than I did around the kid closet window. There just isn’t enough room in some of the locations in the kitchen / dining room.
By cutting the horizontal pieces progressively wider it gives that signature layered look and some cool shadow lines. In this, jammed-to-one-side location, I chose to simply let the horizontals stop against the side wall.

Dude. Loose the beard.
Preparing the walls
I’m really going to dress this little room up with a board-and-batten / high wainscoting treatment. To do that, I need a beefy base molding, not the cheezy, 1979 builder’s grade stuff. I popped it free and busted it into pieces for the trash.

I didn’t intend to look like I was doing a kneeling guitar solo with a piece of molding.
The wall design is going to look pretty complex when it’s done. The base molding won’t have to have any fussy edging profiles to look fancy, but it does have to have a beefy weight to it to pull the look off. I popped a nice piece of 1x6 pine in place. I leveled it instead of following the undulating floor tile since it would be the base of what is to come.

Two pieces and it was done. We’re only doing the board and batten look on two of the three walls in the room.

That’s the basic prep for the big job. Next time I’ll jump in with two feet and start building the wainscoting. I’m going to install panels to cover the walls rather than try to smooth out the texture and deal with the uneven surface. I’ll hide the imperfections.
I didn’t go deep on this one, since I’ve already done some in-depth craftsman trim posts in the past, as I work my way around the house. Check those out below:


Kitchen Remodel: Episode 34 Where there was once a window, there is now a door! No I am trimming it, inside and out with the craftsman style that’s slowly spreading around the house.