

How I replaced an Ugly, Flat Door with a Beautiful 6-Panel
I'm installing my first, hinged interior door. Following easy(ish) success with the pocket door, I'm ready to rock this one. I'd already prepped and painted the door so it's time to yank the old ugly slab door off it's hinges and do the install, with minimum down time for the guest bath. I've never installed an interior door before, but it seems pretty straight forward and I think I have everything I need.

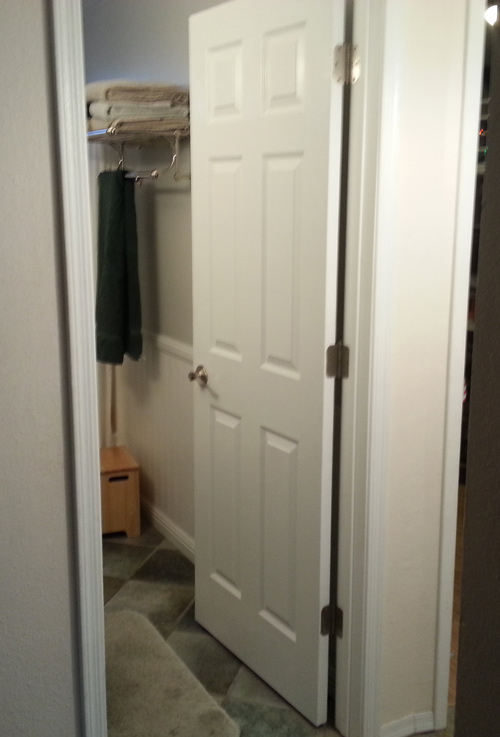
In this pic, you can see part of a pre-blog project from a couple years ago, the guest bath remodel. The wainscoting looks good, but hasn't held up real well to the onslaught of little bathtub denizens, flooding the place. I have a bit of repair to do. The cool train rack ("towel shelf" in Man-speak) was something my wife found and ordered from Pottery Barn. Once I learned to stop nailing my head on it, I learned to appreciate the easy access to towels, the storage, and even how it dresses up the room. This room is probably the most completed project that I've done in this house.
I started by popping out the hinge pins, beginning at the bottom, The top pin kept the door from falling on me as I worked my way up. I used an old punch with a blunted tip. I don't even know where I got it, but it worked perfectly. The hinges look horrible, with 30 years of built up paint crapping them up. I don't get it, it's unbelievably easy to mask hinges before painting. It was probably the same mental giant that painted all the electrical receptacles in the house.

My official hinge de-pinner,...thingie. Sorry, no Amazon for a purchase source, this baby is all mine.
My official hinge de-pinner,...thingie. Sorry, no Amazon for a purchase source, this baby is all mine.
Here's a stroke of luck; the new hinges are exactly the same size as the old ones. I'd just grabbed them at Home Depot, without taking the old ones to compare. SWEET! I installed half of three new, brushed nickel hinges in the door jamb, cutting the heavy paint first, to prevent further damage.

Namaste
I lugged the old door out and laid it on top of the new one. It fit pretty well, but the it was clear that the old one was really warped. There was nearly a half inch of deflection. Maybe it was the moisture, the door wasn't painted / sealed top or bottom after all. There was also obvious water damage on the bottom. This was the bathroom where our house flooding originated due to a split toilet water line several years ago. I was still able to transferred the hinge locations from old to new.

Everything hinges on this step
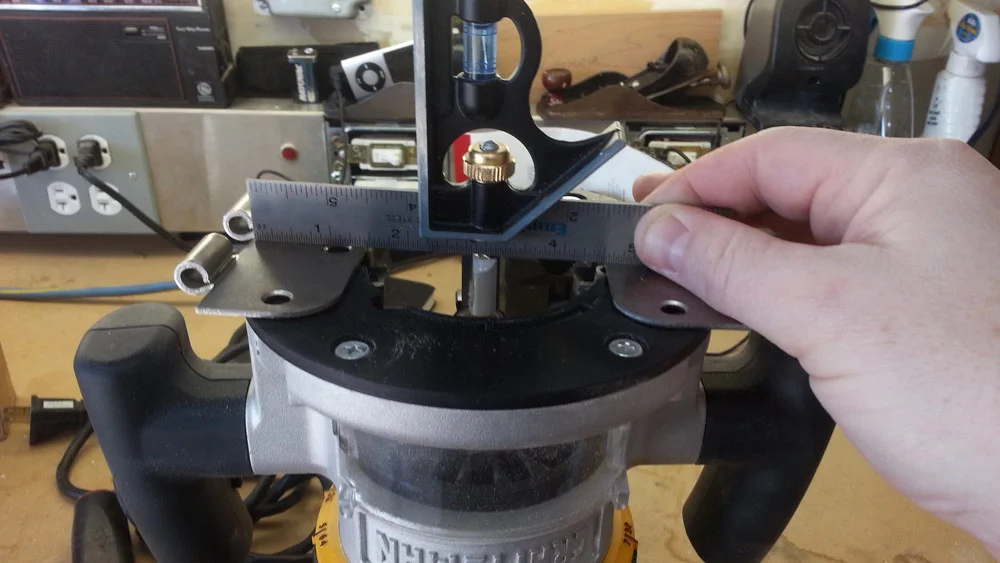
I set the depth of my router by putting a straight edge across two hinge plates and cranking the cutting bit up until it just touched. I used my older Craftsman router because my newer one is set up and dialed in, just right for cutting dovetails on another project. I'm not touching that. I used a 1/2" straight cutting bit.
I was pretty sure I had the steady-handed, gunslinger touch needed to cut these hinge mortises freehand. The initial problem was the paint bunched up against the edge of the cut. I couldn't see my lines. I fixed this by pre-cutting along the pencil line with a utility knife and again at a slight inside angle to peel the paint away from the edge.
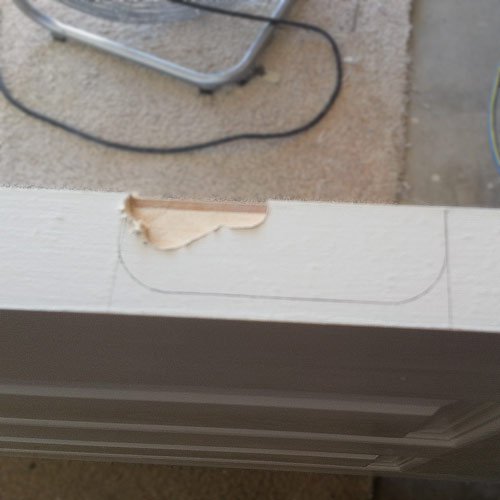
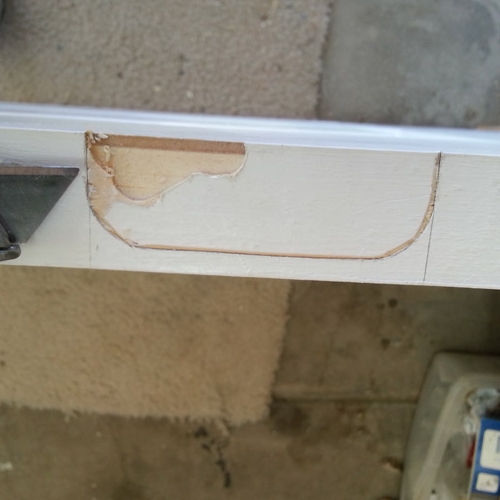
I'm happy with the depth of cut using the router, it left a nice flat-bottomed mortise at perfect depth for the recessed hinge plate, but my edges are not as perfect as I'd like. So much for the steady gunslinger's hands. This process took some time. Maybe, I'll look for some sort of template next weekend.
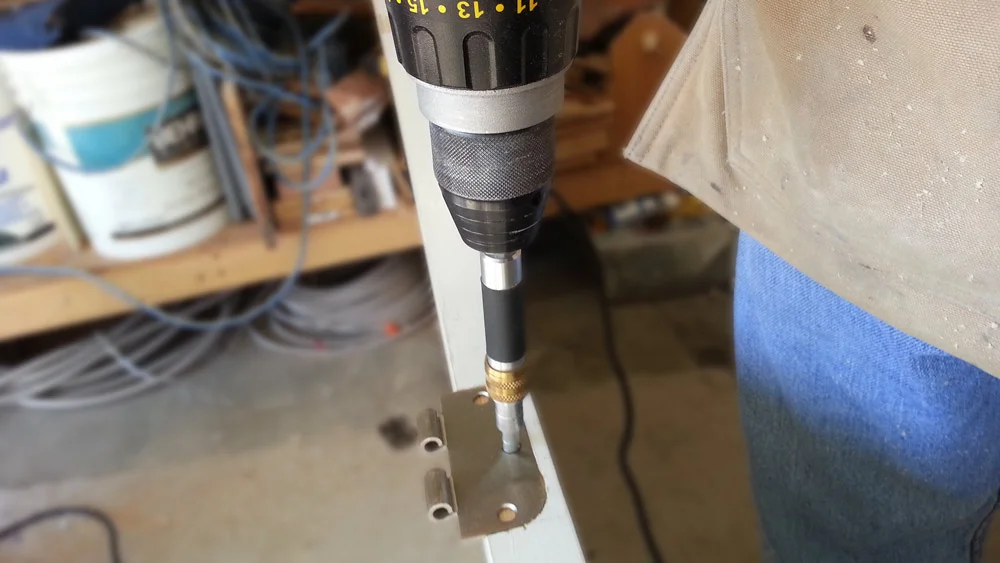
I used a Vix bit to quickly pre-drill the screw holes. This was pure sweetness. The guide fits in the metal hole of the hinge and perfectly centers the drill-bit. As I drilled, the spring loaded guide slid back, allowing the bit to penetrate to a perfect depth before stopping.
Zip + Zip + Zip = hinge done! I zapped three screws in each hinge with the impact driver. All three hinge plates were installed in less than five minutes.
I slipped the new door in and dropped the pins in their holes, starting from the top. Perfect! The door didn't close quite right. The opening was irregular. I brought out the planer and trimmed the jam on the strike side. Then, DAMMIT! I set the still spinning planer down on the vanity, missing the "kick stand" off the edge. In a millisecond, before my brain made the connection, ZING! I carved a trench right in the acrylic top. Remember when I noted that this room was already done? This sucks. I want to be remodeling, not repairing the damage I do while remodeling. Idiot.

I wonder if they make some sort of patch?
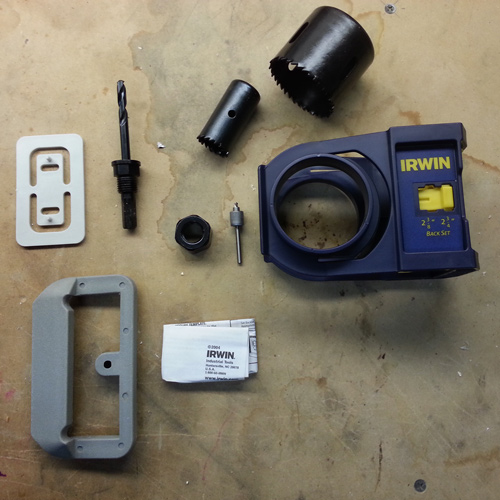
I used this Irwin Door Lock Installation Kit to drill the latch. I'll review it later, as well as my adventure at ACE Hardware to get it, after another door or two. The Jury is still out. It's handy, but it's not real good quality material,... but it's really economical. Hmmmm....
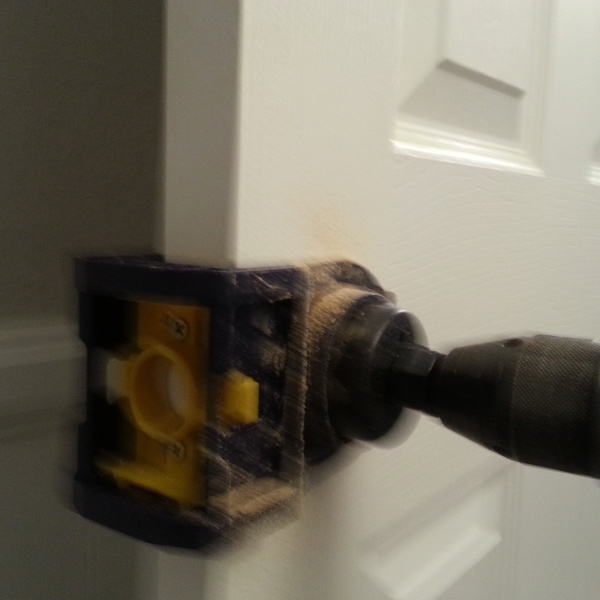
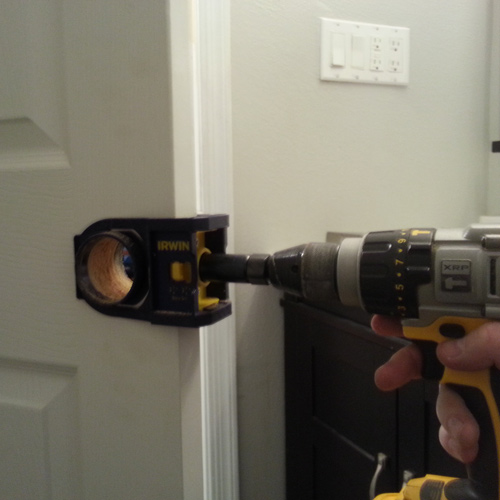
Yeah, yeah... you try to take a picture one-handed, while drilling with a DeWalt XRP Hammer-drill, while pissed off about wrecking your vanity top, and see how it turns out.
I used this plastic do-hickey that came with the Irwin set to route out the latch plate with a bit they also included. Then a hand chisel to clean it up.

Of course it looked like a cruise missile hit the bathroom when I was done.

...aaaaaaaand done! or at least done-ish.
I need to fall back and paint the trim which looks positively crummy next to the brilliant white, freshly-painted door. Also, there's bare wood where I planed the jamb down a bit. I'll do all that at once when I get more doors up.
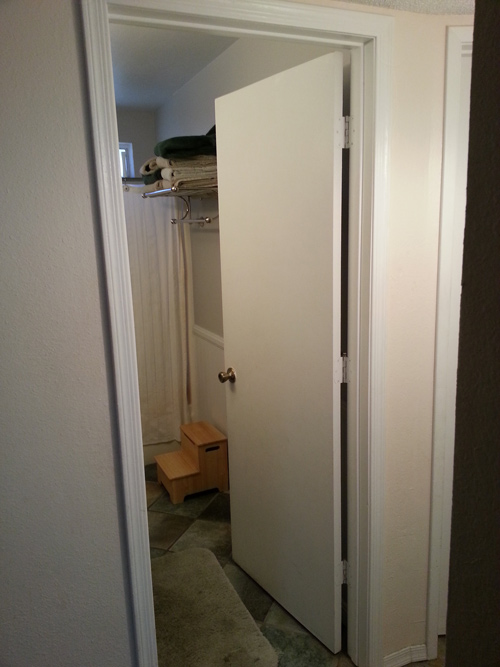
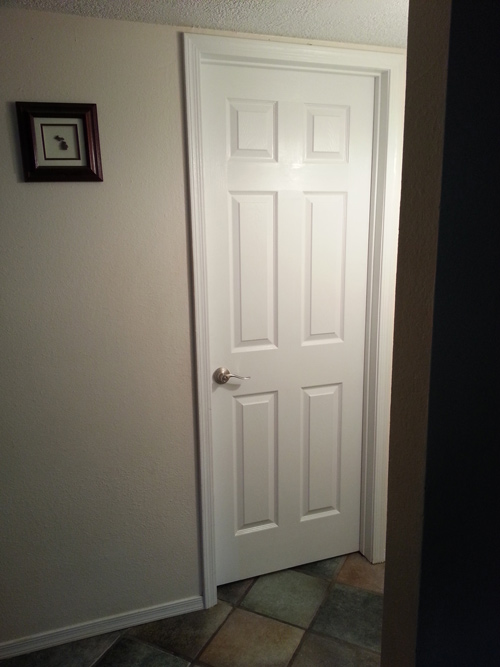
I think it really dressed up the house for a $30 door, $30 latch, about $6 in hinges,...... and a new vanity top. Damn.
UPDATE! 2018

I popped back by this post to fix a broken link and holy cow, what crummy photos! This post was originally written in early 2013 on my old Blogger site and shot with a cell phone camera. It's still good door swapping adventure info, even if it looks like a drunk badger took the pics.
I did come up with an easy fix for that gouged countertop that seems to work. Check it out here.
I also found a better way to route those hinge mortises, with a Ryobi Door Hinge Template and a MUCH BETTER way to install the latch with a Ryobi Door Latch Installation Kit.