

The kitchen is somewhat,… mostly remodeled. The attached dining room, is where I usually stood to take photos of kitchen progress as well as stored tools, materials, old cabinets, and piles of construction crap. Now, that it’s cleaned up, it’s looking very drab, next to the bright kitchen. It’s basic-builder’s grade 1979 trim with super-classy and unique, taupe walls and an ugly light fixture.
Check out the massive Kitchen Remodel Page for all that crazy action. I’ll wait.
I decided to put off the next phase of the kitchen (adding the exterior door, painting, and figuring out the flooring). The dining room would be much less of a project.
Our Halloween regalia is out in full force.

Boring. Even with the Halloween stuff.
The south wall of the dining room faces the front door of the house. It bumps out to make the room wider than the kitchen, due to the outwardly angled wall between the rooms. Smack-dab in that little wall section is the doorway between the dining room/kitchen and the living room.
I’m going to put a Craftsman style trim around the doorways in the dining room.
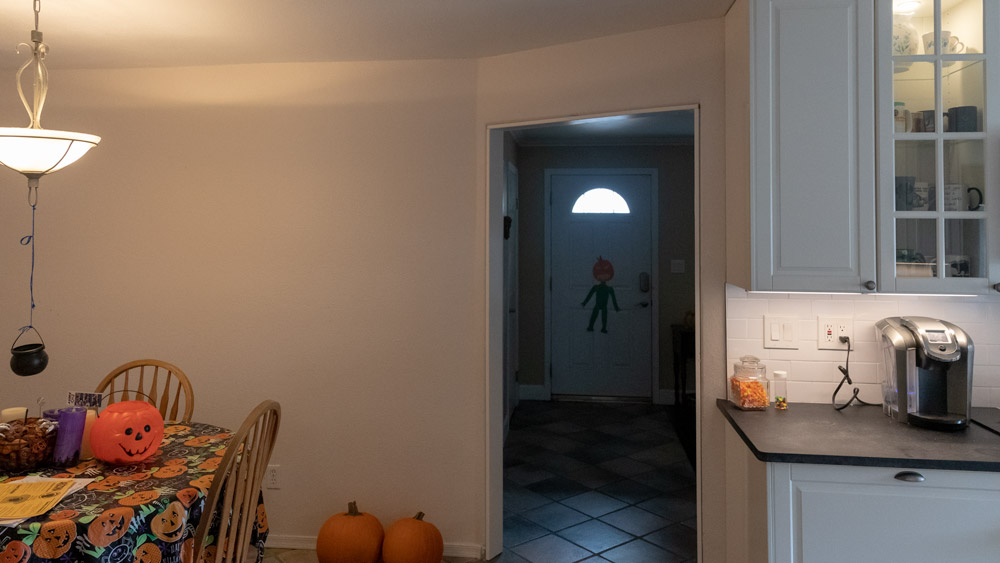
Left = Boring Right = Exciting + (Candy Corn + Coffee)
My craftsman trimmed Projects so far…
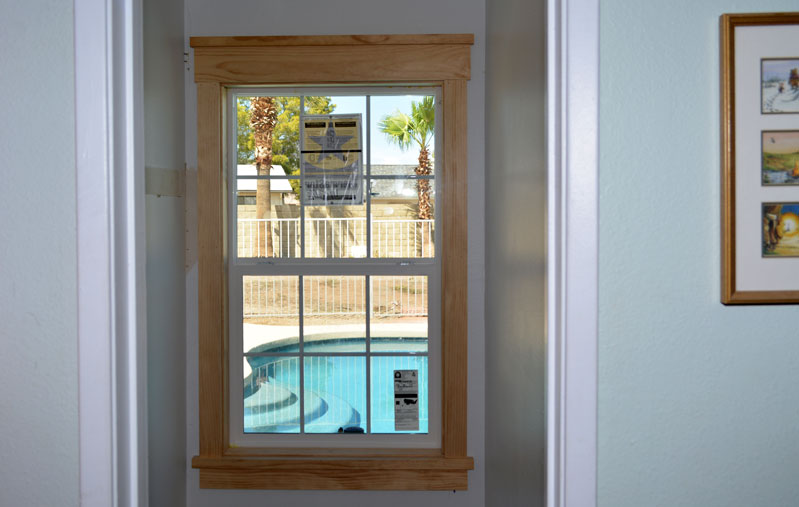
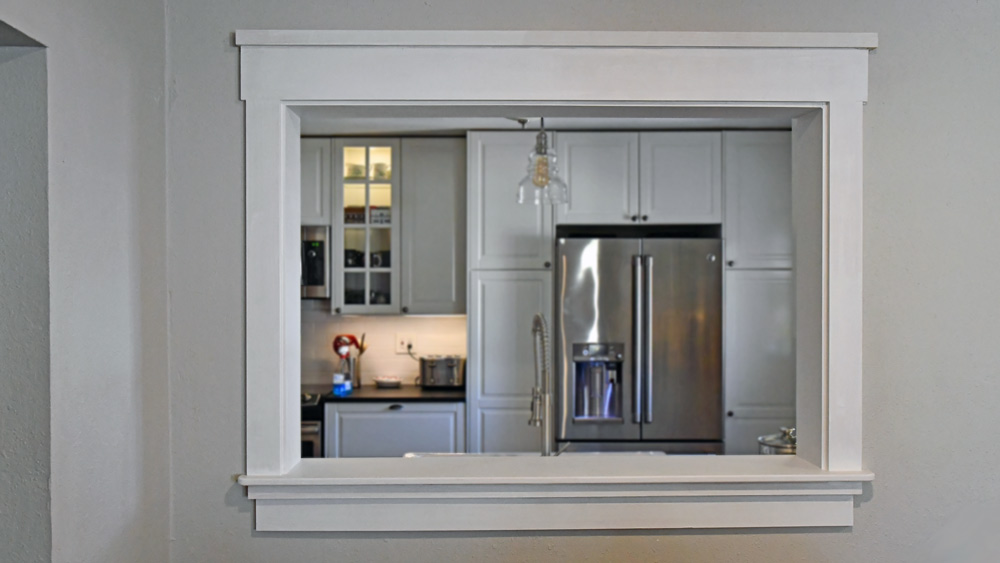
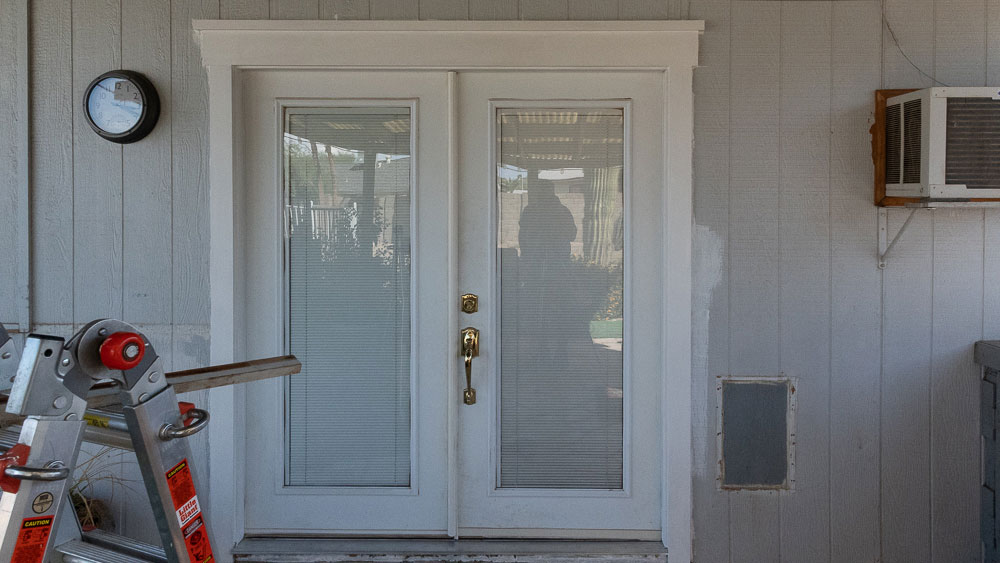
I wanted to start the remodel with the same Craftsman Style trim I’ve slowly started spreading throughout the house as I go. I’d already done the a kid closet window, the kitchen pass-through and the an exterior patio door.
(Click the photos to see the original posts)
Trimming the first doorway
I wanted to use 1x4 boards (¾” x 3½”) to frame the sides like I had elsewhere, but the new soapstone counter top protruded too close on the right side. I didn’t want to cut into the trim OR the counter top. The opening was also too close for a 1x4 on the right side where there was an inside-angled corner.
I’d have to go with a 1x3 (¾” x 2½”), smaller than I’d used elsewhere in the house.
It should still look good since it’t not close to any others. I’ll just do the whole room this way.

It’s only a little weird.
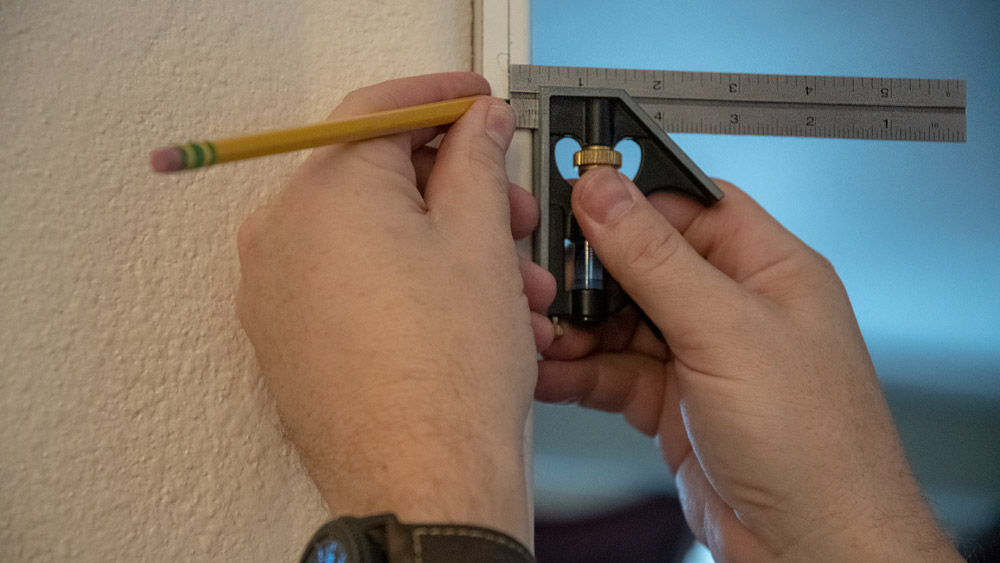
I’d added an interior trim panel in the doorway when I trimmed the living room side several years ago, so that part was done. To leave a reveal / setback in the trim, I scribed a pencil line with a mini combination square along all the inside edges. I’d place the edges of the trim boards against that line.

Since I’m going to replace the basic, builder’s grade base molding with something more substantial, I popped the end piece off and pried back the long section so I could slip the new, vertical piece in place.

Pumpkins. Why’d it have to be pumpkins?
- Indiana Jones
I cut a couple pieces of 1x3 select pine to length so they would would float slightly above the floor and stop right at the scribed line at the top of the doorway.
I lined them up against my scribe line and zapped them in place with my finish nailer. I just love that thing. It hasn’t jammed once; I’m even using Pastlode nails in a DeWalt tool.

“Skadoosh!”
I cut the 1x4 head casing to span the two vertical casings, sized to hang over by a half inch on each side. I had to back-cut the left-side with my miter saw, set at an angle to accommodate for the angled wall.

Go back to the shadow!
-Gandalf
I nailed that puppy in place too. Pop! Pop! Pop!

No hoses! No compressor! The kid’s gone cordless!
A 2x2 crown piece capped the doorway. It also needed an angled cut on the left backside to fit the angled wall. You cant even see it unless you look straight up from below. Caulk will make up for my slight miss on the angle.

I did the whole doorway in less time than it took to go shopping for the wood. Of course it’s really rough at this point, without nail filler, caulk, primer and paint, but it’s a good start. It already looks better, even in the raw form.

There are two more doorways in the room, plus lighting, base mold, paint and a pretty good size project I’m cooking up to dress up the walls. More on that soon.
Thanks for reading friends.