

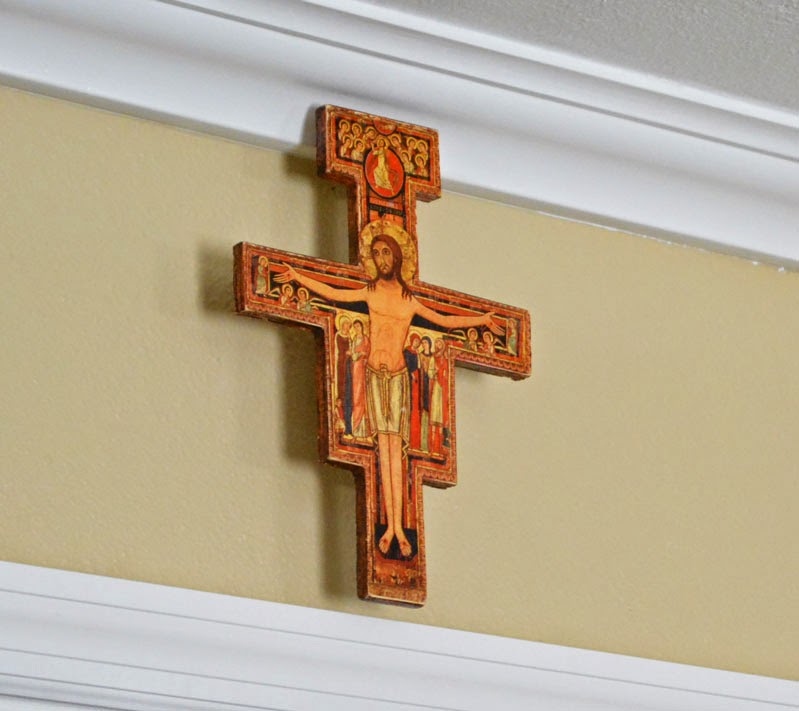
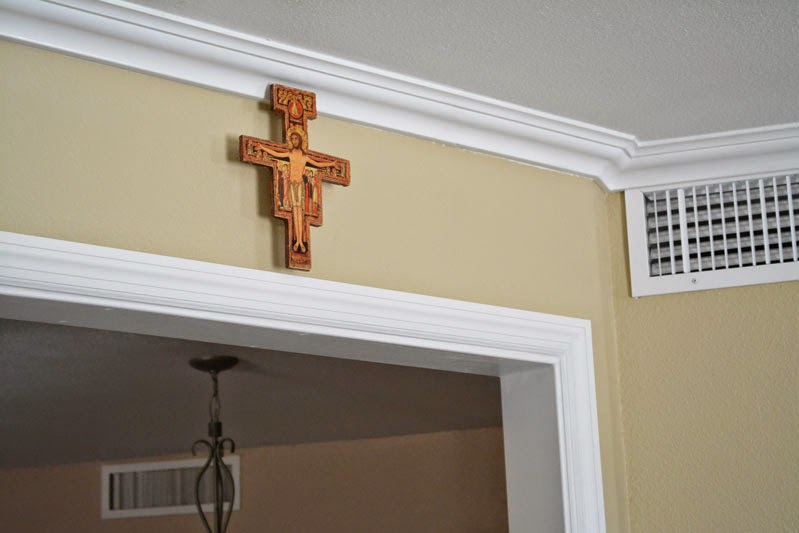
My wife has had this beautiful heirloom crucifix for years. It is something beloved family members who have long since passed brought back from a trip to Rome. We had it hanging, on a simple nail. in the living room over the entry to the kitchen / dining area before the remodel. After the remodel, with the crown molding and trim around the entry, it just wouldn't fit anymore.
I came up with this this little trick that I thought worked out quite nicely. For a change, this will be a quick, little post to share instead of my normal literary monstrosities.
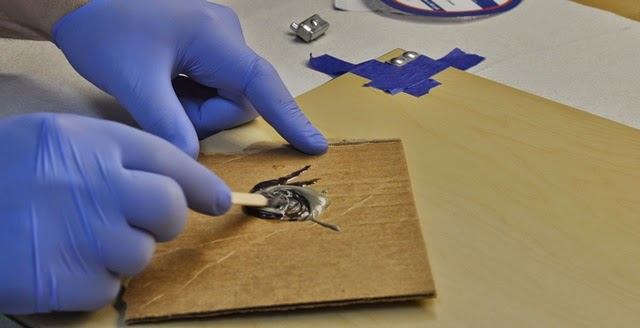
Using the magical powers of JB Weld, I affixed a large, flat headed screw to the back of the crucifix, roughly dead center.
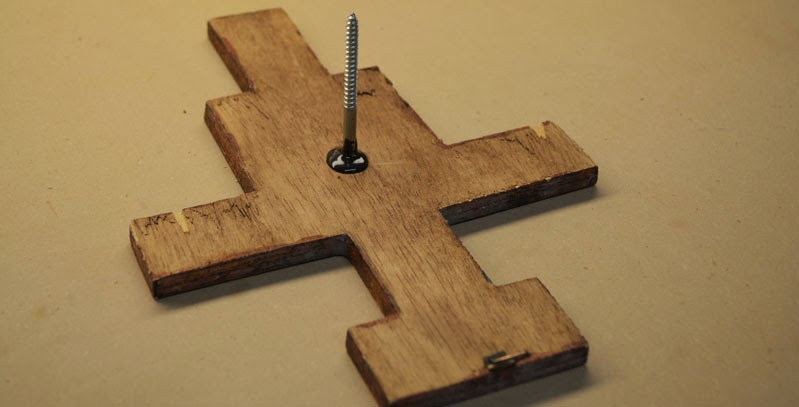
I actually used J-B Quick, the faster setting version of their awesome epoxy. It's incredibly strong and very fast to cure. I actually left this project to cure for many days,... 'cause I basically got sidetracked.
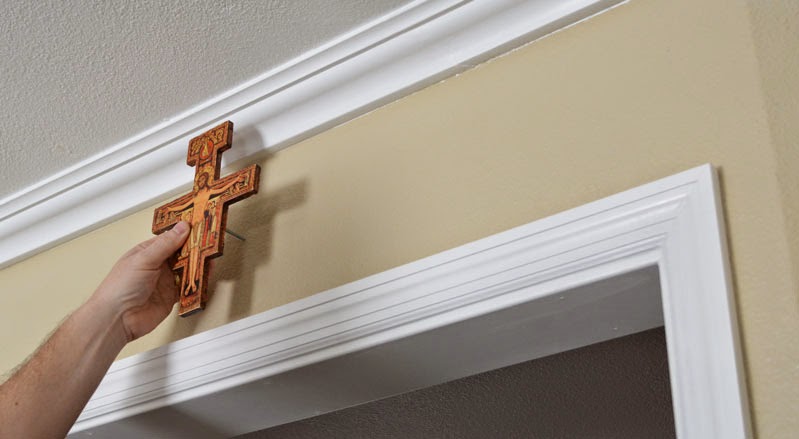
My idea was to float the cross a couple inches off the wall, really giving it a 3-D shadowed appearance. Centered above the passageway I pressed the screw into the drywall surface to leave a good mark.
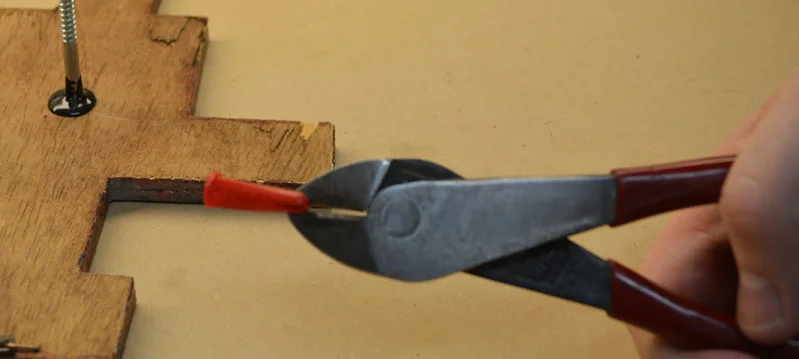
Since I was using a large, nonstandard screw for mounting in drywall, I cut the tip of a plastic drywall anchor off so the screw could pass all the way through without trouble. A pair of wire cutters did the trick, but any cutting tool can cut the soft plastic.
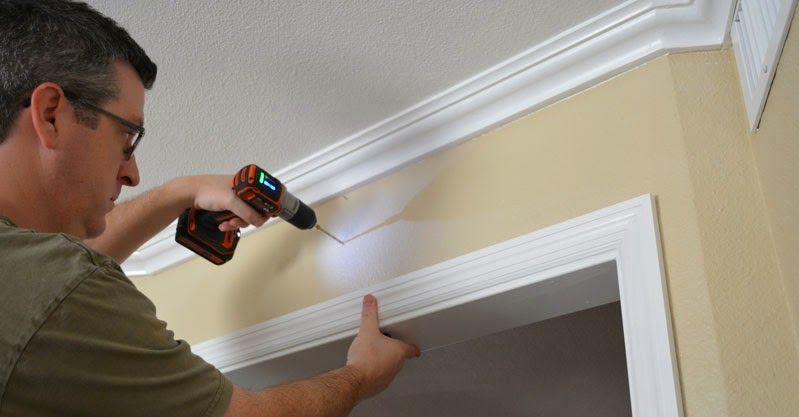
Next came a quick dose of pre drill-idge...
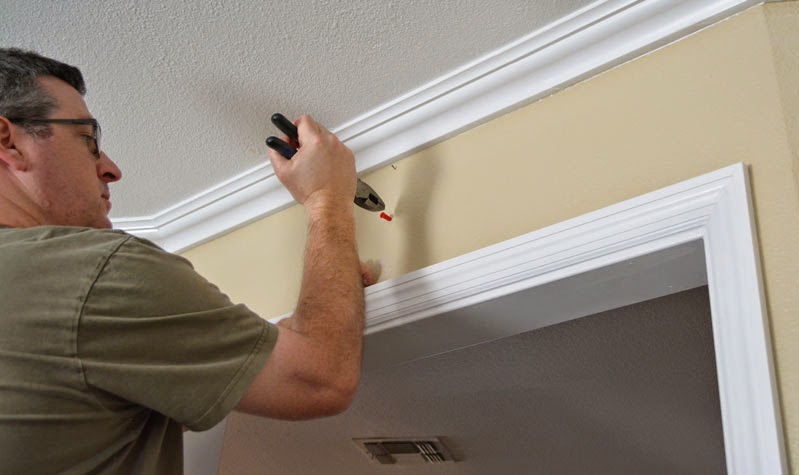
...and the pounding in of the plastic anchor sleeve. Hearkening back to my days as an electrician, my favorite jack-of-all-trades and pounding tool is, of course, a pair of linesman's pliers.
With the anchor sleeve in, it was an easy spin, spin, spin to mount the light wooden cross. I eyeballed it for level, since there's not a truly square or level surface in this old house.
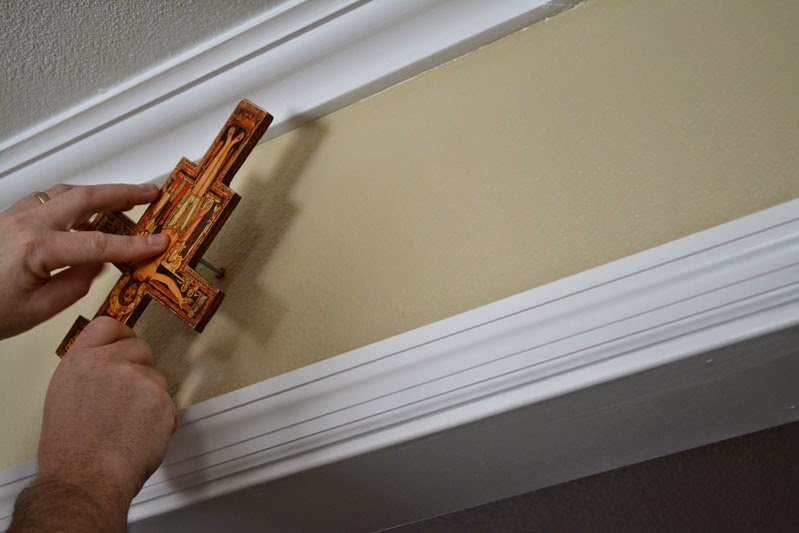
It turned out pretty nice. It literally pops of the wall with a nice 3-D shadowed effect and allows the beautiful piece to be showcased at the entry to our home even though there's slightly too little wall space with the new molding.
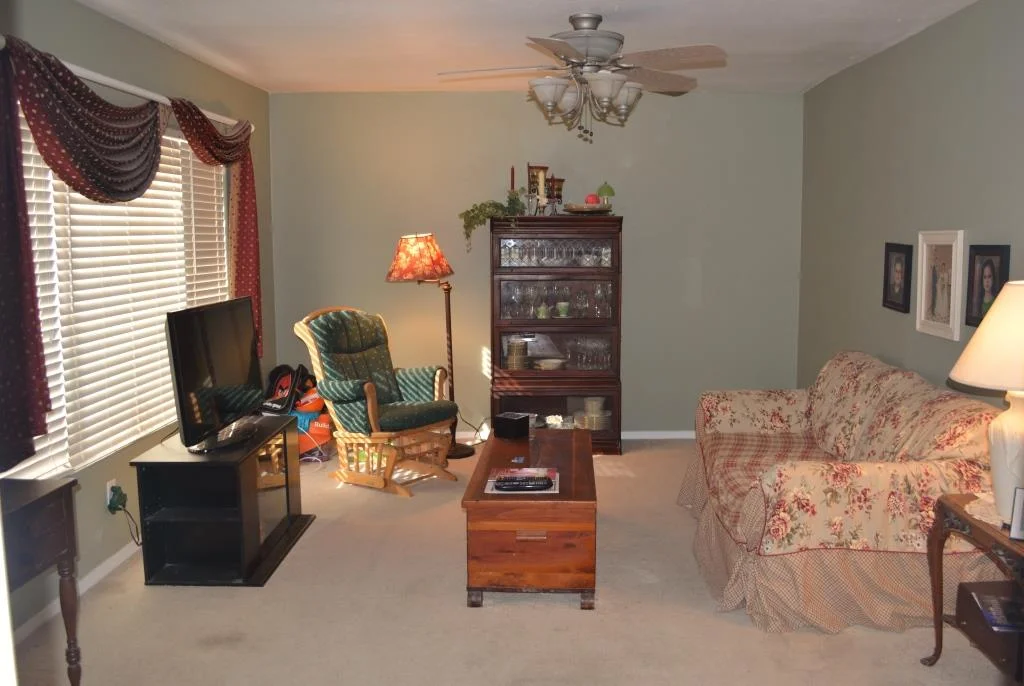
That's it for the living room, for now. We'll eventually come back to it to redo some kind of window treatment, a new chair and coffee table, and a larger wall decoration over the couch.
If you're just joining and want to see how it all went down...

... then you can check out the whole story from the beginning:

Thanks for reading the living room series! I'm to the next big project!