

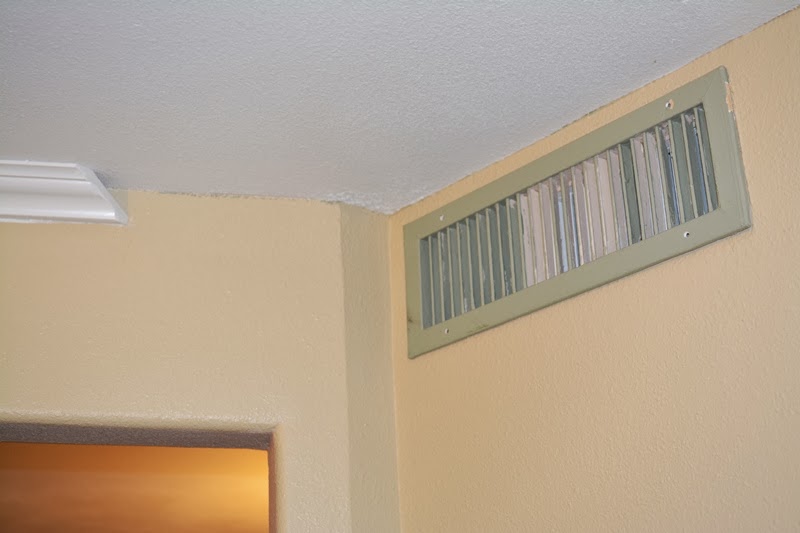
Working the crown molding around the living room, I hit a snag. I had known all along it was going to be a real problem. This vent was smack dab in the way, no avoiding it.
I find it odd that I started installing while still lacking a coherent strategy for dealing with the inevitable horror of the impending collision. Heck, I even started installing the molding before I could find a the replacement vent cover. It's obviously because I'm a risk-taking, bad-ass, man of action and decided not to plan this mission ahead of time.
"I love it when a plan comes together"
- John "Hannibal" Smith, Lt. Colonel, The A-Team
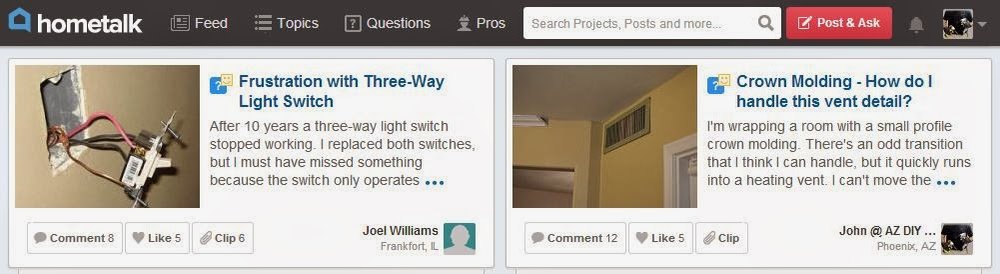
I figured I'd strip and repaint the old nasty cover if I had to. I also thought I'd figure something out when I got there with the molding. I didn't. Here's where the online DIY community is so great. I posted a question on Hometalk.com, hoping for some ideas and options.
BAM! Tons of ideas!
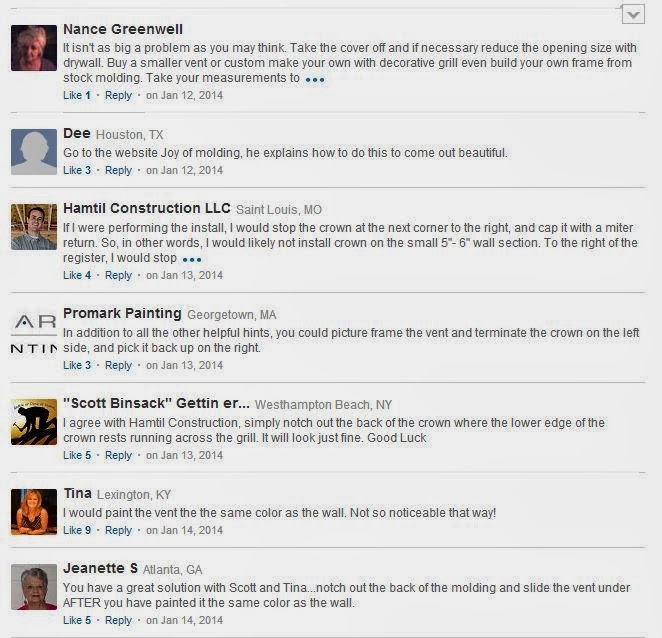
What a great bunch of helpful and supportive people! There's not much in the way of sniping, chest thumping adolescent garbage and nastiness on Hometalk, like you see in other forums around the web. With a couple options to try, I pulled the cover and started this tricky phase of the project.
Update: Once again, no pirate's treasure trove was located.
After a bit of hunting, I finally found a fresh new cover at Lowe's. It was the correct inside dimension for the vent but smaller on the outside. Close enough. When I got it home, I was less than pleased to find that the package was missing the mounting screws. I was even less pleased than that to find that the sausage, egg, and cheese biscuit I had picked up at the drive through on the way home was missing the sausage AND the cheese. Just lovely, no screws and an egg biscuit to start the day.
Folks, this is why God created the concept of the miscellaneous screw collection that seems to magically reside in every garage in the country. A good portion of m collection actually came with the house. Can you believe I found four 2" long sheet metal screws with white painted heads?!!!
I think the original, dearly departed, owner of this house just winked at me from above and nudged his wife, "You see honey?!! There's the reason I saved all that stuff out there 30 years ago!"
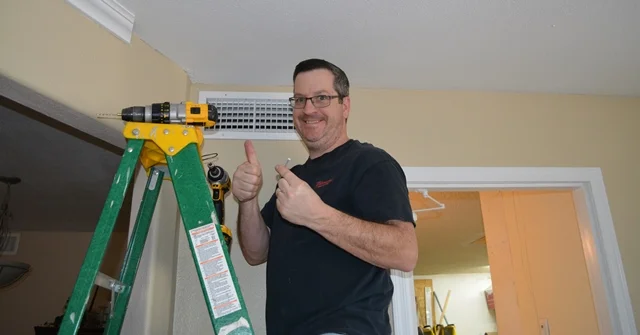
The cheesy grin of success
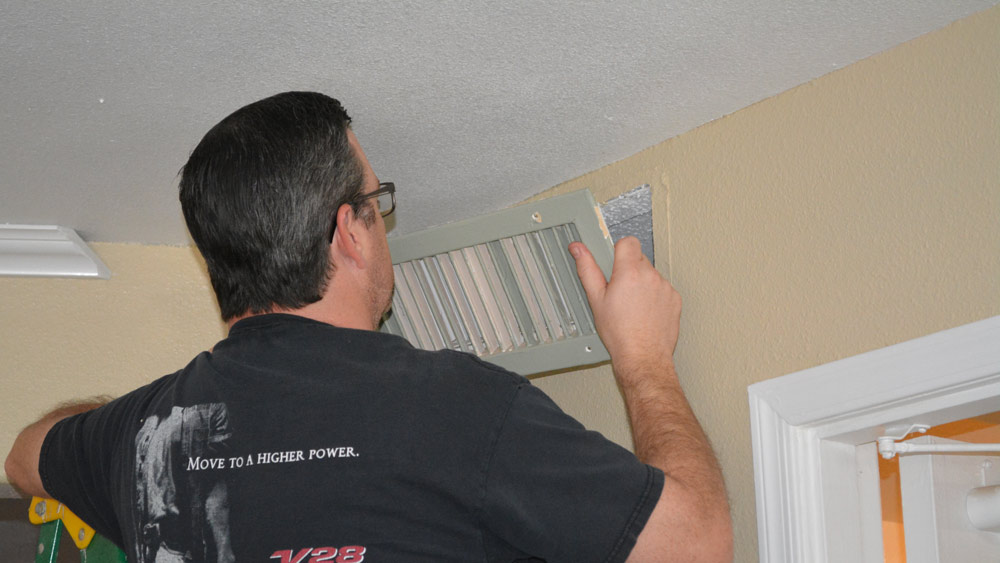
The mounting holes were in the wrong spot, so I had to drill new ones in the duct flange. I leveled and screwed the fresh new cover in place.
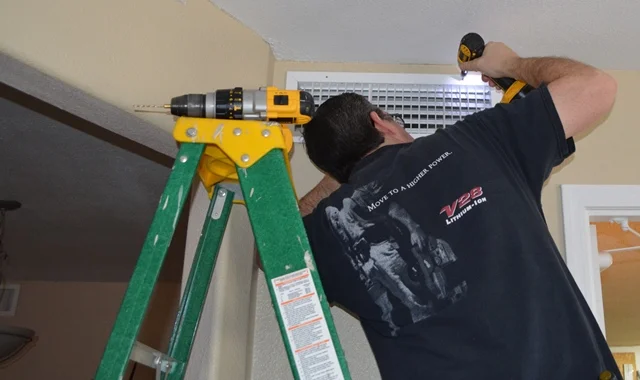
No, I don't own a Milwaukee 28 volt lithium-ion cordless band saw, but I do own the T-Shirt.
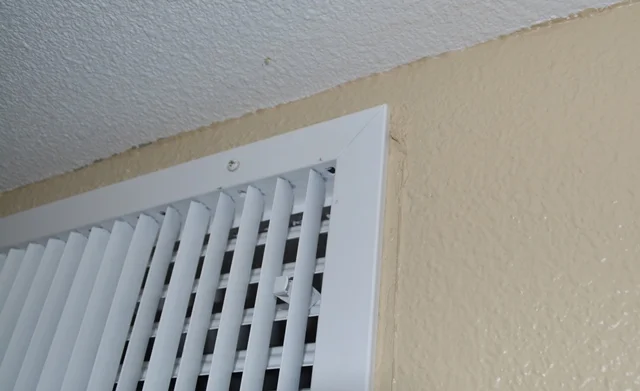
With the cover being undersized, there's built up caulk and paint gunk from many years of "remodeling" by my predecessors. This will need a good scrape and clean-up treatment.
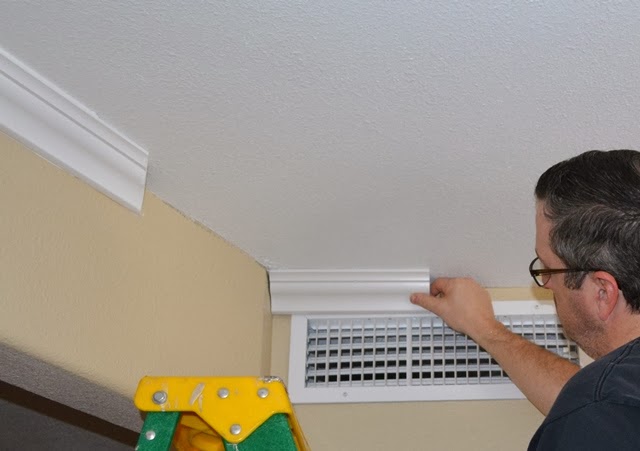
Don't judge my paint cutting skills, I knew I'd be putting up molding (plus I can't cut-in worth anything). I chose to work with a fresh piece of molding, rather than continue the run from the left and try cope the corner of the piece over the vent. I figured I may be making several attempts.
I did a little test fitting with scrap first.
"...and it's just a wee bit too short."
I marked the vent spacing on a larger piece. I like to mark things in place, rather than screw up a measurement caused by actually reading a tape measure.
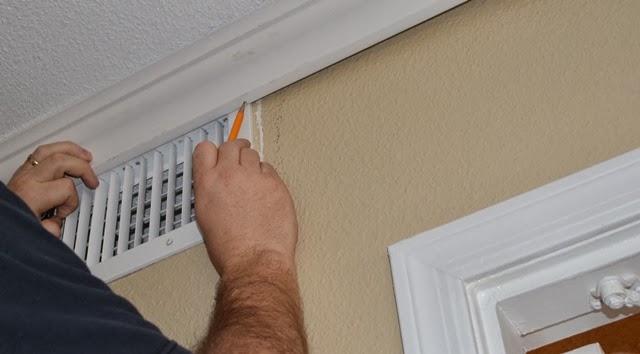
I used a straight edge and a sharp razor knife to cut a notch in the molding. Somehow, I managed to avoid slicing a finger open during this surgical procedure.
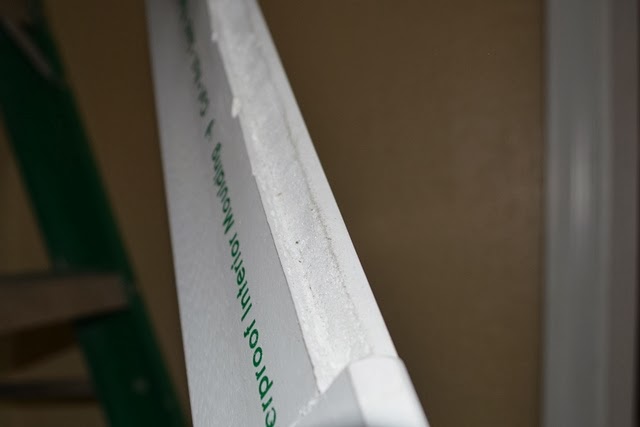
Yep. Plastic.
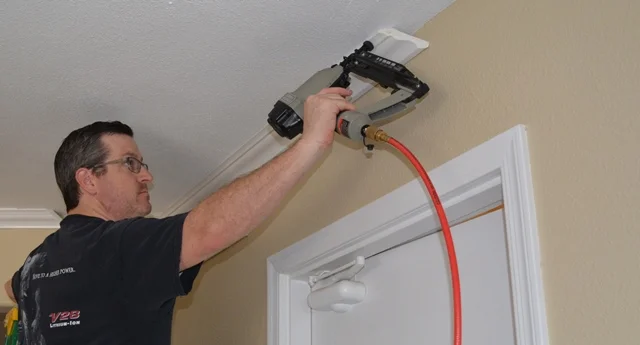
After a test fit and a little fine tuning with the razor knife, it fit perfectly. I removed the screws that would be covered up, just in case I ever had to remove the cover again in the future, and shot it in place.
It took me a while to cut (...and re-cut (...and re-cut)) the odd angled, protruding corner weirdness in the corner. There is some filler drying in the joints, so it's down to sanding, caulking, and painting to finish this part of the project.
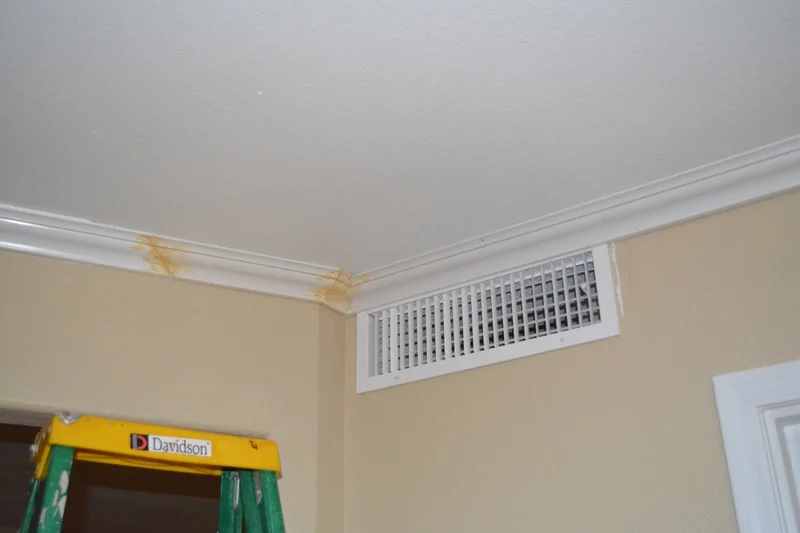
I still haven't decided if I should paint the vent.