


In the Harry Potter zone.
As you know... road trips with kids + electronics = peace in our time.
In our daughter's case, a recent trip to the Painted Desert and Petrified Forest involved the dvd player, a pile of Harry Potter discs, and her beloved Shopkins Plush Headphones.
Unfortunately, these cute and cozy headphones are not crafted with the best quality materials available to the Chinese assembly lines tasked with churning out plush, donut-themed electronics.
They failed on the voyage home. Of course they failed, when we needed electronic intervention the most. Both sides went out, necessitating the purchase of some overpriced earbuds at a highway travel center.
After the trip, I figured I could attempt a DIY repair on her headphones to get them working again. I didn't know anything about how they worked, but didn't have anything to lose.
What's The problem?
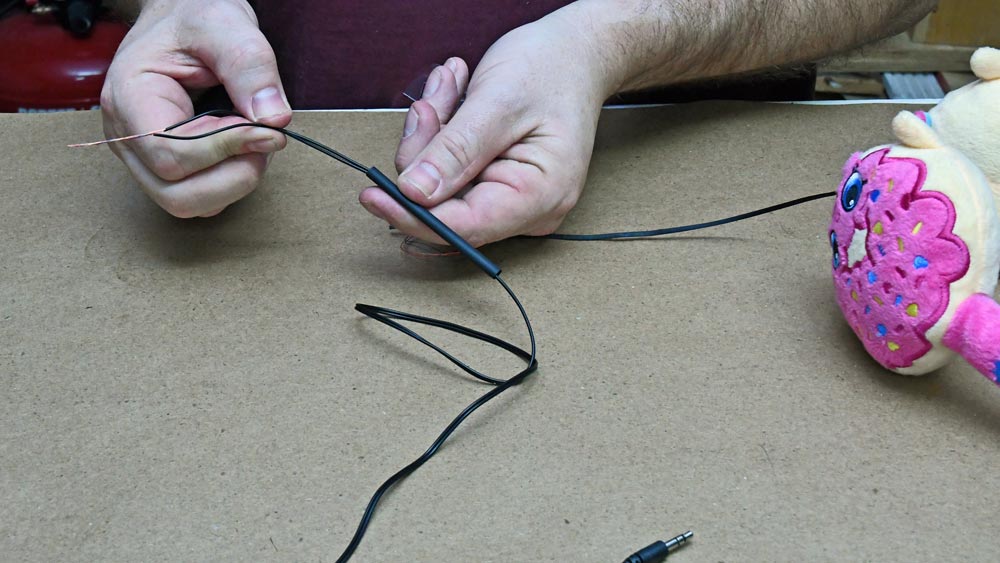
For starters, the 3.5mm headphone jack was loose and wiggly. I could get a little crackle of sound through the speakers if I wiggled it around, but nothing recognizable. I saw some replacement jacks online, but didn't think they'd be a complete solution. The cord was a very thin, flat cable that retracts into one of the earpieces. It was nicked up and dented along most of the length. I could see glimpses of copper peeking through the black cable. Something had to be loose or broken along the well used length.

A wobbly 3.5 mm audio jack.
The Head Phone Repair
I did some exploration to see what was inside the cable. A quick snip of the wire cutters popped the jack end off and exposed the innards of the cable.
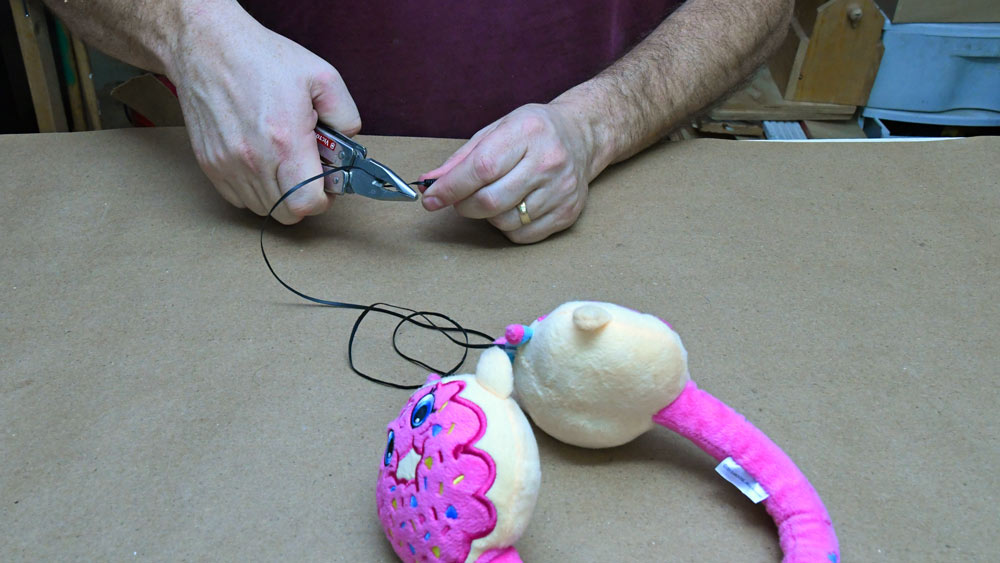
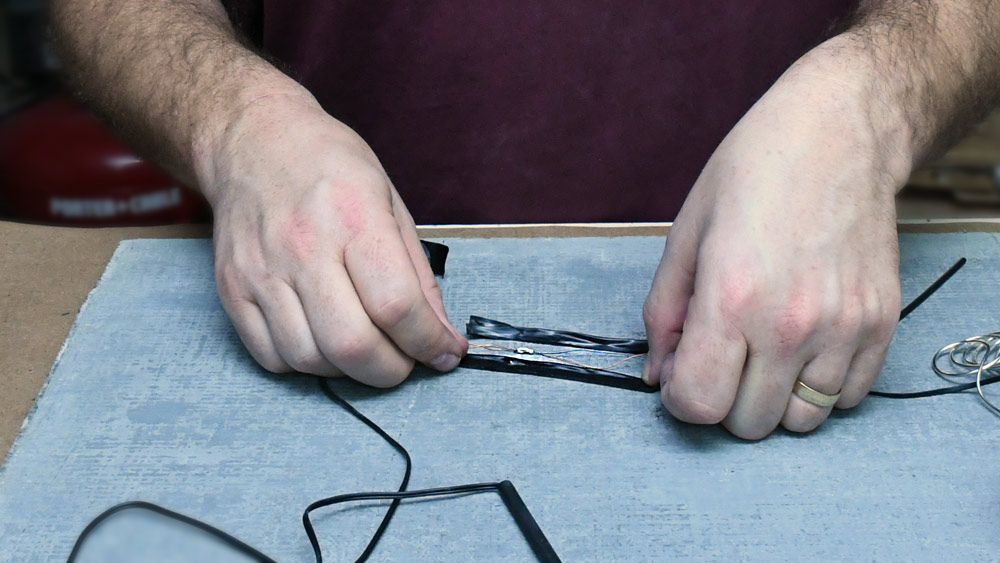
This flat cable wasn't easy to get into. It was molded tightly around each of the individual wires inside. I wrecked those wires a few times before I figured them out by gingerly slitting along the cable.

I let the wires cut through the rubbery cable jacket as I pulled on them one by one There were four braided sets: bare copper, blue, green, and red. The wires were not actually colored metal; they were color coated. The coating needed to be taken off before I could start connecting new wires.
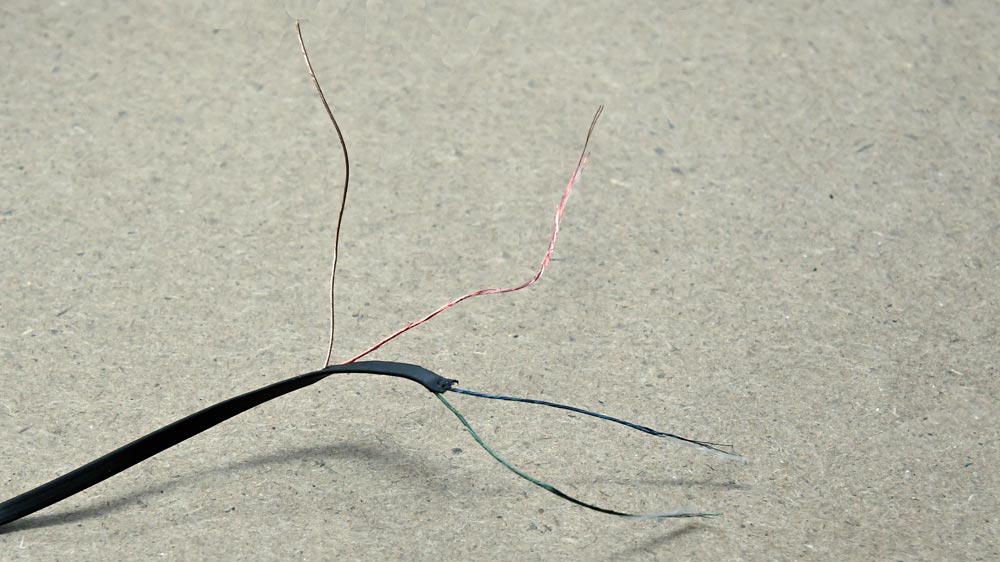
Bare, red, blue, and green
Torch Mode 1: Micro Torch

Just a quick blast of flame to strip the coating.
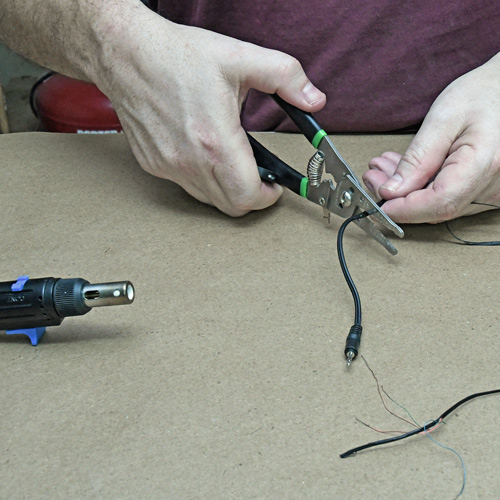
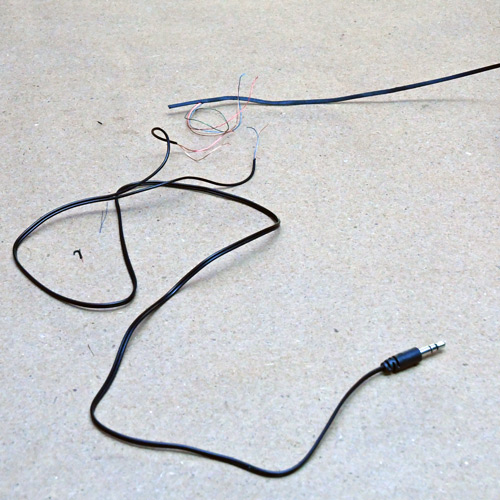
I found a couple pair of earbuds in my nightstand drawer to use as donors. Neither had two working earpieces. I don't know why I'd kept them. Both had good looking cords and jacks attached.
It was much easier to strip back the insulation from round cables.
I slid a piece of heat shrink tubing over both pieces and pushed it up out of the way for later.
The new cable piece I chose to use also got a quick, torch-flame cleaning to burn off the coating.

I tightly twisted each corresponding color together.

A piece of leftover cement fiberboard
You knew it was coming didn't you? I had to wear them to test them. I slipped the bad-ass, macho-man headphones on my head and plugged in my iPod.
I had to fiddle around with the wire connections to get the things working. In the end, it was red wire to red wire, green wire to green wire, and a combination of all the blue and bare wires together into one, third connection.
If you must know, it was Fox on the Run, by The Sweet that got it jamming in stereo.

"...Okay - you think you got a pretty face,... But the rest of you is out of place..." - The Sweet
I know. I'm pretty.
TORCH MODE 2: Cordless Soldering Iron
I reattached the barrel and soldering tip to the ST500 torch and opened a new Bernzomatic Specialty Soldering Kit of flux and solder.
I wiped a dab of flux along the bare area of one of my twisted wire repairs and triggered the torch to life. Touching the solder to the hot soldering tip melted it to a silver dollop. I kept the tiny drop balanced on the iron for a moment.


From there, it's a quick and easy matter of sliding the molten solder off the hot tip and onto the bare wire to cool. I sort of painted it along the copper wire joint. Back and forth from the repair to the solder roll three times and I was done. The fresh welds cooled quickly, leaving all three of the twisted joints encased in fresh silvery metal. It was super easy.

The Bernzomatic ST 500 Cordless Soldering Iron for hobby and household use
Since hardened solder is electrically conductive, I wrapped two of the repairs tightly by folding a long piece of electrical tape over them and slicing the excess off with my X-Acto knife. The tape would insulate the strands from one another.
Magical, electtrical tape
Holding the three strands tightly together I slid the shrink wrap tube over the entire area that I had stripped the outer jacketing from, carefully tucking the electrical tape. Luckily, I had two pieces of heat shrink already in place so I could slide one slightly into the other, covering the whole affected length.

TORCH MODE 3: Hot Air Blower
Since I had just used the soldering iron, the tip was still piping hot. I unscrewed it with the tip of my wire strippers. This time when I triggered the torch, I left the extended barrel in place. The flame was diffused by a screen inside the barrel and couldn't lick out the end as it had in micro-torch mode. It's became a mini-heat gun.


Heat shrink behaves just the way its name implies. It rapidly compresses, perfectly tightening up around whatever is underneath. It's a perfect way to finish up and protect this type of repair.
I simply waved the heat blast along the length of tubing until it was nice and snug. Done!

The headset is back in action. I know the end I replaced is tough enough to last a good while. I'm not so certain the remaining length of original flimsy, flat cable remaining connected to the earpiece is going be around for the long haul. For now I have a happy camper, peacefully playing games on the couch.

Game on!
Visit the Bernzomatic Torch Bearer Site and see what the other awesome Torchbearers are up to.
